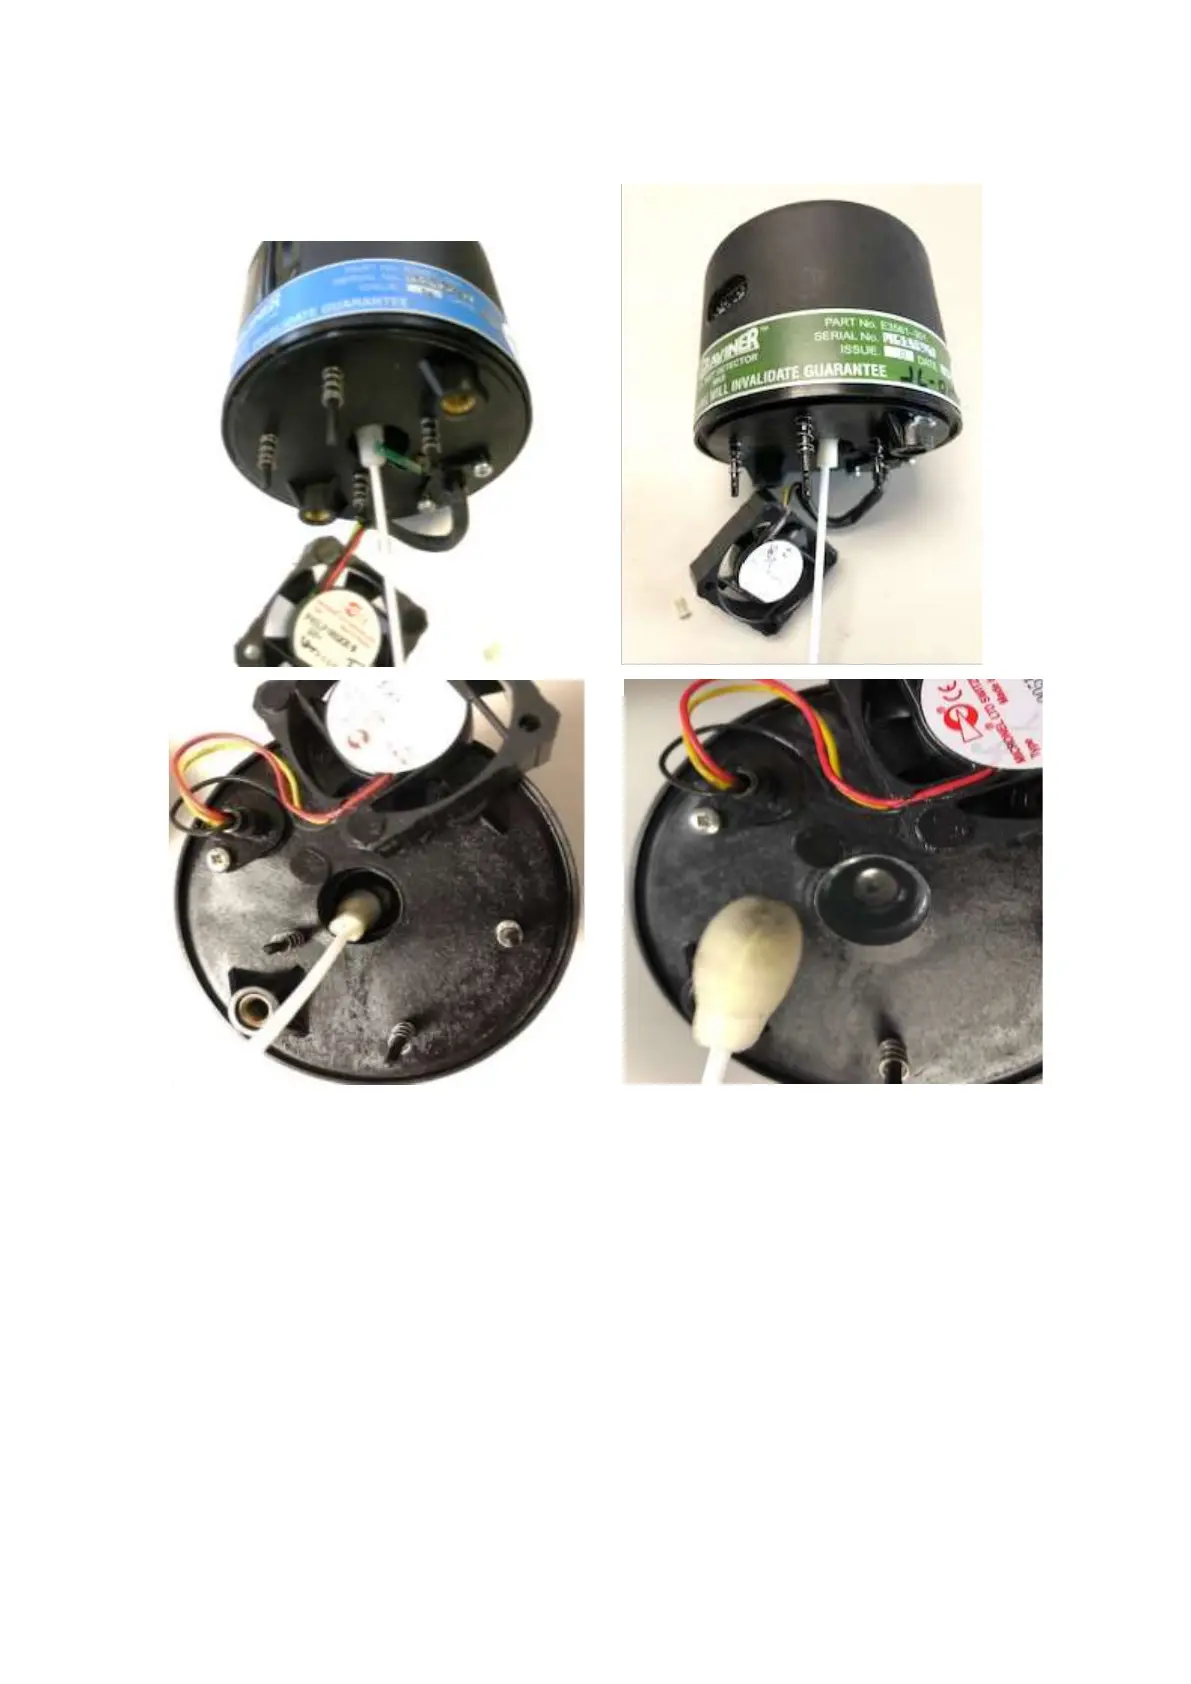
Figure 129 Sample Chamber Cleaning
11. Ensure that the glass ring around the side of the Detector Head and the small aperture shown
in the image above are thoroughly cleaned with the foam cleaning buds.
12. To ensure thorough cleaning Graviner recommend that steps 10 and 11 are repeated with
cleaning fluid applied to another foam bud.
13. Examine the Detector base body and sample tube and wipe clean where necessary.
14. Reassemble the Fan to the Detector Head using the Fan Retaining Plug.
CAUTION: Do not press the centre label of the fan, only handle the fan by the outer housing.
15. Reattach the Detector head to base and re-tighten the fixing screws. Attach the cable to the
Detector Head.
16. De-Isolate the Detector.
17. Via the test menu perform an optics test, Test > 6. Optics.
 Loading...