Chapter 10: eActivity Application 182
u To insert a calculation row
1. On the eActivity window toolbar, check to make sure that < is displayed. If it isn’t, tap u to toggle it to <.
• < indicates the Calculation Input mode is selected.
• If the cursor is located in a line that already contains input data, place the cursor at the end of the line, tap
[Insert] and then [Calculation Row]. This inserts a calculation row on the next line.
2. Use the soft keyboard or keypad keys to input the mathematical expression you want.
3. Press E after inputting an expression to display its result.
Tip
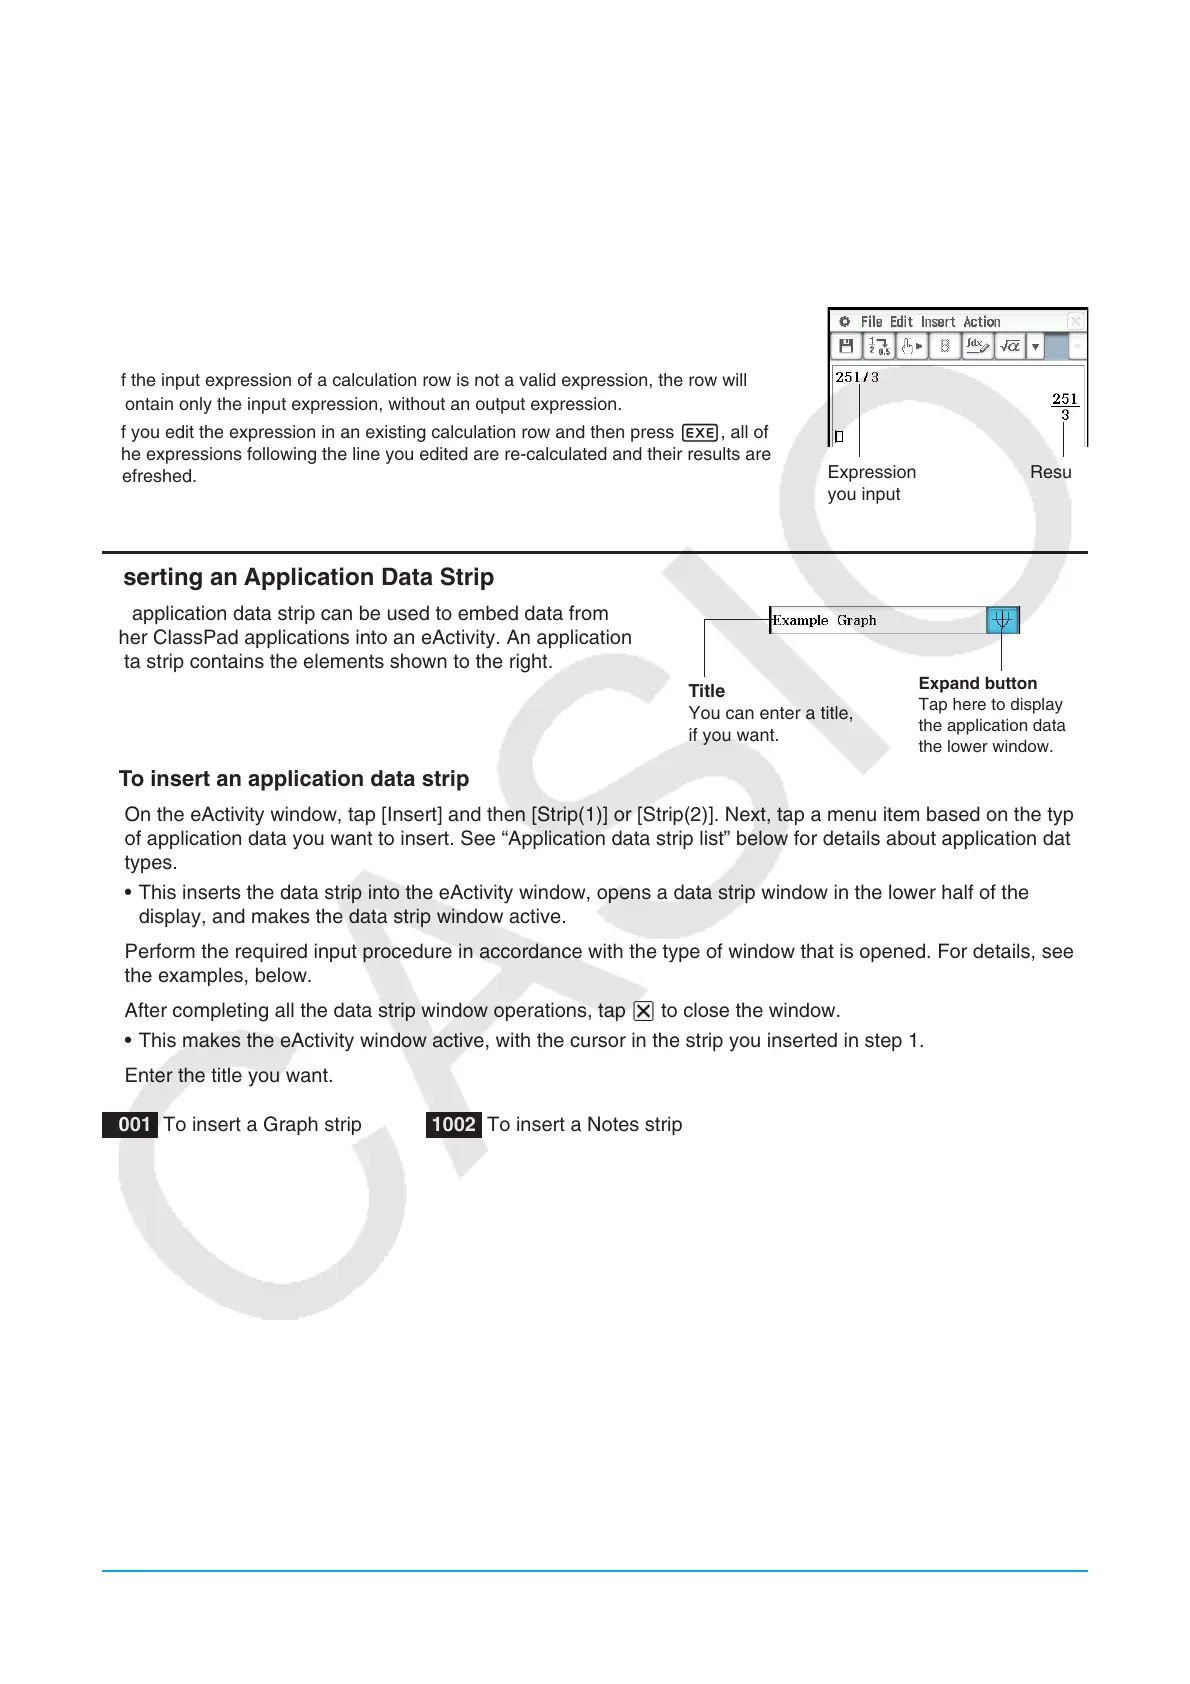
• If the input expression of a calculation row is not a valid expression, the row will
contain only the input expression, without an output expression.
• If you edit the expression in an existing calculation row and then press E, all of
the expressions following the line you edited are re-calculated and their results are
refreshed.
Inserting an Application Data Strip
An application data strip can be used to embed data from
other ClassPad applications into an eActivity. An application
data strip contains the elements shown to the right.
u To insert an application data strip
1. On the eActivity window, tap [Insert] and then [Strip(1)] or [Strip(2)]. Next, tap a menu item based on the type
of application data you want to insert. See “Application data strip list” below for details about application data
types.
• This inserts the data strip into the eActivity window, opens a data strip window in the lower half of the
display, and makes the data strip window active.
2. Perform the required input procedure in accordance with the type of window that is opened. For details, see
the examples, below.
3. After completing all the data strip window operations, tap C to close the window.
• This makes the eActivity window active, with the cursor in the strip you inserted in step 1.
4. Enter the title you want.
1001 To insert a Graph strip 1002 To insert a Notes strip
Expression
you input
Result
Title
You can enter a title,
if you want.
Expand button
Tap here to display
the application data in
the lower window.