14-59
14. Perform the following operation: 6(Animate) – 3:Trace.
• This specifies point D (the one you selected in step 13) as the “trace point”.
15. Perform the following operation: 6(Animate) – 5:Go (once).
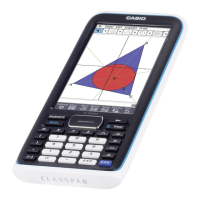
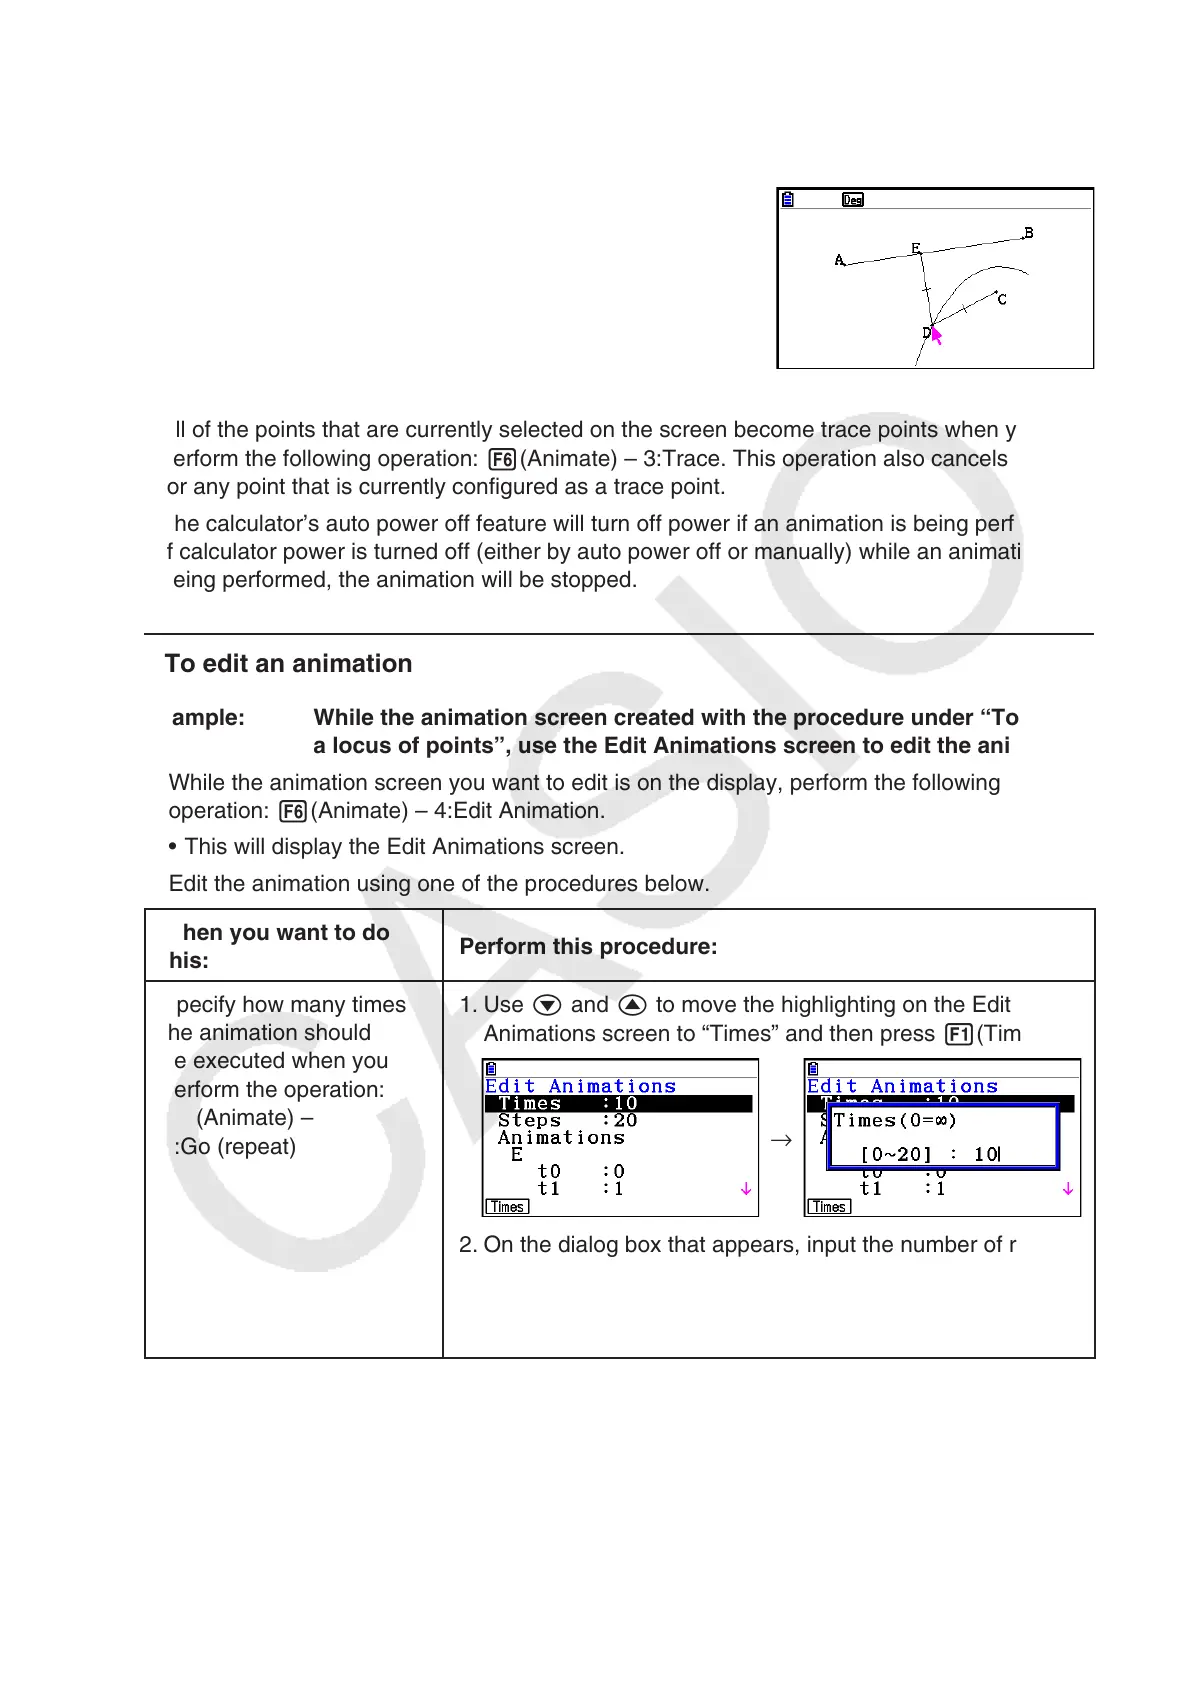
• This should cause a parabola to be traced on the
display. Note that line segment AB is the directrix and
point C is the focus of the parabola.
Note
• All of the points that are currently selected on the screen become trace points when you
perform the following operation: 6(Animate) – 3:Trace. This operation also cancels Trace
for any point that is currently configured as a trace point.
• The calculator’s auto power off feature will turn off power if an animation is being performed.
If calculator power is turned off (either by auto power off or manually) while an animation is
being performed, the animation will be stopped.
u To edit an animation
Example: While the animation screen created with the procedure under “To trace
a locus of points”, use the Edit Animations screen to edit the animation
1. While the animation screen you want to edit is on the display, perform the following
operation: 6(Animate) – 4:Edit Animation.
• This will display the Edit Animations screen.
2. Edit the animation using one of the procedures below.
When you want to do
this:
Perform this procedure:
Specify how many times
the animation should
be executed when you
perform the operation:
6(Animate) –
6:Go (repeat)
1. Use c and f to move the highlighting on the Edit
Animations screen to “Times” and then press 1(Times).
→
2. On the dialog box that appears, input the number of repeats
you want to specify and then press w.
• Inputting 0 here will cause the animation to repeat until
you press J or o stop it.