2010080120100801
ε-51
Calling E-Con2 Functions from an eActivity
3. Use f and c to move the highlighting to the type of Econ strip you want to insert.
• See the beginning of this section (page
ε-50) for
details about each Econ strip type.
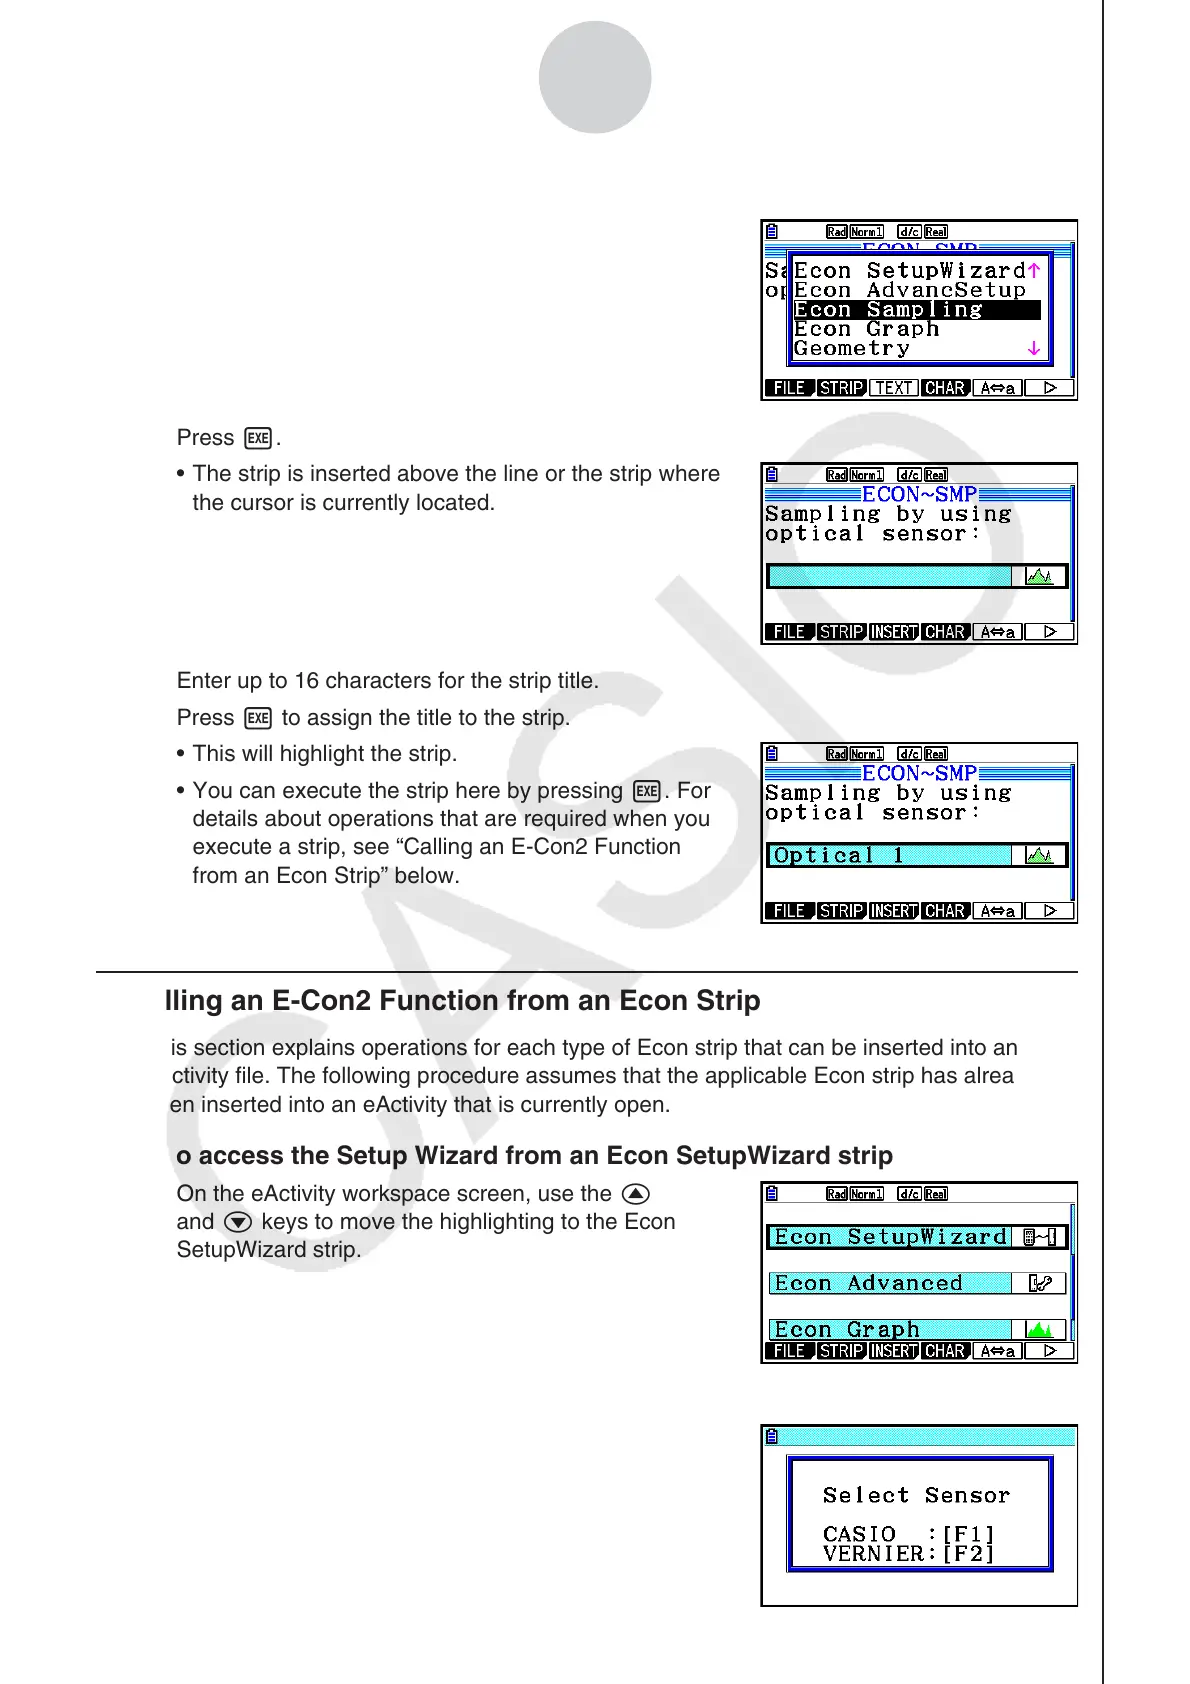
4. Press w.
• The strip is inserted above the line or the strip where
the cursor is currently located.
5. Enter up to 16 characters for the strip title.
6. Press w to assign the title to the strip.
• This will highlight the strip.
• You can execute the strip here by pressing w. For
details about operations that are required when you
execute a strip, see “Calling an E-Con2 Function
from an Econ Strip” below.
k Calling an E-Con2 Function from an Econ Strip
This section explains operations for each type of Econ strip that can be inserted into an
eActivity file. The following procedure assumes that the applicable Econ strip has already
been inserted into an eActivity that is currently open.
• To access the Setup Wizard from an Econ SetupWizard strip
1. On the eActivity workspace screen, use the f
and c keys to move the highlighting to the Econ
SetupWizard strip.
2. Press w.
• This launches the Setup Wizard and displays the
“Select Sensor” screen.