Replacing Power Supply Units
Quantum Maestro Getting Started Guide|51
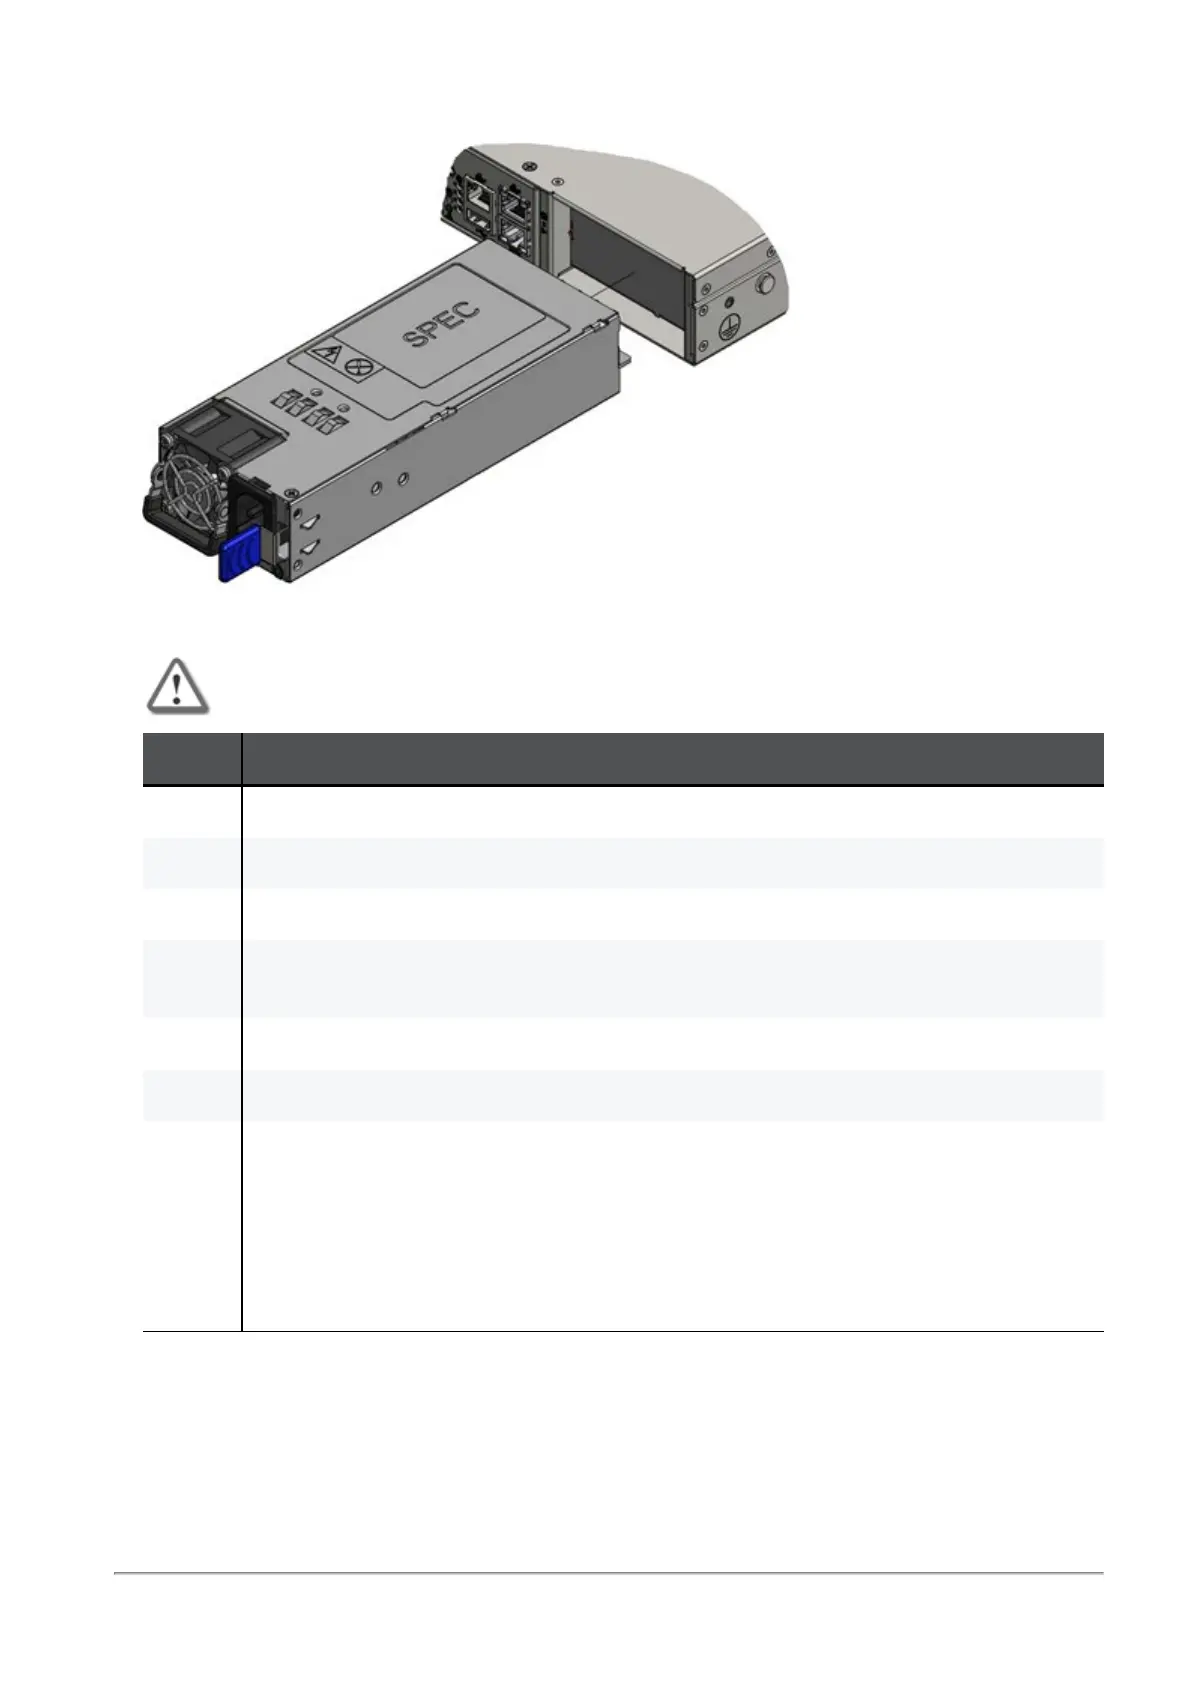
PSU pulled out:
Installing a Power Supply Unit
Important - Do not insert a PSU with a power cord connected to it.
Step Instructions
1 Make sure the mating connector of the new PSU is free of any dirt and obstacles.
2 Insert the PSU end into the opening.
3 Slide in the PSU until you feel a slight resistance.
4 Continue to press the PSU until it seats completely.
The PSU latch snaps into place. This confirms the proper installation.
5 Connect the power cord to the PSU connector.
6 Insert the other end of the power cord into an outlet of the correct voltage.
7 These should light up in green color:
1. The indicator on the PSU
2. The Power Supply Unit Status LED (see
"Power Supply Unit Status LEDs" on
page36
)
If either the indicator, or the LED does not light up in green color, repeat the whole
procedure to remove the PSU and insert it again.