
J
Jessica MorrowAug 18, 2025
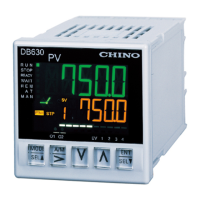
Why is the Chino DB600 control unstable?
- RRyan PittmanAug 18, 2025
If the control of your Chino Controller is unstable, check the following: 1. Ensure that the wiring is done properly. 2. Confirm that the terminal screws are tightened firmly. 3. Check for any noise influence. 4. Verify that the parameters (PID, output limiter, etc.) are set correctly.