7-47
Cisco Wireless LAN Controller Configuration Guide
OL-17037-01
Chapter 7 Controlling Lightweight Access Points
Configuring Failover Priority for Access Points
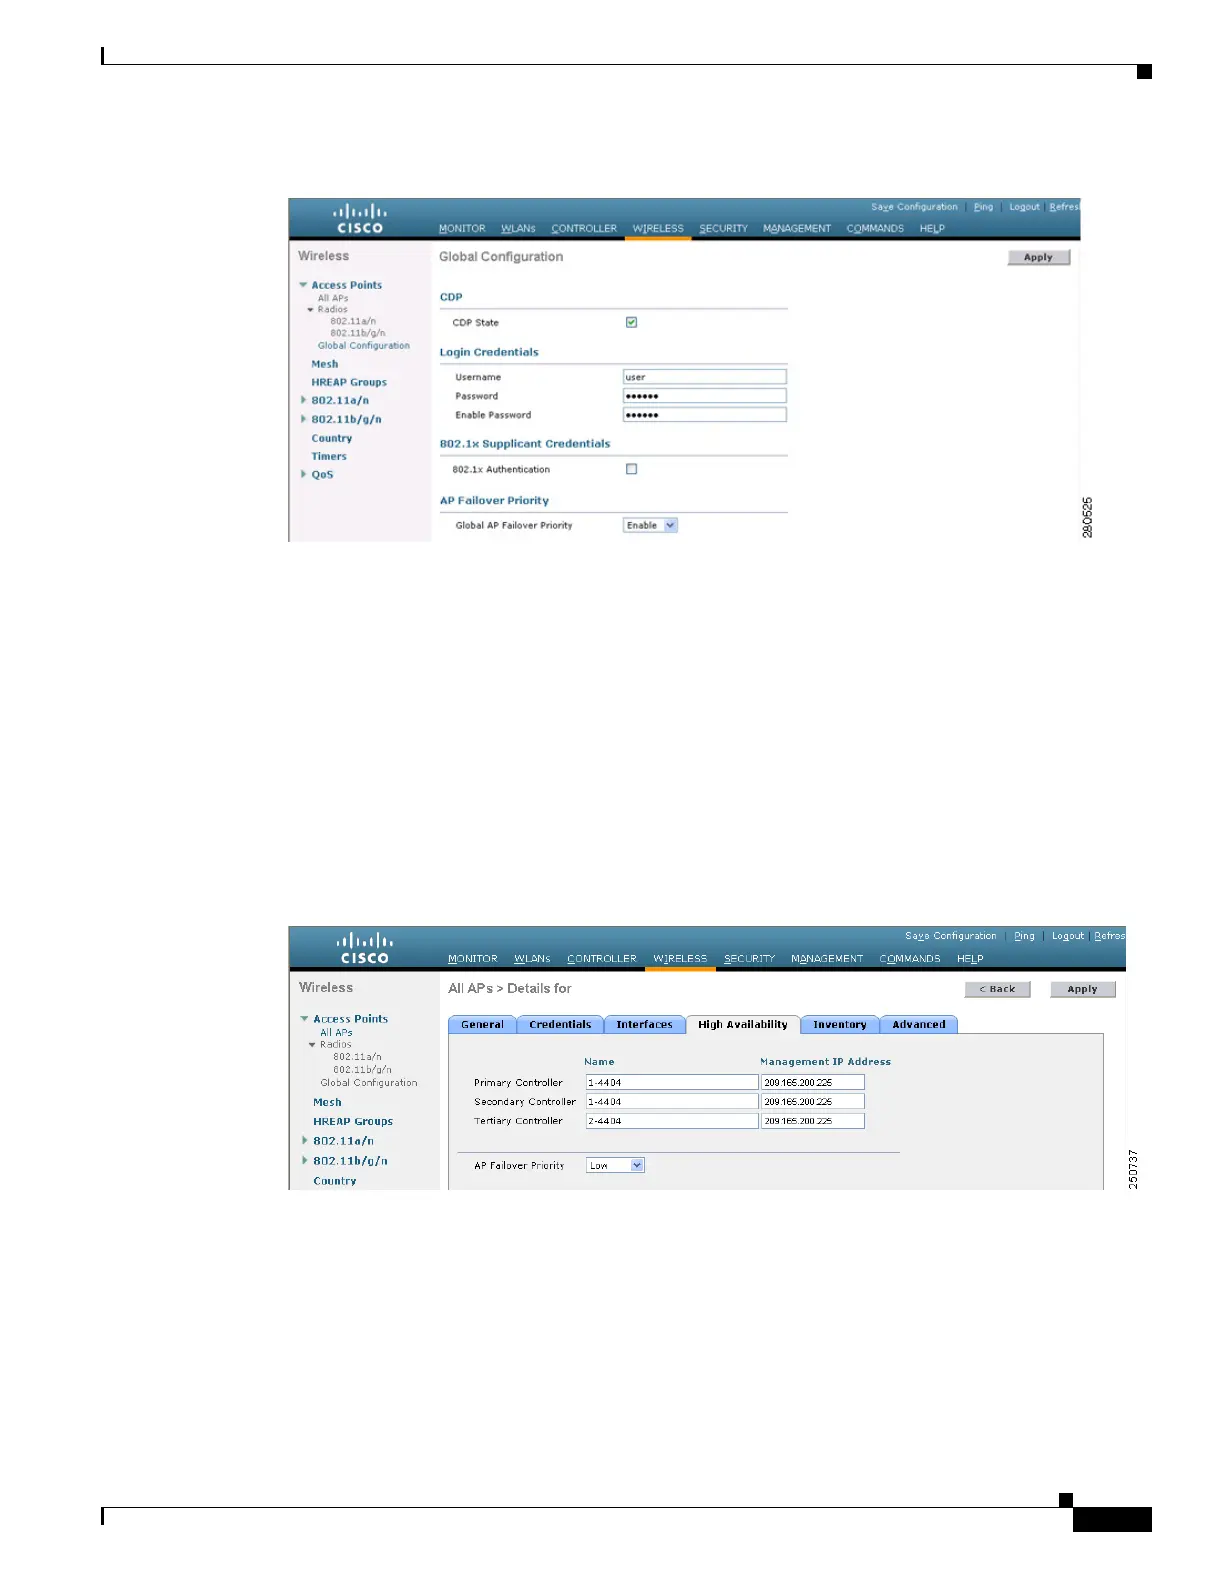
Figure 7-16 Global Configuration Page
Step 2
From the Global AP Failover Priority drop-down box, choose Enable to enable access point failover
priority or Disable to disable this feature and turn off any access point priority assignments. The default
value is Disable.
Step 3 Click Apply to commit your changes.
Step 4 Click Save Configuration to save your changes.
Step 5 Click Wireless > Access Points > All APs to open the All APs page.
Step 6 Click the name of the access point for which you want to configure failover priority.
Step 7 Click the High Availability tab. The All APs > Details for (High Availability) page appears (see
Figure 7-17).
Figure 7-17 All APs > Details for (High Availability) Page
Step 8
From the AP Failover Priority drop-down box, choose one of the following options to specify the priority
of the access point:
• Low—Assigns the access point to the level 1 priority, which is the lowest priority level. This is the
default value.
• Medium—Assigns the access point to the level 2 priority.
• High—Assigns the access point to the level 3 priority.
• Critical—Assigns the access point to the level 4 priority, which is the highest priority level.
 Loading...


