Send document comments to nexus7k-docfeedback@cisco.com
4-16
Cisco Nexus 7000 Series NX-OS Interfaces Configuration Guide, Release 5.x
OL-23435-03
Chapter 4 Configuring Layer 3 Interfaces
Configuring Layer 3 Interfaces
This example shows how to create a loopback interface:
switch# configure terminal
switch(config)# interface loopback 0
switch(config-if)# ip address 192.0.2.100/8
switch(config-if)# copy running-config startup-config
Assigning an Interface to a VRF
You can add a Layer 3 interface to a VRF.
BEFORE YOU BEGIN
Ensure that you are in the correct VDC (or use the switchto vdc command).
Assign the IP address for a tunnel interface after you have configured the interface for a VRF.
SUMMARY STEPS
1. configure terminal
2. interface interface-type number
3. vrf member vrf-name
4. ip-address ip-prefix/length
5. (Optional) show vrf [vrf-name] interface interface-type number
6. (Optional) copy running-config startup-config
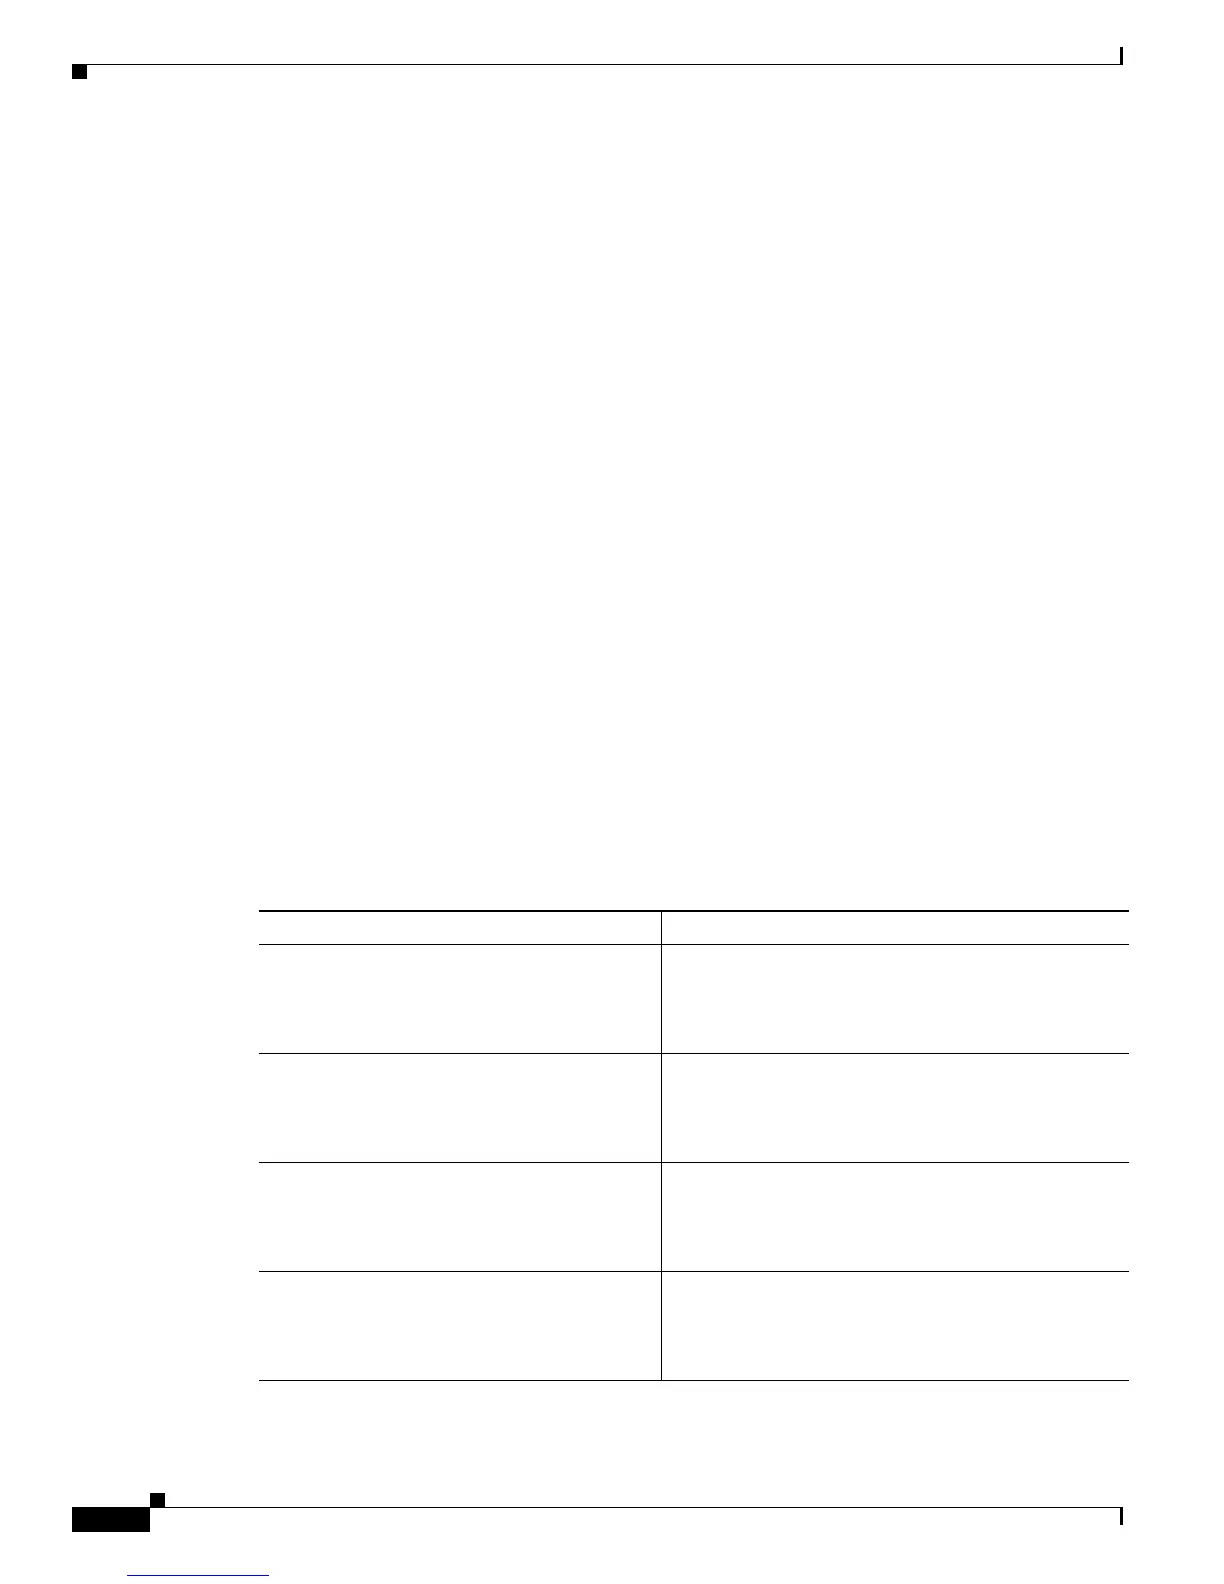
DETAILED STEPS
Command Purpose
Step 1
configure terminal
Example:
switch# configure terminal
switch(config)#
Enters configuration mode.
Step 2
interface interface-type number
Example:
switch(config)# interface loopback 0
switch(config-if)#
Enters interface configuration mode.
Step 3
vrf member vrf-name
Example:
switch(config-if)# vrf member
RemoteOfficeVRF
Adds this interface to a VRF.
Step 4
ip address ip-prefix/length
Example:
switch(config-if)# ip address
192.0.2.1/16
Configures an IP address for this interface. You must
do this step after you assign this interface to a VRF.

 Loading...


