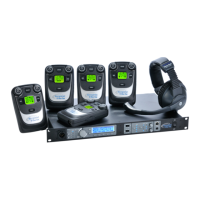
7 Tempest®2400 2-Channel Wireless Intercom System
4. Pair BeltStaons to the BaseStaon
Pairing is a programming process that allows a BaseStaon and BeltStaon to
recognize each other.
» Conrm that the BaseStaon is powered ON.
» Conrm that the BeltStaon is powered OFF.
» Connect the Pairing Cable from the BaseStaon to a BeltStaon.
» Power ON the BeltStaon and watch the BeltStaon display for “Pairing
Complete.”
» BeltStaon status will become visible on the BaseStaon display.
» Repeat with each BeltStaon.
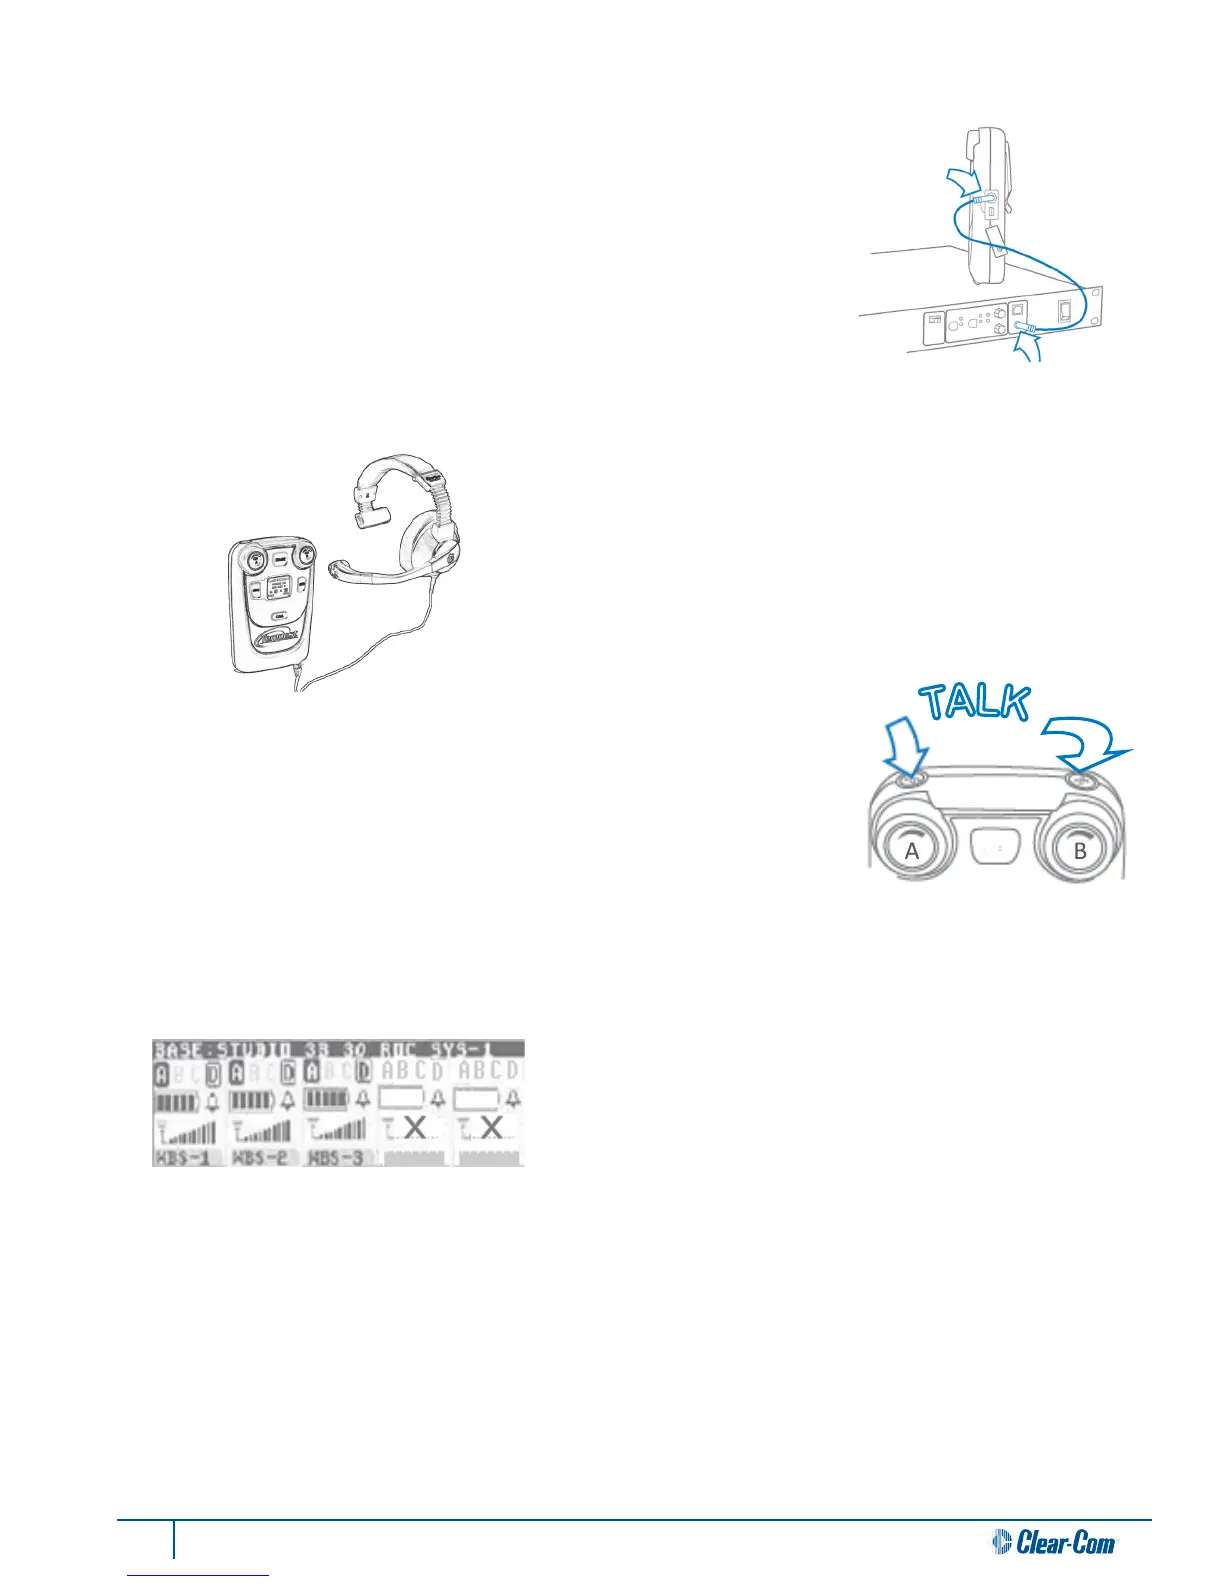
5. Connect Headsets to BeltStaons
Plug a headset into each BeltStaon, and the BaseStaon if desired.
6. Operaon
Select a channel on the BeltStaons by pressing the CH A or CH B control.
Press the TALK buon. A quick press latches the Talk buon for “Hands Free”
operaon. Press and hold the Talk buon for more than two seconds while you
talk and the buon will release in a Push-To-Talk manner. A solid LED means that
Talk is acve. A ashing LED means that Talk is not acve.
Set the volume by rotang the CH A or CH B control.
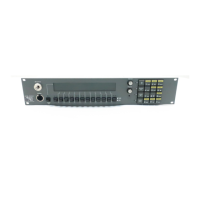
You may conrm BeltStaon operaon on the BaseStaon Operaon
screen. There is a secon for each BeltStaon. In this illustraon, each
BeltStaon is set to talk on channel A and listen on channels A & D, with
only three BeltStaons in operaon.
A headset may be connected to the front of the Base Staon. Acvate by pressing the TALK buon. Select a channel by
pressing the volume knob.
Refer to the user manual for detailed instrucons regarding:
» Country limitaon on 2.4GHz RF spectrum.
» Adjusng the Network Number and Lockout Key.
» Assigning names for equipment.
» Charging baeries.

 Loading...