4
.
7
PTZ
Contr ol
an d
C
o
l
o
r
S
e
t
up
Note: All the operations here are based on PELCOD protocol. For other protocols, there
might be a little difference.
4.8.1 Cable Connection
Please follow the procedures below to go on cable connection
•
Connect the dome RS485 port to DVR 485 port.
•
Connect dome video output cable to DVR video input port.
•
Connect power adapter to the dome.
4.8.2 PTZ Setup
Note: The camera video should be in the current screen. Before setup, please check the
following connections are right:
•
PTZ and decoder connection is right. Decoder address setup is right.
•
Decoder A (B) line connects with DVR A (B) line.
Boot up the DVR, input user name and password.
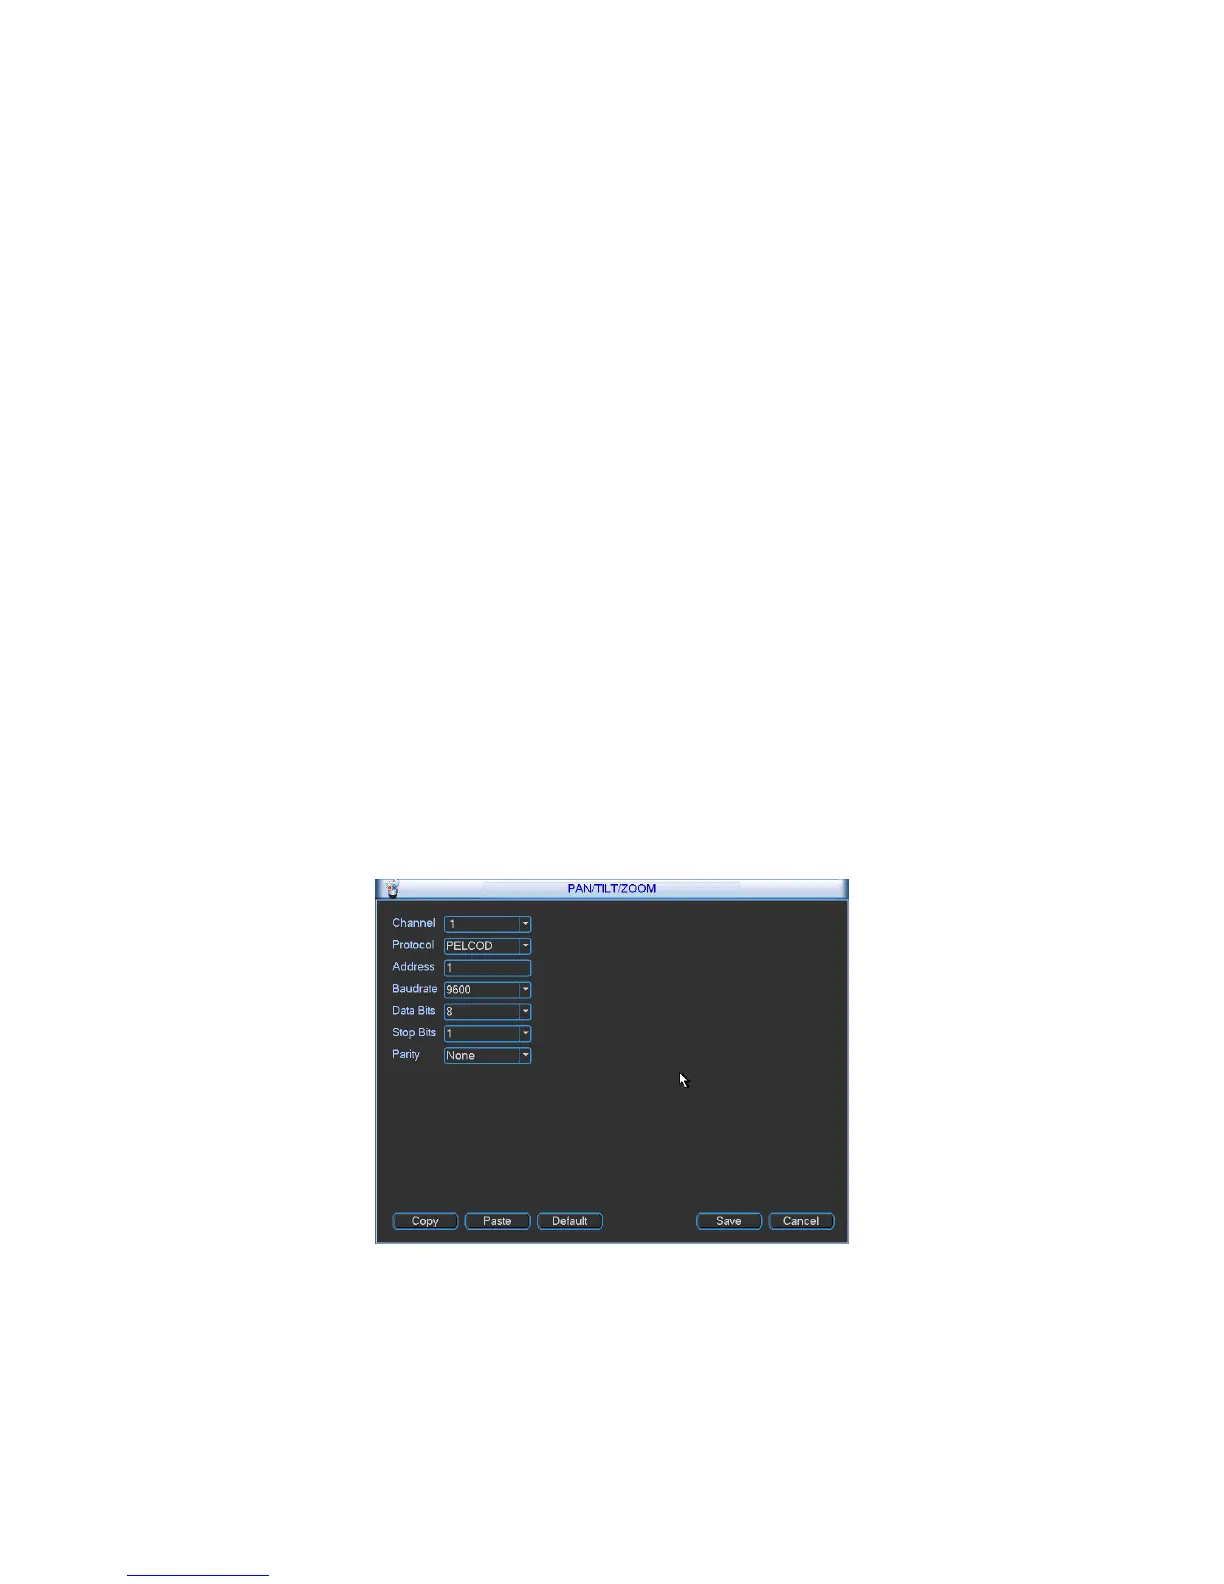
In the main menu, click setting, and then click Pan/Tilt Control button. The interface is shown
as in Figure 4-29. Here you can set the following items:
•
Channel: select the current camera channel.
•
Protocol: select corresponding PTZ protocol(such as PELCOD)
•
Address: default address is 1.
•
Baud rate: select corresponding baud rate. Default value is 9600.
•
Data bits: select corresponding data bits. Default value is 8.
•
Stop bits: select corresponding stop bits. Default value is 1.
•
Parity: there are three options: odd/even/none. Default setup is none.
Figure
4-29
After completing all the setting please click save button.
In one window display mode, right click mouse. Click Pan/Tilt/Zoom, the interface is shown
as below. See Figure 4-30.
Here you can set the following items: