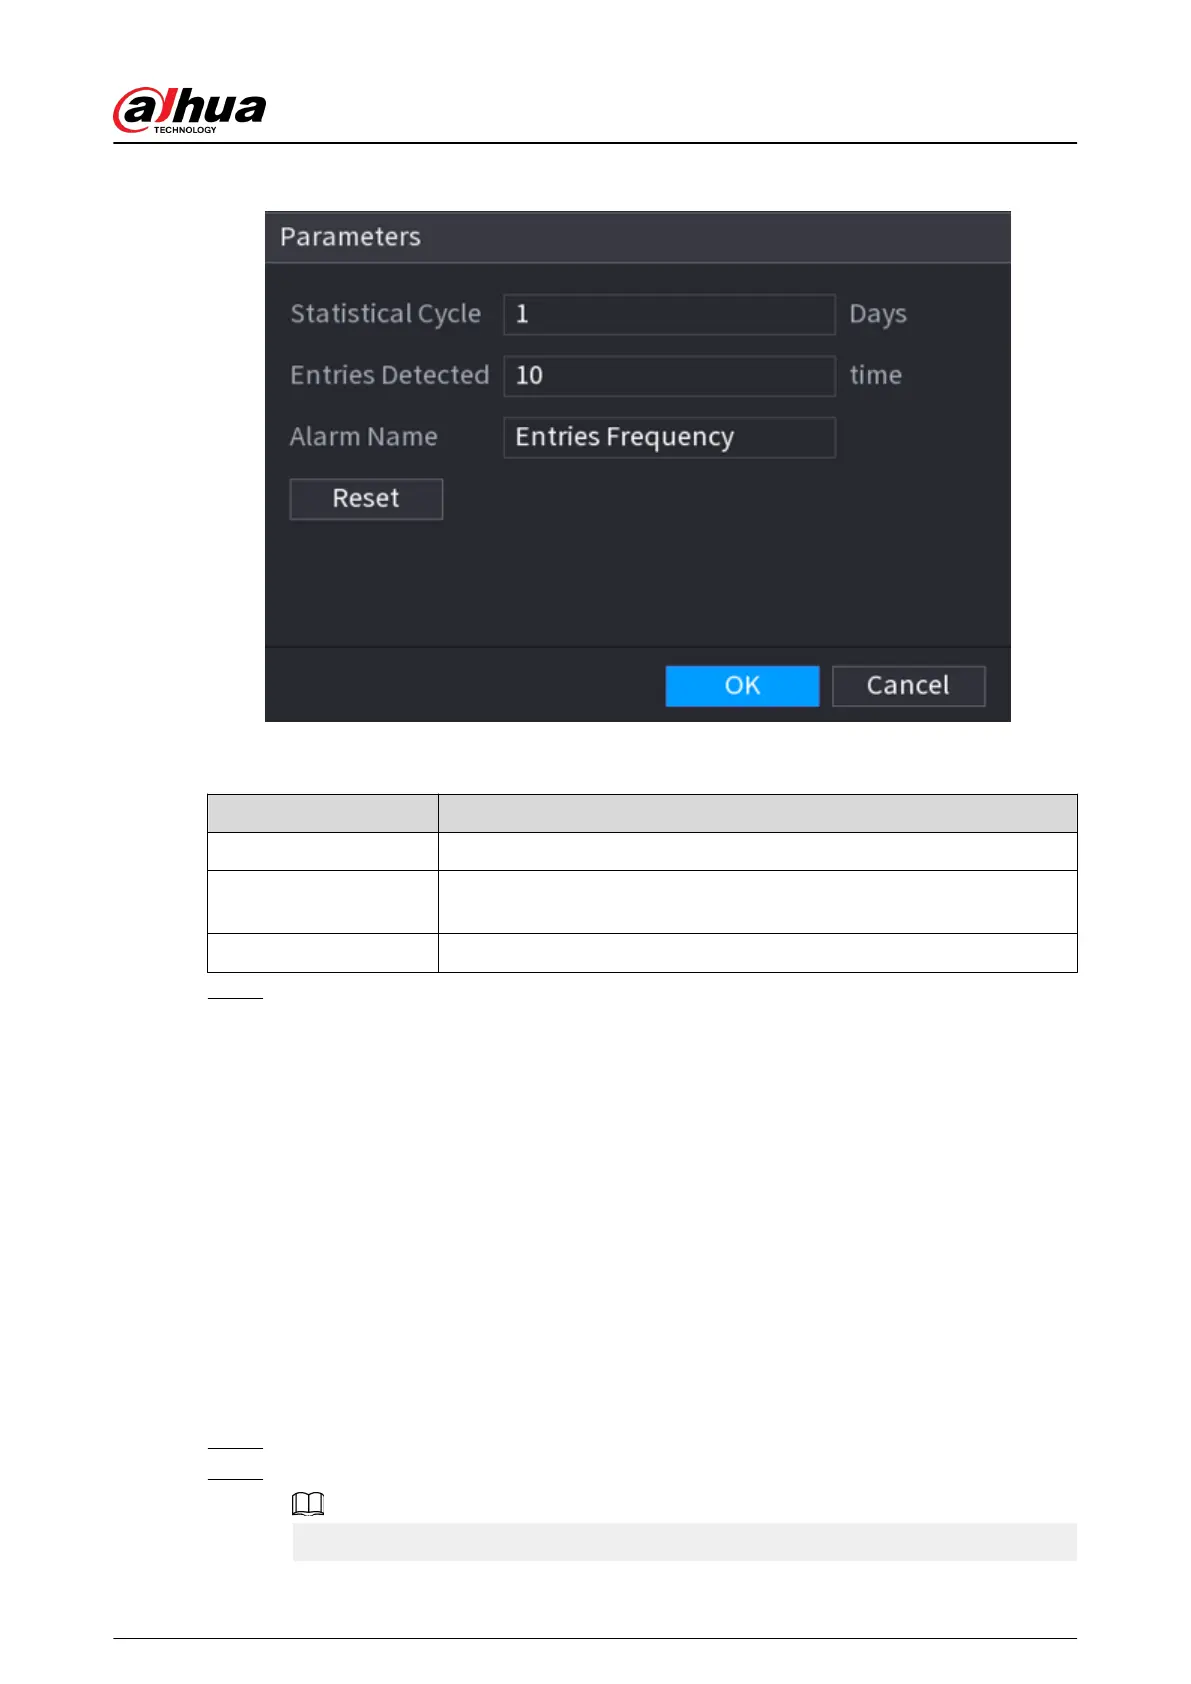
Figure 5-196 Congure entries frequency
Table 5-54 Entries frequency parameters
Parameter
Description
Statistical Cycle Set the cycle for counting the entries frequency.
Entries Detected
Set the threshold of entries frequency. When the entries detected
reaches or exceeds the threshold, an alarm is triggered.
Alarm Name The name is Entries Frequency by default. You can change the name.
Step 4 Click Apply.
5.9.19 Smart Object Detection
You can congure rules and set parameters. When someone is taking or placing an item in the
monitoring area, an alarm is triggered.
5.9.19.1 Conguring Smart Plan
To use the smart detection function, you need to enable the smart plan rst. For details, see "5.9.3
Smart Plan".
5.9.19.2 Conguring Object Detection
Procedure
Step 1 Select AI > Parameters > Smart Object Detection.
Step 2 Select channel and type, and then click Apply.
The target type includes luggage, bag, box, and non-motor vehicle.
User's Manual
319
 Loading...