120
8
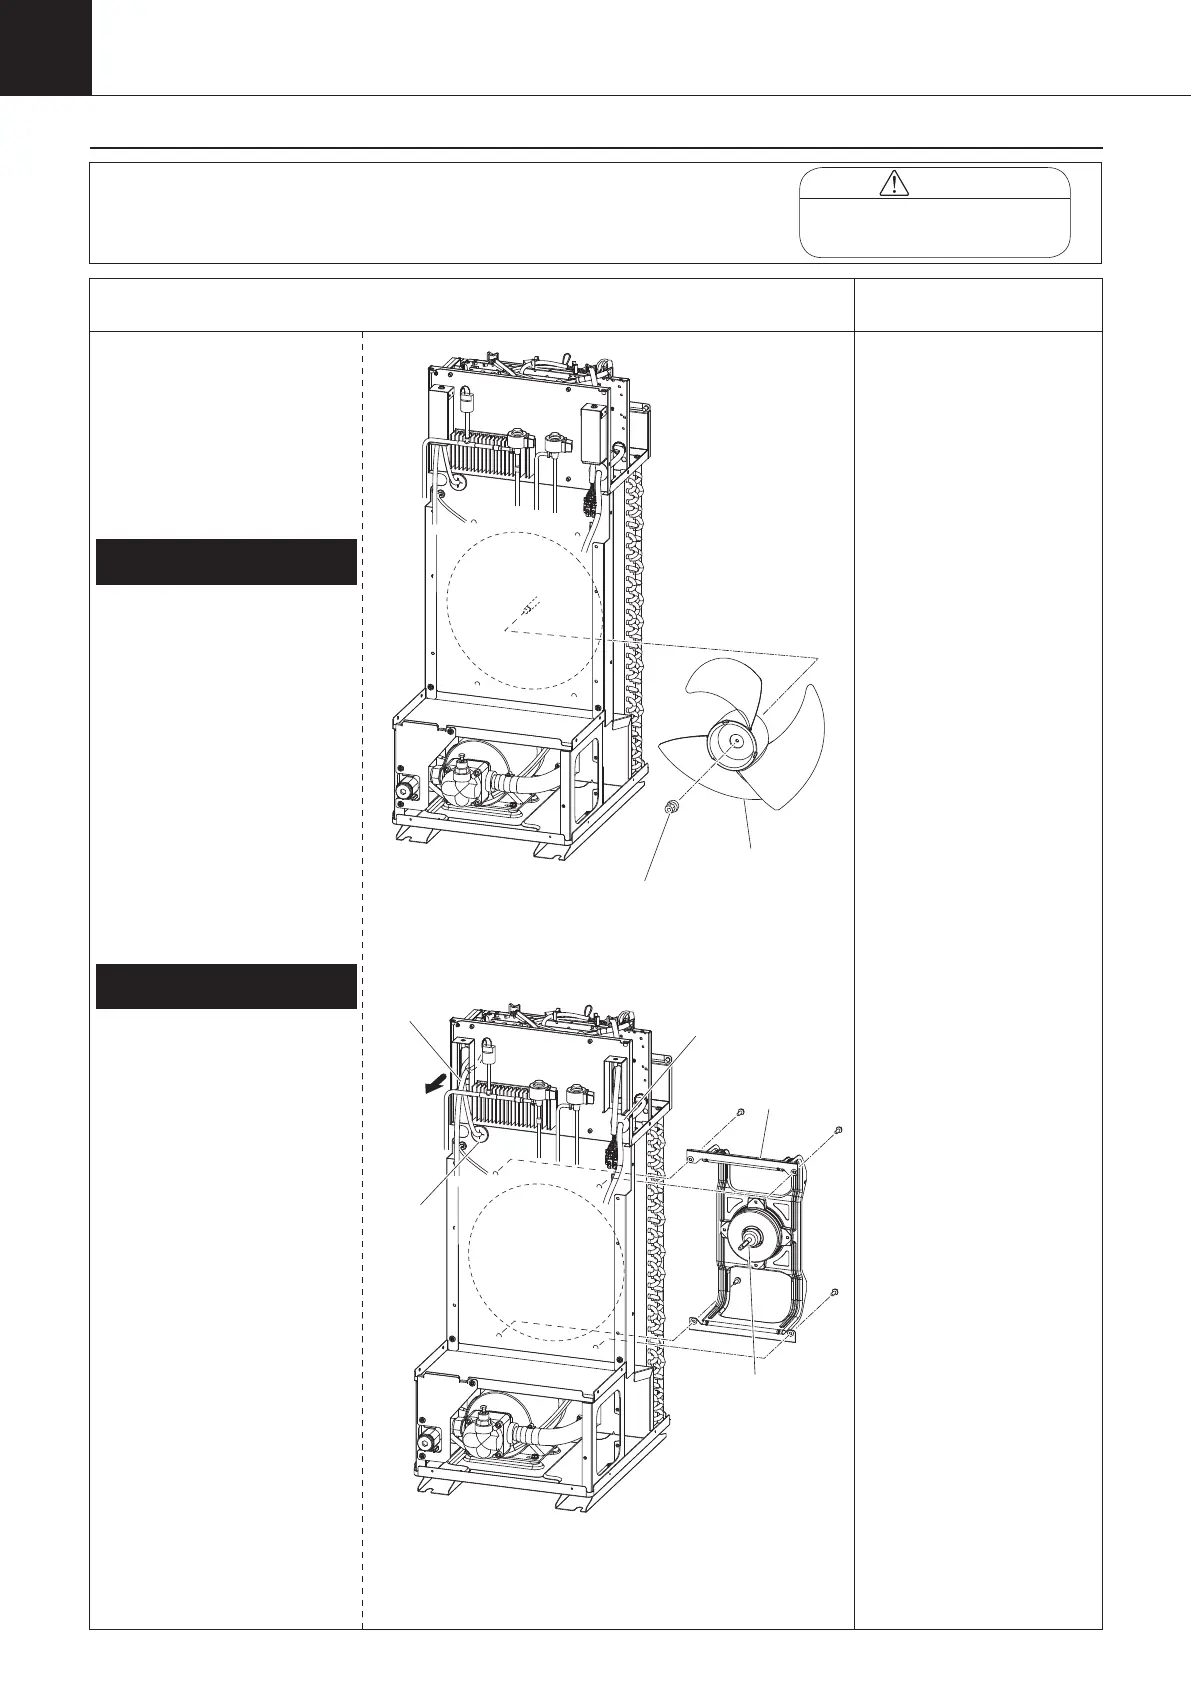
Disassembling Procedure
Work Procedure Point
WARNING
Before disassembling work, be sure
to turn OFF all power supplies.
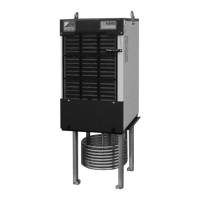
Procedure for Removing Propeller
Fan, DC Fan Motor
1 Remove the switch box
cover, top panel, back panel,
left side panel, and right side
panel in accordance with
“Procedure for Removing
Outside Panel Block (P.118)”.
① Remove the nut with
washer fixing the propeller
fan.
② Remove the propeller fan,
and take it out from the
left side when viewed from
the front.*
* Take out the DC fan motor
(M3F) after removing the
DC fan motor block.
(Refer to “2. Removing DC
fan motor (M3F)”.)
2.
Removing DC fan motor (M3F)
① Disconnect the DC fan
motor connector (CN15)
from the inverter board
(A2P).
② Cut the banding band of
the lead wires.
③ Take the lead wire off the
wiring port cover. (See
page 119) (*1)
④ Unscrew the four screws
fixing the DC fan motor
block with the DC fan
motor (M3F) mounted to
remove it from the left side
when viewed from the
front.
⑤ Unscrew the four screws
to remove the DC fan
motor (M3F) from the DC
fan motor block.
1.
Removing propeller fan
*1
Once the sealing material
of the wiring port is
removed, its dust-preventive
performance is degraded.
扌
Change the removed sealing
material with a new one
before taking in lead wire
again.
Propeller fan
DC fan
motor block
DC fan motor
(M3F)
Grommet
Rubber
bush
00_PB00540A_M10.indb 120 2023/08/09 12:59:10