SENTINEL 3 26
• Press the “UP/ DOWN/ LEFT/ RIGHT” buttons to drag the window and set the
ending point of the detection area.
• Press the “ENTER” button to conrm the ending point of the detection area.
3. Sensitivity: The blue bar shown on the Motion Detection screen indicates the motion
variation of the detection window. When the amount of motion detected exceeds the
preset sensitivity threshold, it triggers motion detection recording. For example, if there
is slight movement in your camera’s view (e.g. curtains blowing, shadows) you can
decrease the sensitivity of that camera channel to avoid false triggering of motion
record.
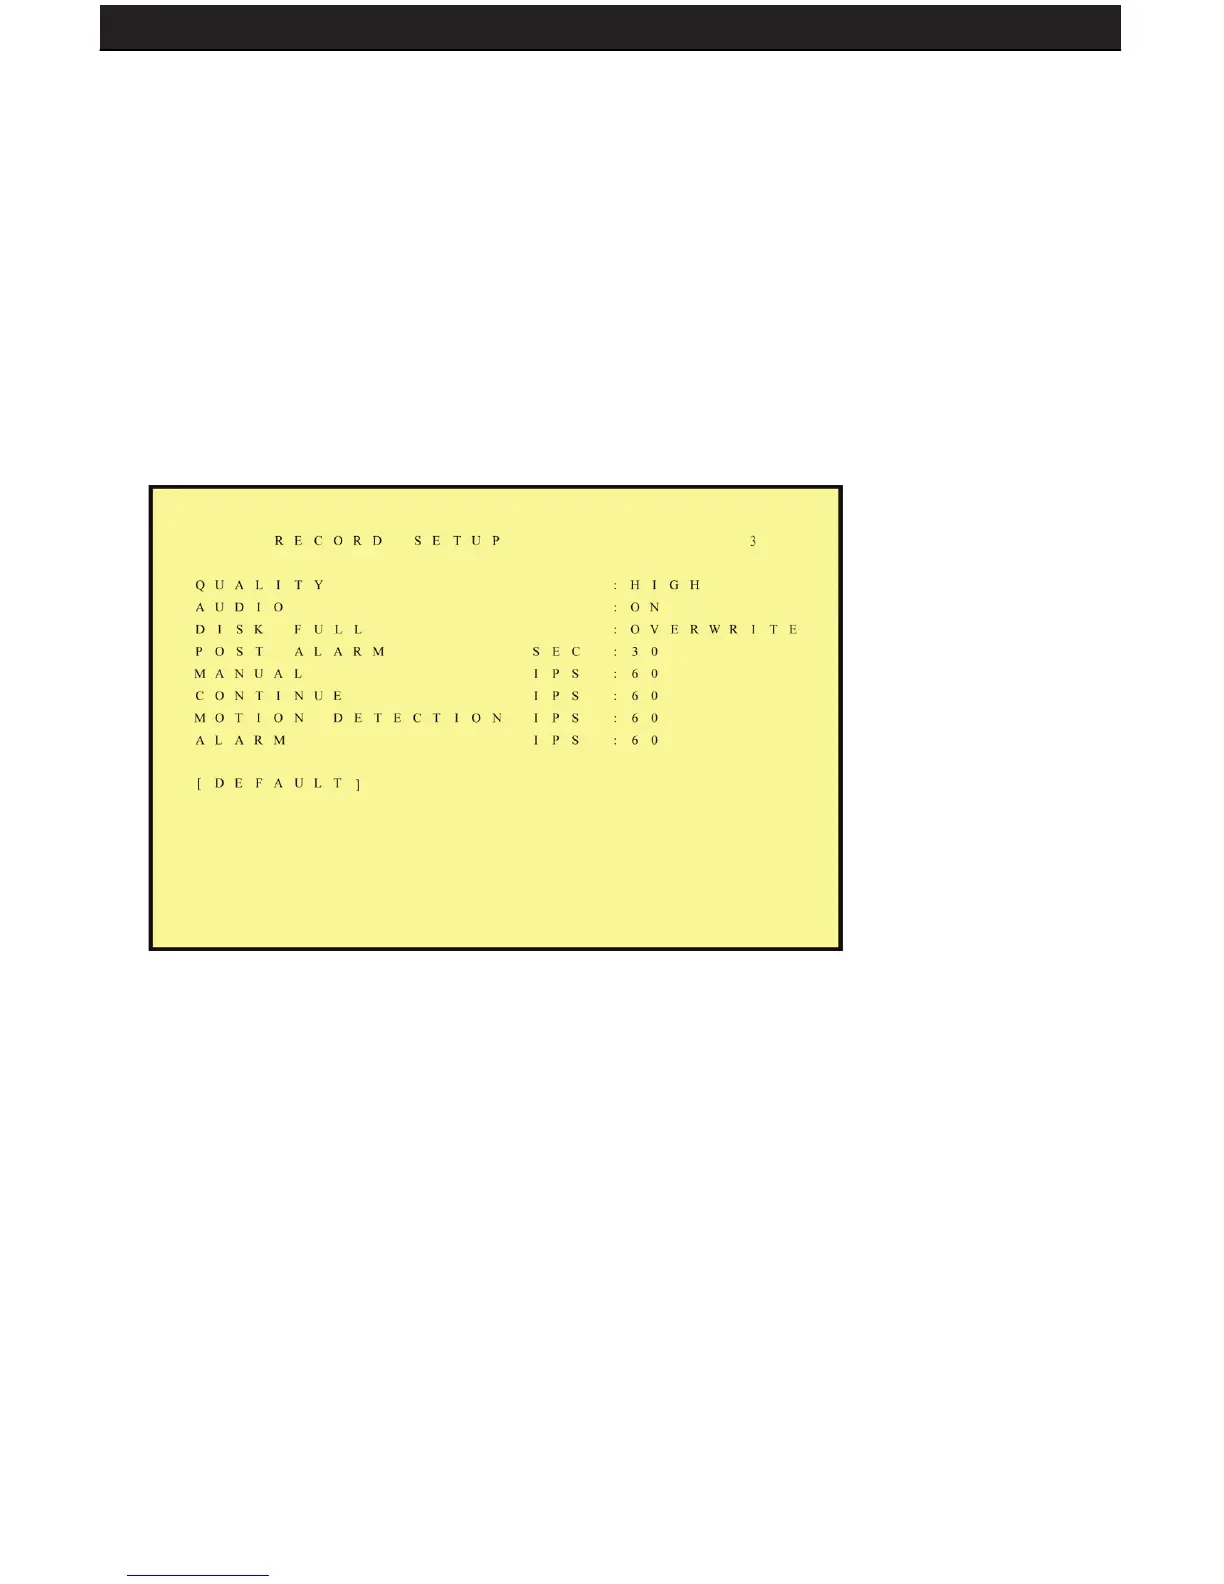
6.3 RECORD SETUP
1. QUALITY: LOW/ MEDIUM/ HIGH
2. AUDIO:
• ON: Audio recording enabled.
• OFF: Audio recording disabled.
3. DISK FULL:
• Overwrite: When the hard disk is full the system overwrites your oldest
recorded footage (recommended).
• Stop: When the hard disk is full the system stops recording (message will
be displayed).
4. POST ALARM: Recording time after an event (Alarm/ Motion Detection) has
been triggered.
5. MANUAL: Set frames per second (FPS) for manual recording.
6. CONTINUOUS: Set FPS for schedule continuous recording.
7. MOTION DETECT: Set FPS for schedule motion detection recording.
8. ALARM: Set FPS for schedule alarm recording (if you have alarm sensors
wired into the DVR).
9. DEFAULT: Reload the factory default setting.