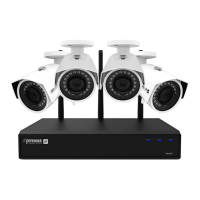
SENTINEL 3 40
7.5 FIND YOUR EXTERNAL IP
Now you will need to nd your external IP address. This will be the address you will be
entering in order to access the DVR from outside your network (over the internet).
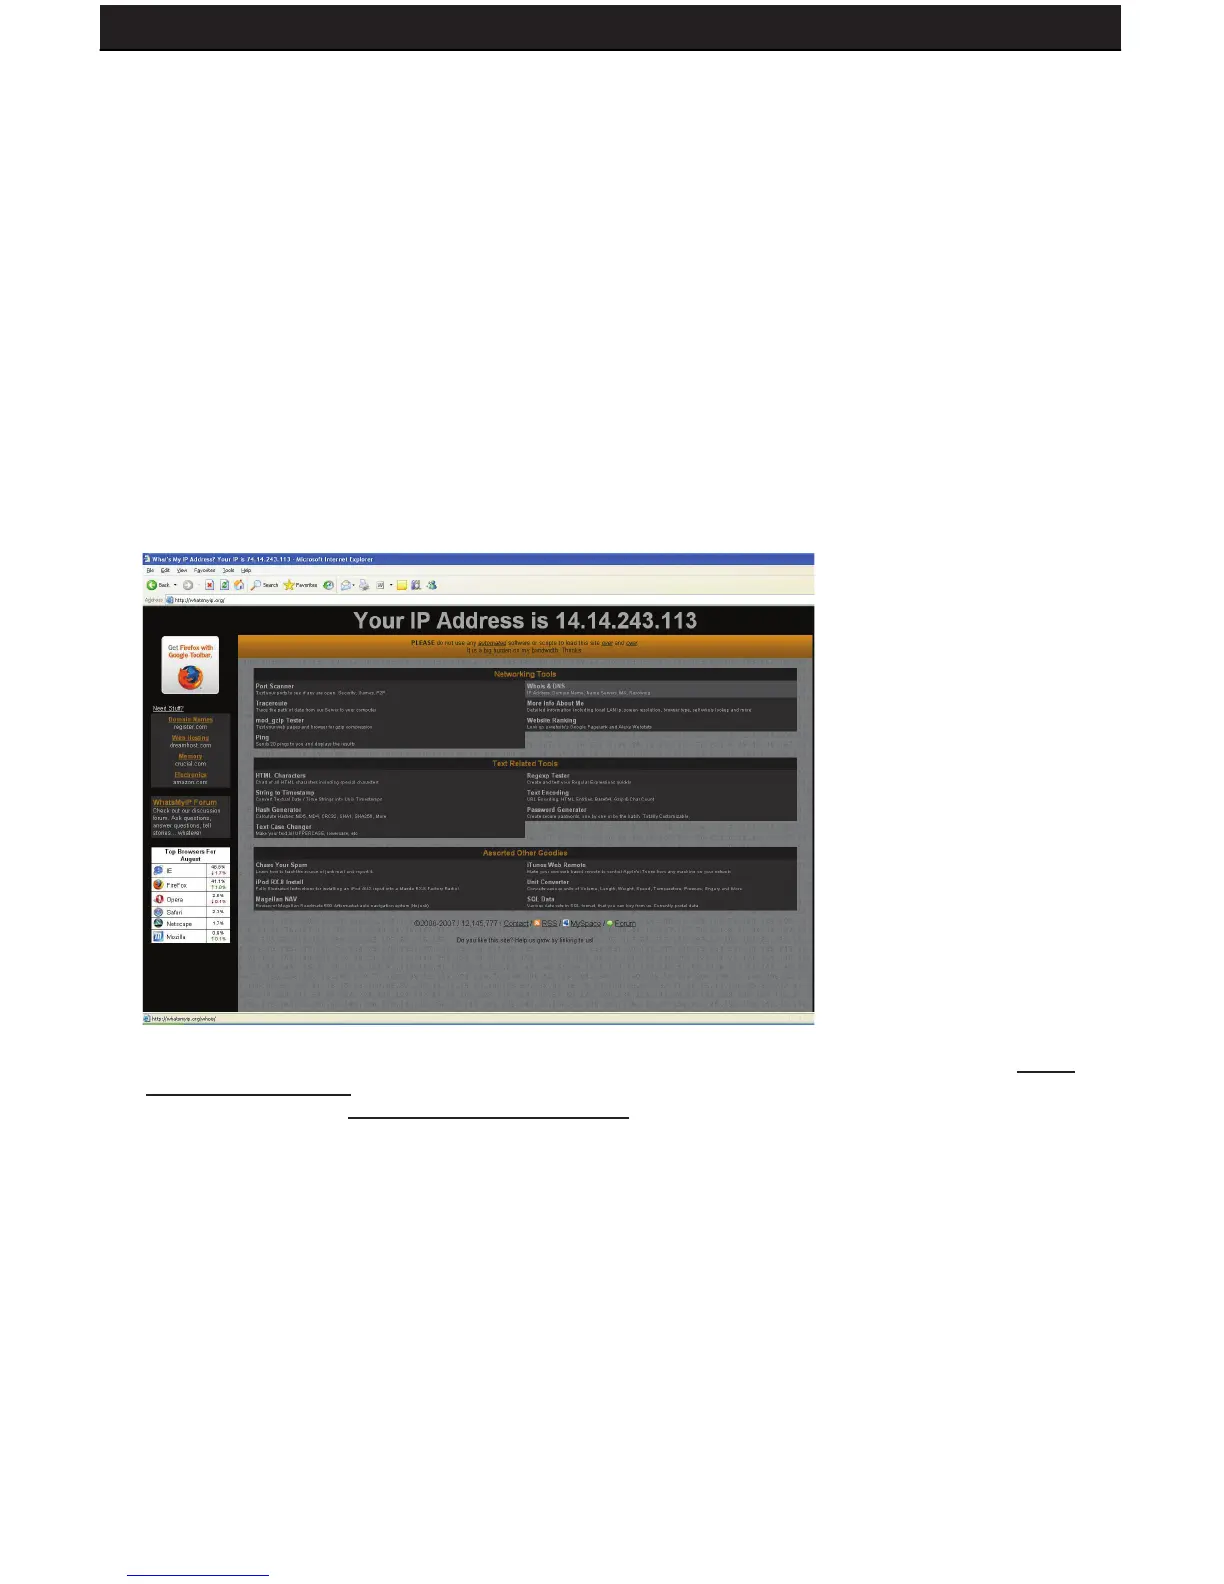
There are many ways to nd your external IP address. The simplest way is to go to http://
www.whatsmyip.org. This site will display your external IP address in the top portion of the
screen.If you go to http://www.portforward.com, it will also display this IP address. Write it
down on the second page marked EXTERNAL IP.
Test Your External IP
Now that you know your external IP address, you can perform a test to ensure your DVR is
accessible from outside your network (over the internet).
1. Open Internet Explorer, and in the address bar type in the EXTERNAL IP address,
followed by a colon and your port number (default is port 2000). It should similar to the
following 2 examples:14.14.243.113 :2000 OR 14.14.243.113:2000
2. Press ENTER, and your DVR’s login window should pop up. If it does not pop up, your
router is not properly forwarding the necessary port. This could be due to a number of
problems including incorrect settings, presence of a rewall, or a DSL modem that has
its own IP address.
4. Select the Virtual Server tab.
• Enable the Virtual server
• In the Name eld type in “DVR”
• In the Private IP eld enter the DVR’s IP address.
• In the Protocol eld, select Both (This will enable both TCP and UDP).
• In the Private port enter the port number you need to forward. By default this DVR is set
to port 2000. Use port 2000 unless you have a reason to change the DVR to another port
(not recommended).
• In the Public port re-enter the port number you entered in the private port eld (e.g. 2000).
• Select the Schedule to Always.
• Ensure that the Virtual Server (or forwarding that is being set-up) is set to ENABLED.
When complete, select the Apply button located at the bottom of the page to save your
changes. Port forwarding is now complete!