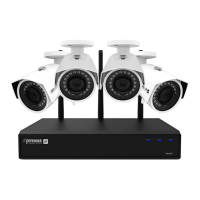
SENTINEL 3 60
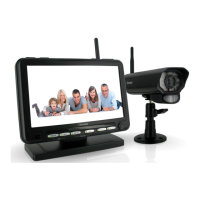
13.2.3 POWERING ON
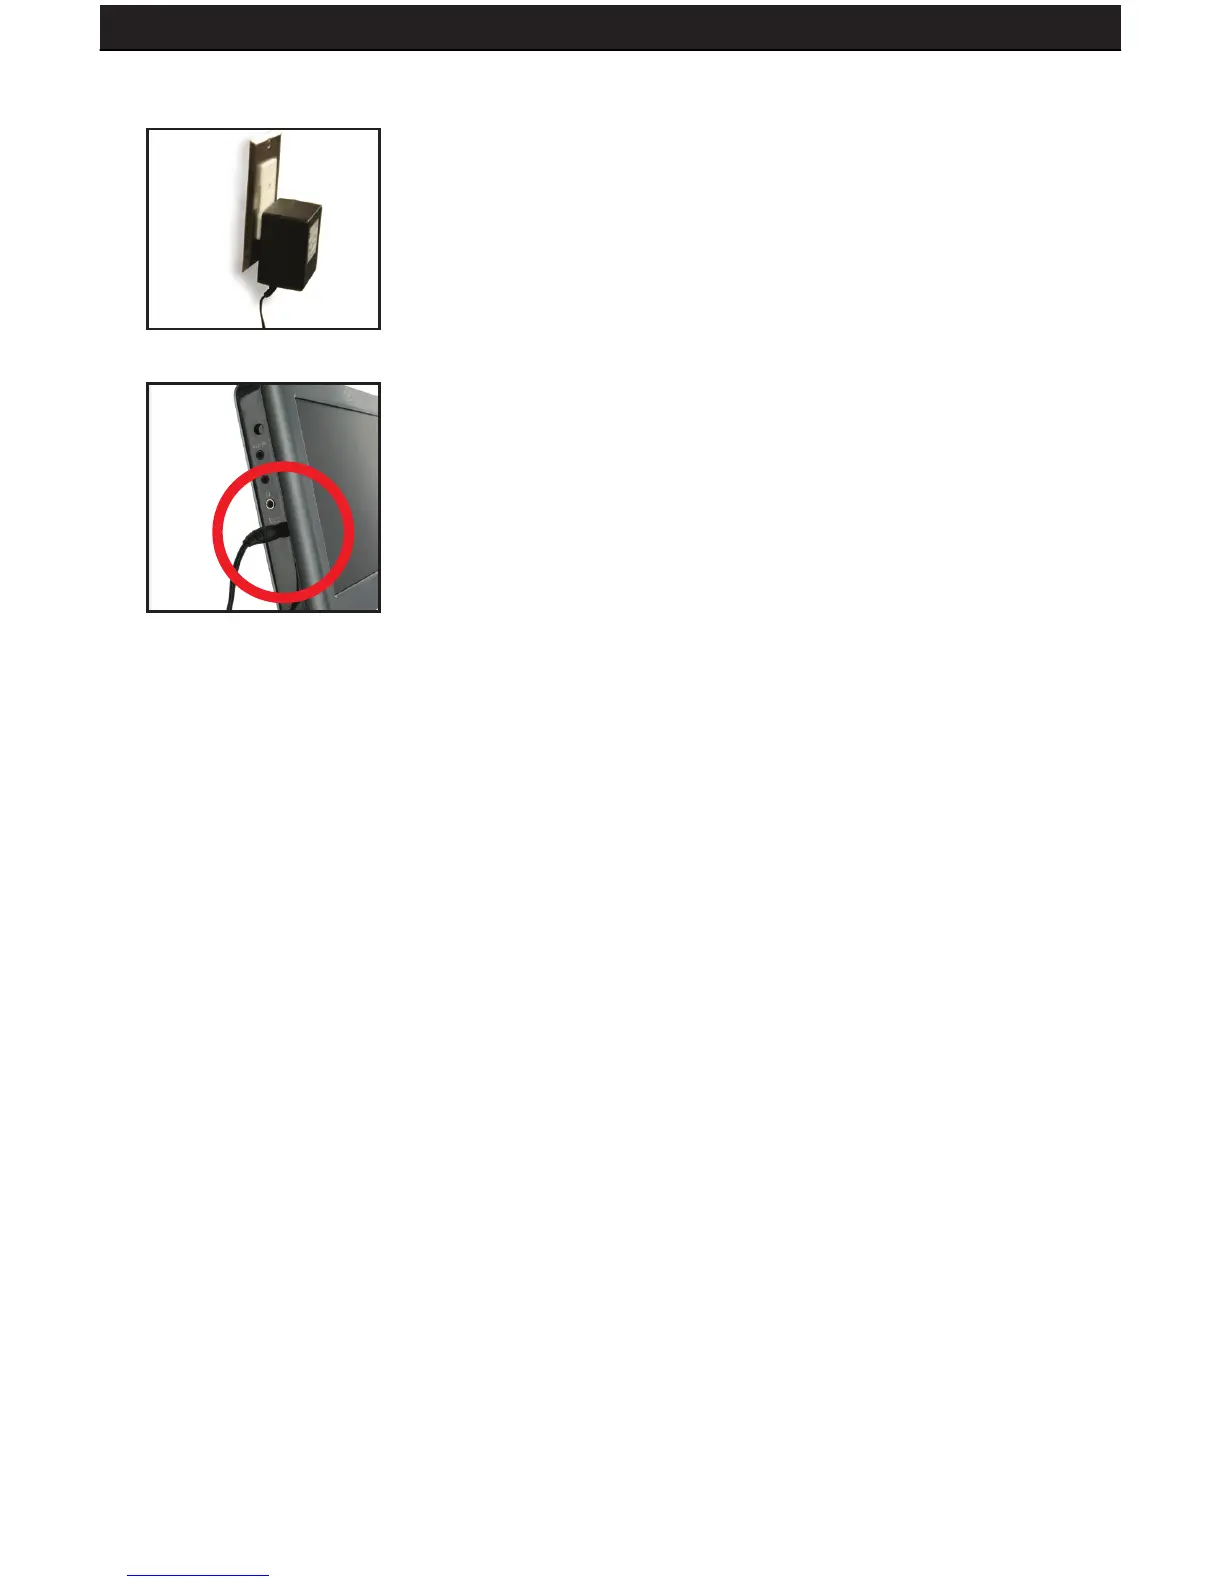
1. Plug the monitor’s power adapter into a wall outlet.
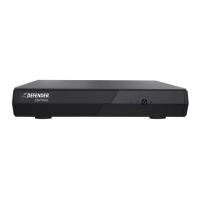
2. Plug the other end of the power adapter into the
DC IN port on the monitor.
3. Press the POWER button on the front of the unit.
4. Your cameras/DVR should now be displayed on the LCD
13.2.4 BASIC OPERATION
1. Manual Switching Video Inputs: Press the AV button on the remote to switch
between video inputs.
2. Press the AUTO button on the monitor to activate auto mode, which will
automatically cycle between both inputs. Pressing it once will set the cycle interval
to 4 seconds. Pressing it again will set the cycle interval to 6 seconds. Pressing
it a third time will set the cycle interval to 8 seconds. Pressing it a fourth time will
turn off auto mode
13.2.5 ADJUSTING SETTINGS
Press the menu button to display the following options:
PICTURE, OPTION, CLOCK, SYSTEM
13.2.6 PICTURE
1. Press the menu button once to display the PICTURE menu.
2. In this menu you can adjust Contrast, Brightness, Color, and Sharpness
3. Use the channel up and down buttons to select the desired setting, and use the
volume buttons to increase or decrease the values.
4. Press the MENU key to exit the PICTURE menu.