29
Simple version Advanced version InformationBasic version
Turning off the sound temporarily
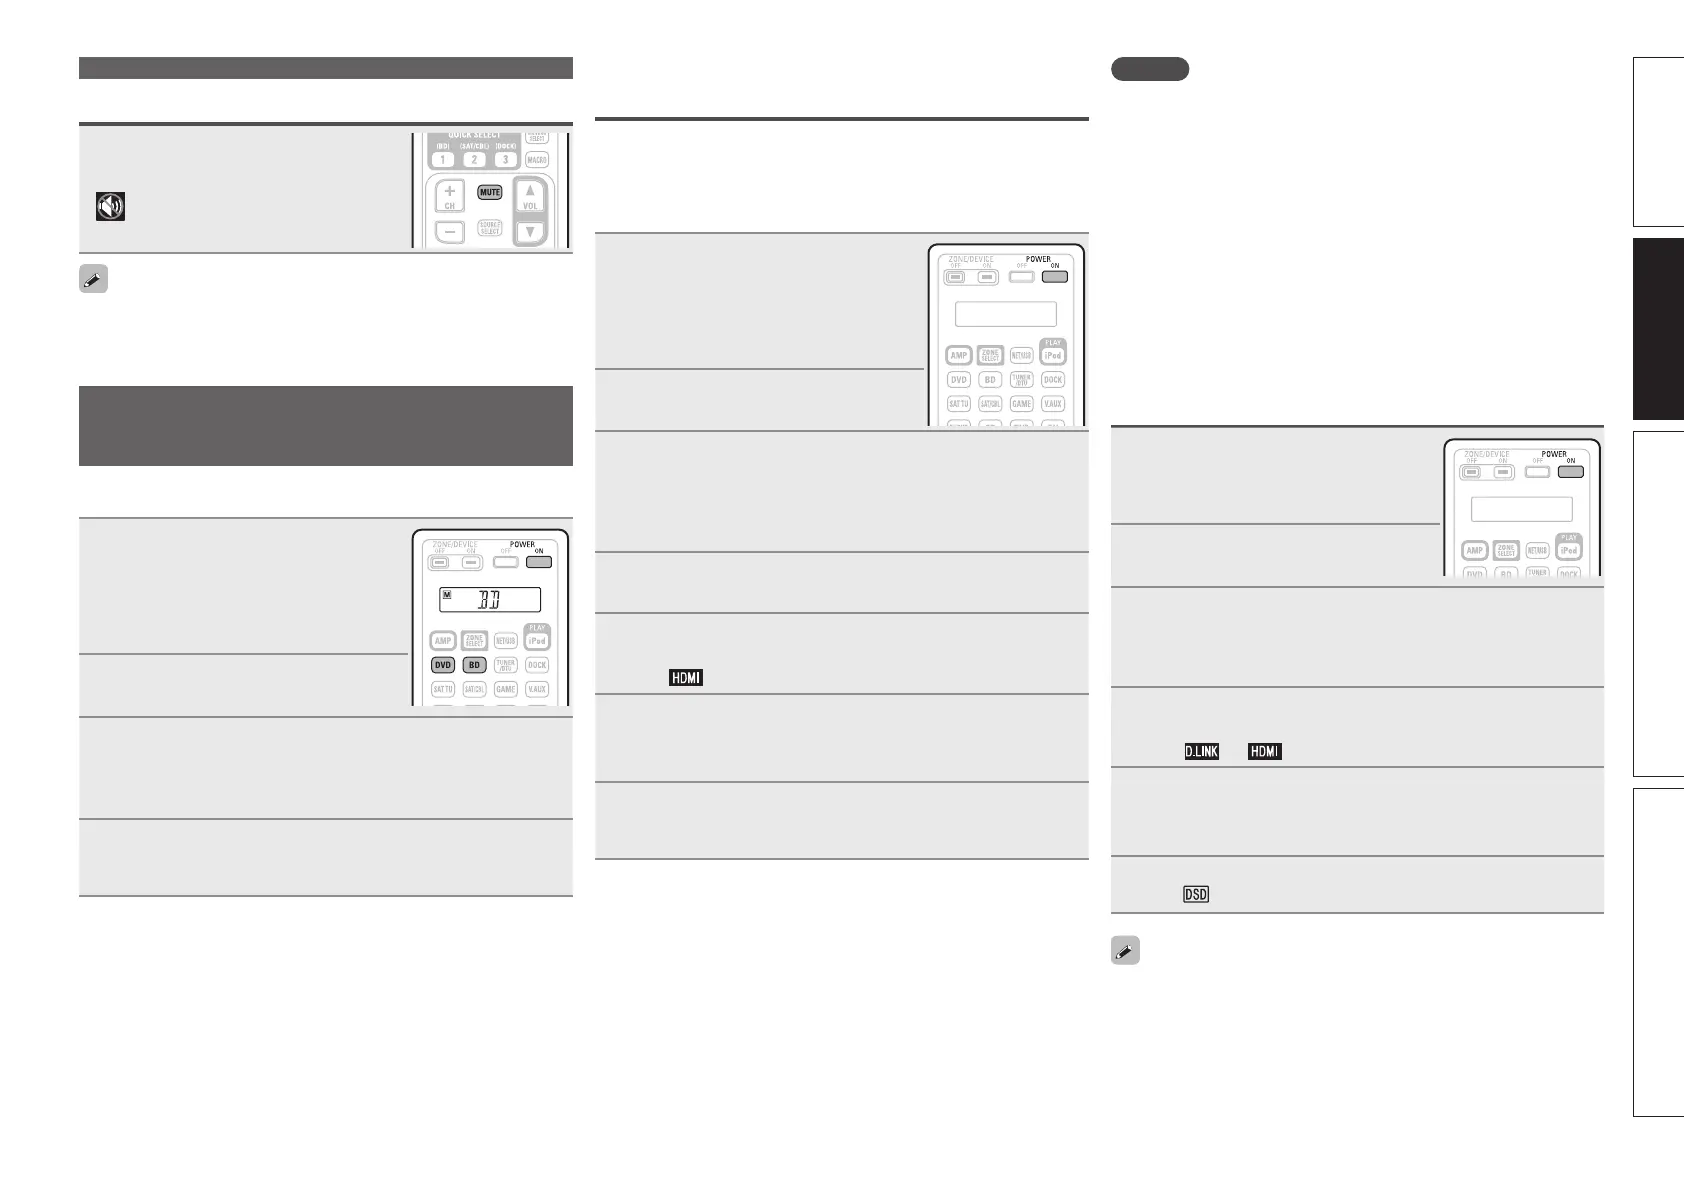
Press MUTE.
• The power indicator flashes green.
• “MUTE” indicator on the display lights.
•
appears on a TV screen.
• The sound is reduced to the level set at “Mute Level” (vpage104).
• To cancel, press MUTE again. Muting can also be canceled by
adjusting the master volume.
Playing a Blu-ray Disc player/DVD
player
The following describes the procedure for playing Blu-ray Disc player/
DVD player.
1
Prepare for playback.
q Turn on the power of the TV,
subwoofer and player.
w Change the TV input to the input of
this unit.
e Load the disc in the player.
2
Press POWER ON to turn on
power to the unit.
3
Press BD or DVD to switch an input source for a
player used for playback.
The selected input source name appears on the remote control
unit.
4
Play the component connected to this unit.
Make the necessary settings on the player (language setting,
subtitles setting, etc.) beforehand.
Playing a Blu-ray Disc player compatible
with DENON LINK 4th
• DENON LINK 4th uses the clock of the AV amplifier connected by
DENON LINK to achieve HDMI signal transfer with low jitter when
playing BD.
• To play DENON LINK 4th signals, make HDMI and DENON LINK
connections with a compatible Blu-ray disc player.
1
Prepare for playback.
q Turn on the power of the TV,
subwoofer and player.
w Change the TV input to the input of
this unit.
e Load the disc in the player.
2
Press POWER ON to turn on
power to the unit.
3
Perform the settings of the “Input Assign” menu
(vpage 82).
q Assign HDMI connectors for the input source (example:
BD).
w Set “DIGITAL” to “D.LINK”.
4
Set “HDMI Control” – “Control” (vpage 99) to
“ON”.
5
Press the input source select button (example: BD) to
switch an input source assigned in step 3 - q.
The indicator lights on the display.
6
Set the audio input mode to “Auto” using the “Input
Mode” menu (vpage 84).
• The default setting of “Input Mode” is “Auto”.
7
Play the component connected to this unit.
Make the necessary settings on the player (language setting,
subtitles setting, etc.) beforehand.
NOTE
• Set the Blu-ray disc player’s “DENON LINK” setting to “4th”. For
instructions on operation, refer to the Blu-ray disc player’s manual.
• The low jitter transmission function does not work except during
Blu-ray disc playback. In this case, the video signal is output from
the HDMI OUT terminal, and the audio signal from the DENON LINK
terminal.
• When a Blu-ray disc is played with the input mode set to “Auto”,
playback is performed in the DENON LINK 4th mode. When a disc
other than a Blu-ray disc is played with the input mode set to “Auto”,
playback is automatically performed in the DENON LINK 3rd mode.
• When the input mode is set to “HDMI”, normal HDMI playback is
performed.
• When the input mode is set to “Digital”, playback is fixed to the
DENON LINK 3rd mode and BDs cannot be played.
Playing Super Audio CD
1
Prepare for playback.
q Turn on the power of the TV,
subwoofer and player.
w Load the disc in the player.
2
Press POWER ON to turn on
power to the unit.
3
Perform the settings of the “Input Assign” menu
(vpage 82).
Assign HDMI connectors for the input sources (example: DVD).
Or set “DIGITAL” to “D.LINK”.
4
Press the input source select button (example: DVD)
to switch an input source assigned in step 3.
The or indicator lights on the display.
5
Set the audio input mode to “Auto” using the “Input
Mode” menu (vpage 84).
• The default setting of “Input Mode” is “Auto”.
6
Play the component connected to this unit.
The indicator lights on the display.
• When playing DSD signals in the DIRECT or PURE DIRECT mode,
the DSD signals are converted into analog signals directly. When
you play back an audio track using other surround modes or process
downmix, at first convert DSD signals into the PCM format and then
convert into analog signals.
• “DSD DIRECT” is shown on the display when playing DSD signals
in the DIRECT mode.
Important information
1.AVR4311CIEU_ENG_108.indd 29 2010/08/30 20:10:35
 Loading...