78
Inputting characters
You can change the names as desired using the “Preset Name”
(vpage81), “Rename” (vpage85), “Rhapsody Account”
(vpage103), “Napster Account” (vpage103), “Zone Rename”
(vpage105), “Quick Select Name” (vpage105) and character input
for the network functions.
For inputting characters, there are three methods, as shown below.
Method for inputting characters
Method Operations
Using the number
buttons
(Normal screen)
• Operating with the remote control unit.
• Multiple characters are assigned to
a button, and each time the button is
pressed, a character is switched.
Using the cursor buttons
(Normal screen)
• Operating with the remote control unit
or the main unit.
• Use
uio p and ENTER to input
characters.
Using the keyboard
screen
• Operating with the remote control unit.
• Select a character on the TV screen to
input characters.
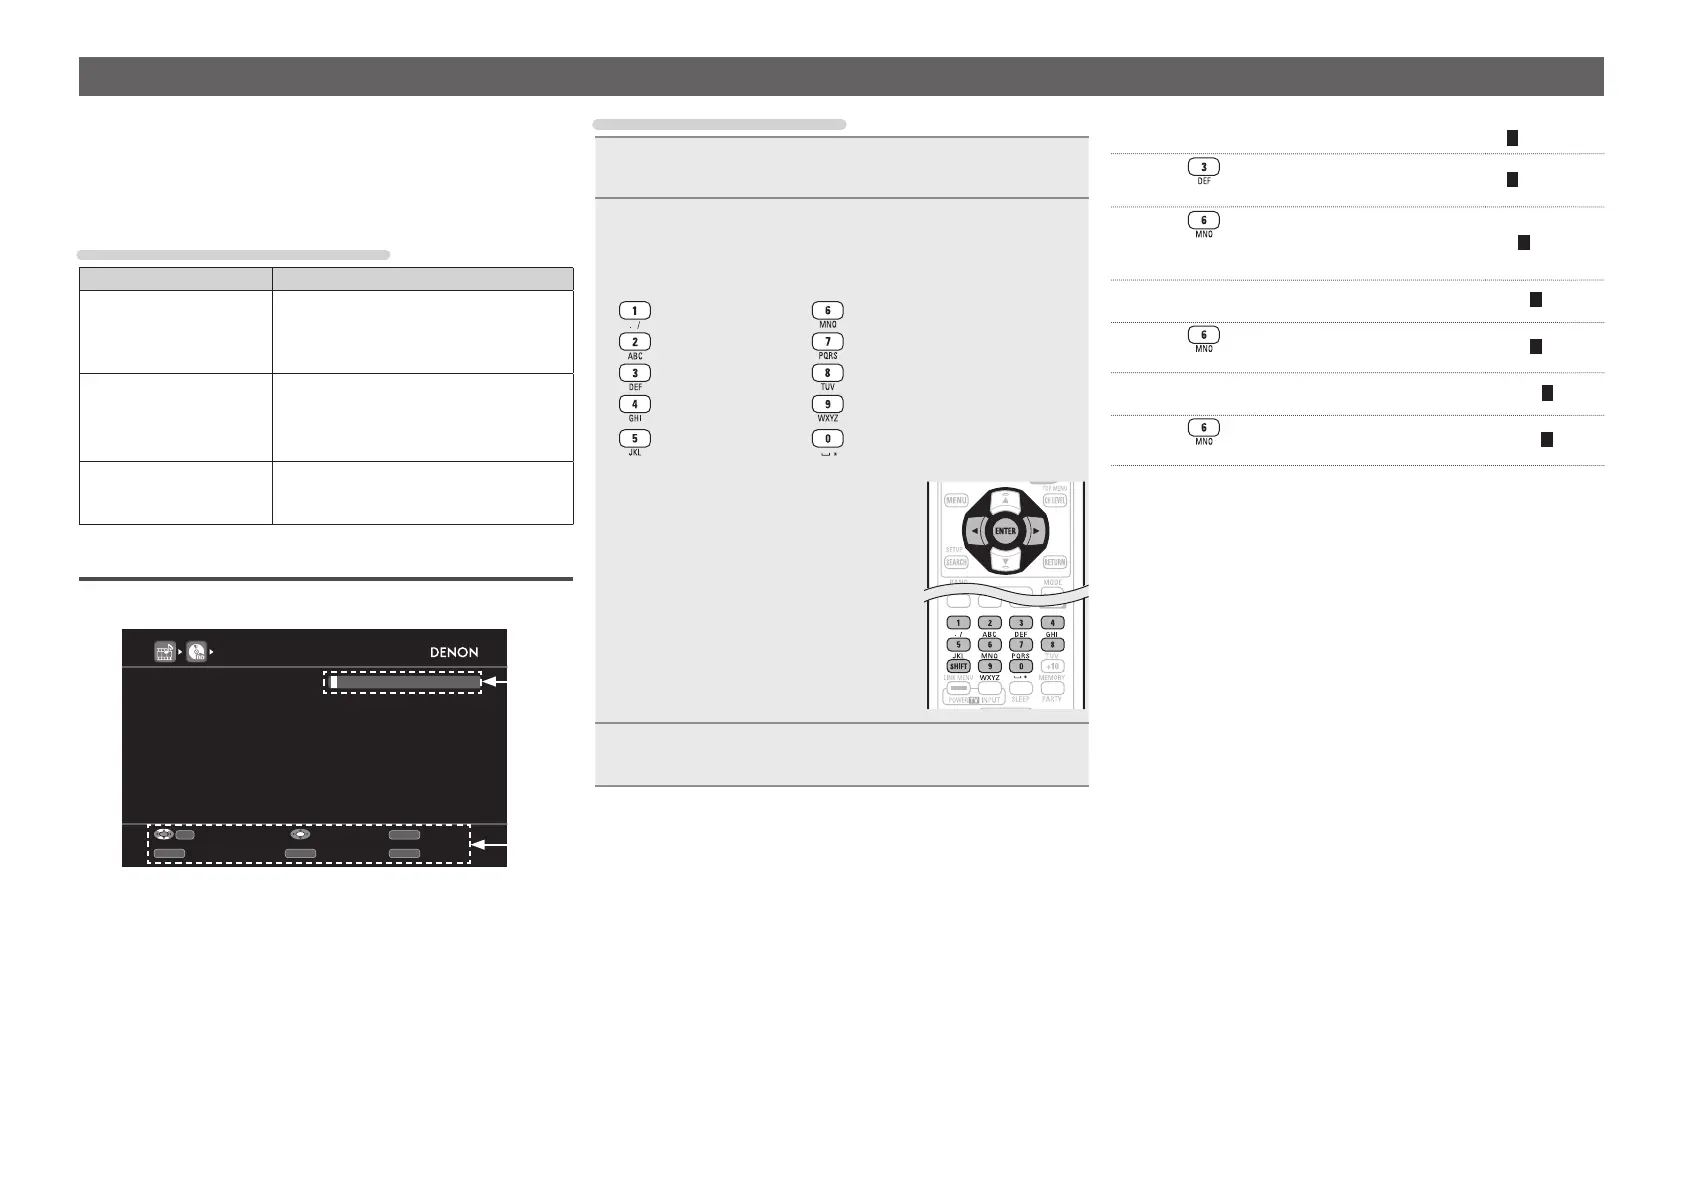
Normal screen
n Display of a normal input screen
BD
Default
RENAME
BD
RETURN
CH-CH+SEARCH
EnterInput Cancel
Keyboard Insert
Delete
0-9
q
w
q Character input section
w Guide for operation buttons
Using the number buttons
1
Display the screen for inputting characters
(vpage 75 “Menu map”).
2
Place the cursor at the character to be changed with
o p and press the number button (0 – 9) until the
desired character is displayed.
• The types of characters that can be input are as shown below.
1 . @ - _ / : ˜ M N O m n o 6
A B C a b c 2 P Q R S p q r s 7
D E F d e f 3 T U V t u v 8
G H I g h i 4 W X Y Z w x y z 9
J K L j k l 5
0 (Space) ! “ # $ % & ‘ ( )
z
+ ,
; < = > ? [ \ ] ^ ` { | }
• When you press
SHIFT while you type in,
you can change uppercase characters to
lowercase and vice versa.
• For entering the characters assigned to one
number button continuously, press p to
move the cursor to the right after entering
a character then enter the next character.
• For entering characters assigned to
separate buttons, press the number button
continuously. The cursor automatically
moves to the next position, and the
entered character is registered.
3
Repeat step 2 to change the name then press ENTER
to register it.
Example: For changing the input source from “DVD” to “DENON”
q Place the cursor at “V”.
DVD
w Press
twice.
DED
“V” changes to “E”.
e Press
twice.
DEN
“E” is automatically registered, and “D” changes
to “N”.
r Press p.
DEN
“N” is registered.
t Press
three times.
DENO
Input “O”.
y Press p.
DENO
“O” is registered.
u Press
twice.
DENON
Input “N”.
i Press
ENTER to register the input source name.
1.AVR4311CIEU_ENG_108.indd 78 2010/08/30 20:11:01
 Loading...