Micronics C400 System Board Manual
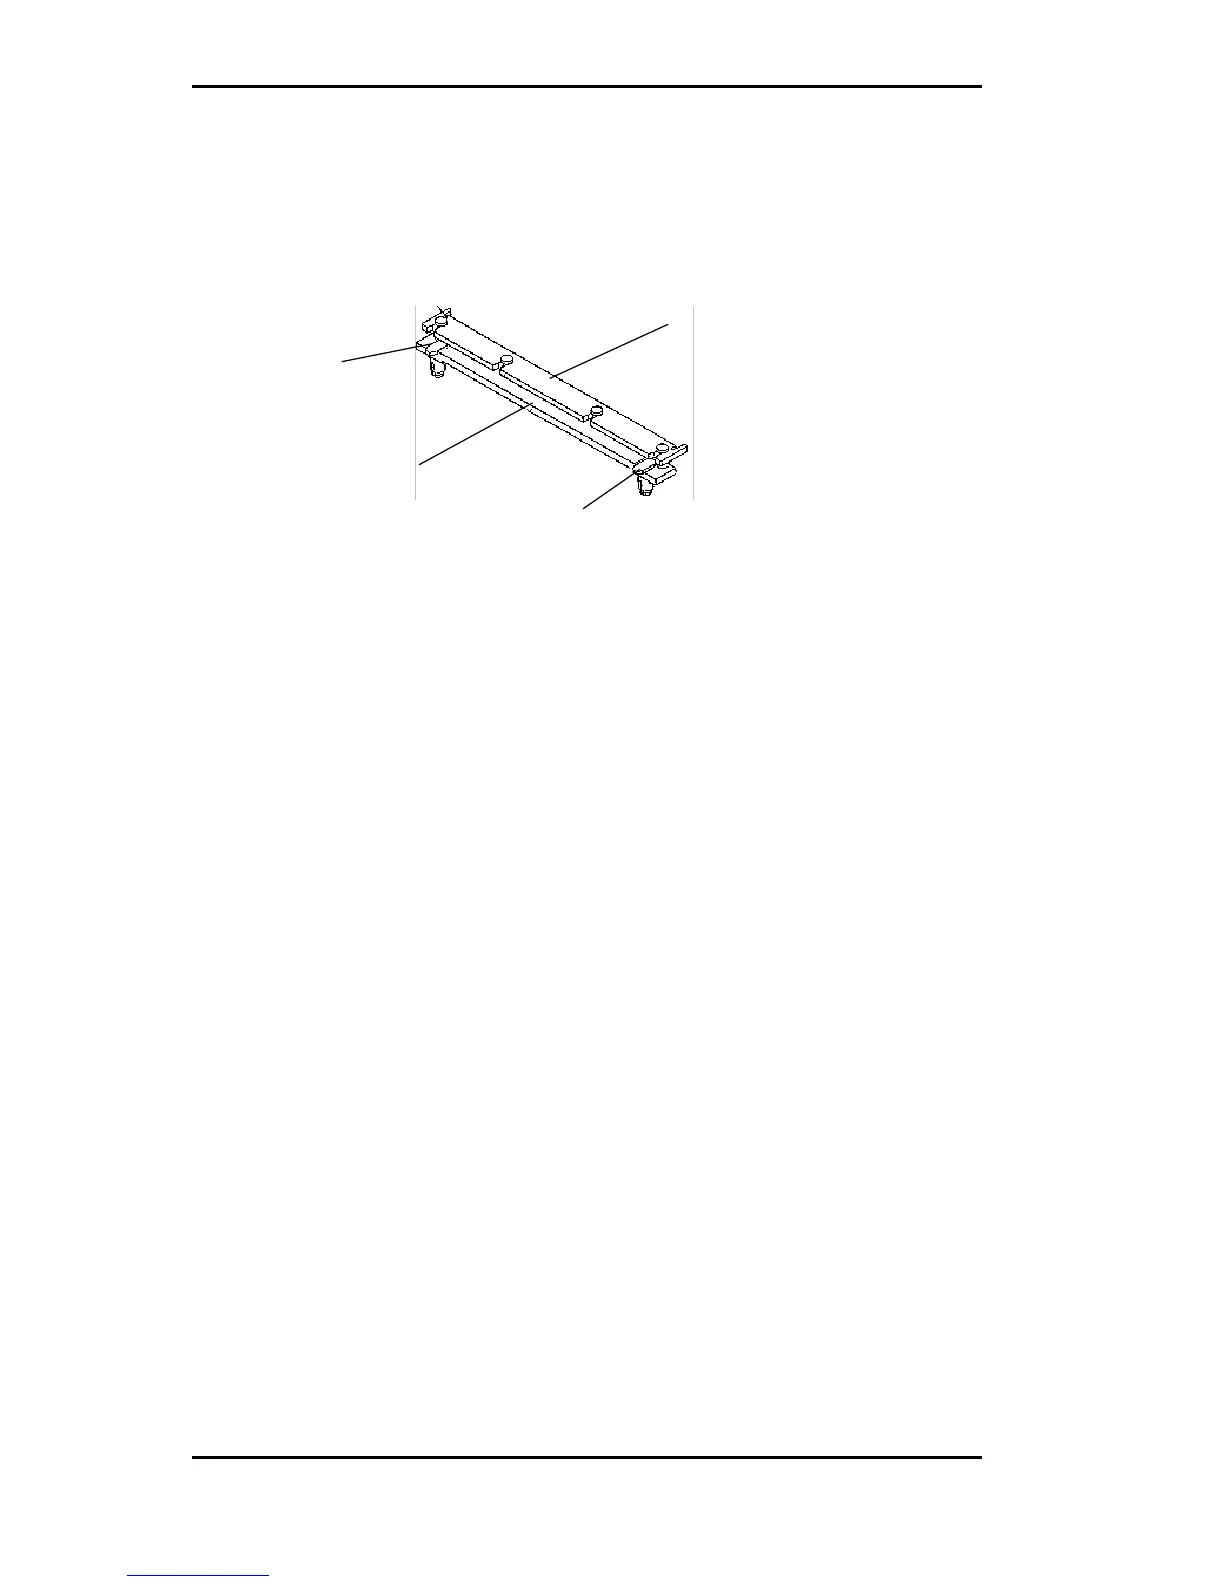
4. The Heatsink components consist of a top bar, base
and two pins. Gently insert the Heatsink base into
the holes next to the Slot 1 socket. Push down until
the base snaps into place.
5. Gently insert the processor cartridge down into the
Retention Module, making sure the connector on
the processor cartridge and the Slot 1 connector are
aligned (refer to the keyed location on the previous
page).
6. Push the processor cartridge down until it snaps into
place.
7. Lock the processor cartridge into place by pushing
outward on the tabs located on both sides of the
processor cartridge. The processor cartridge is locked
when the tabs snap into the holes on the side of the
Retention Mechanism.
8. After the processor cartridge is locked into place,
connect the Heatsink’s top bar to the base.
9. Lock the base into place by inserting a pin down into
the base on both sides.
10. Make sure the CPU speed is set correctly (refer to
Chapter 2: Jumper and Connector Settings).
Chapter 3: Installing the Micronics C400
24
Top Bar
Pin
Base
Pin