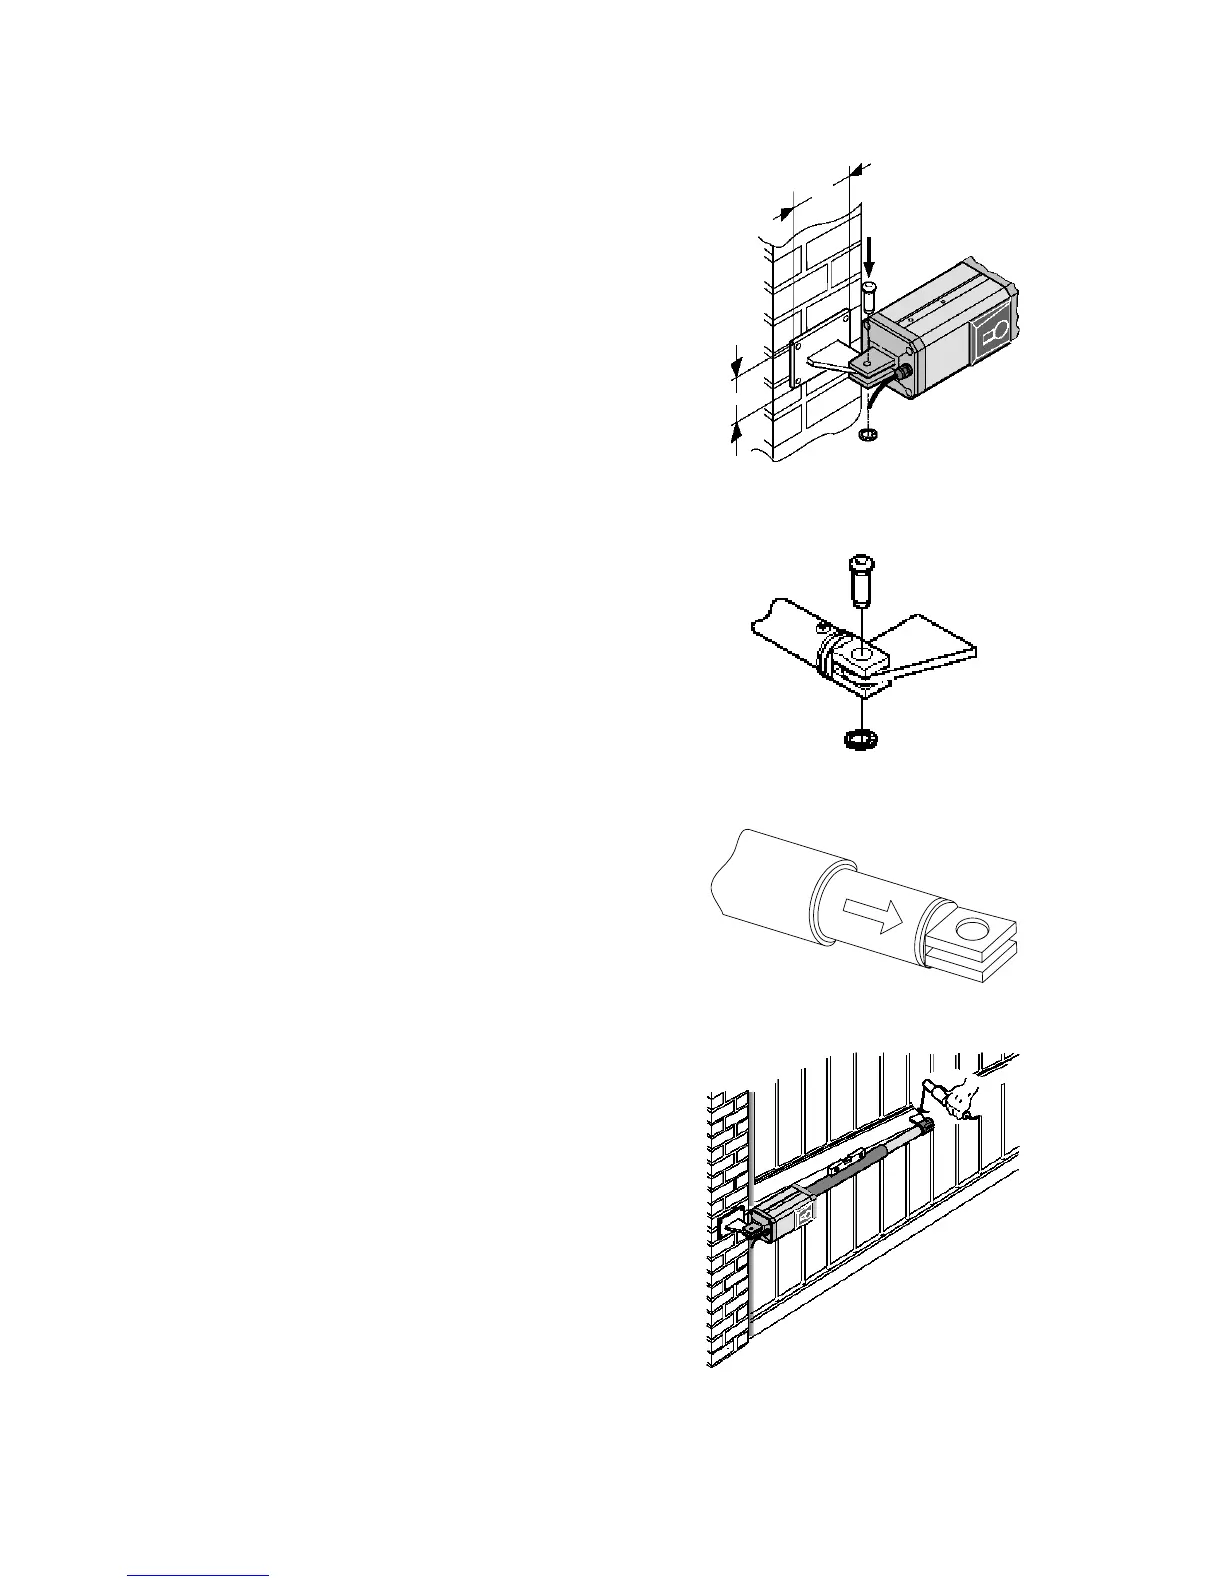
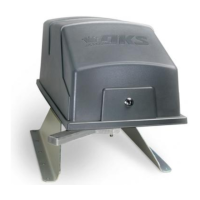
1.4 Actuator Installation
4.5
3
Figure 6
1. Install the rear bracket to the gate post
according to the dimensions in 1.2.
In the case of an iron post, weld the bracket
directly onto the gate post.
In the case of a brick / concrete column, flush-
mount a steel wall plate (not supplied) and
then weld the bracket to the plate.
2. Install the actuator onto the rear bracket with
the hardware supplied (fig. 6).
3. Fit the front bracket onto the actuator before
welding it to the gate (fig 7).
4. Use the manual release and release the
operator (See 4.3).
5. Close the gate and keeping the actuator
level, extend the rod to the dimension L
shown in 1.2. Be sure to extend the rod by
pulling it straight out from the barrel (fig. 8).
Do Not Rotate the Rod.
Figure 7
6. Temporarily fix the front mounting bracket to
the gate by two short welds (fig.9). Be sure
that this point provides a secure
attachment point for the actuator (see 1.3).
Ensure that the gate opens and closes fully
without any binding.
IMPORTANT! The mounting brackets must
be installed according to the dimensions
shown in 1.2. Failure to locate the
attachment brackets at these locations can
cause binding in the actuator resulting in
excessive wear, damage to the motor,
control board and power transformer.
Figure 8
7. When you are satisfied with the opening of the
gate, completely weld the front bracket to the
gate. Remove the actuator when doing this to
prevent damage from welding scale.
8. Re-attach the actuator to the mounting
brackets. Apply a small amount of grease to
the front and rear pivot points.
Figure 9
Page 14