23
VAPOR-LOGIC
®
VERSION 6 INSTALLATION AND OPERATION MANUAL
INSTALLATION
CAUTION
Vapor-logic IP address
Before you connect a Vapor-logic
device to a network, please contact
your IT department. Given that the
Vapor-logic controller ships with a
static IP address, it is important to
ensure that there is not another device
with that same IP address already
on the network. Work with your IT
department before network connection
will help ensure the integrity of the
network and the devices on that
network
DHCP and IP address
When DHCP is enabled, the server
can dynamically change the IP
address of Vapor-logic, making
existing bookmarks unusable.
Step 1 – Field wiring: Communication connections
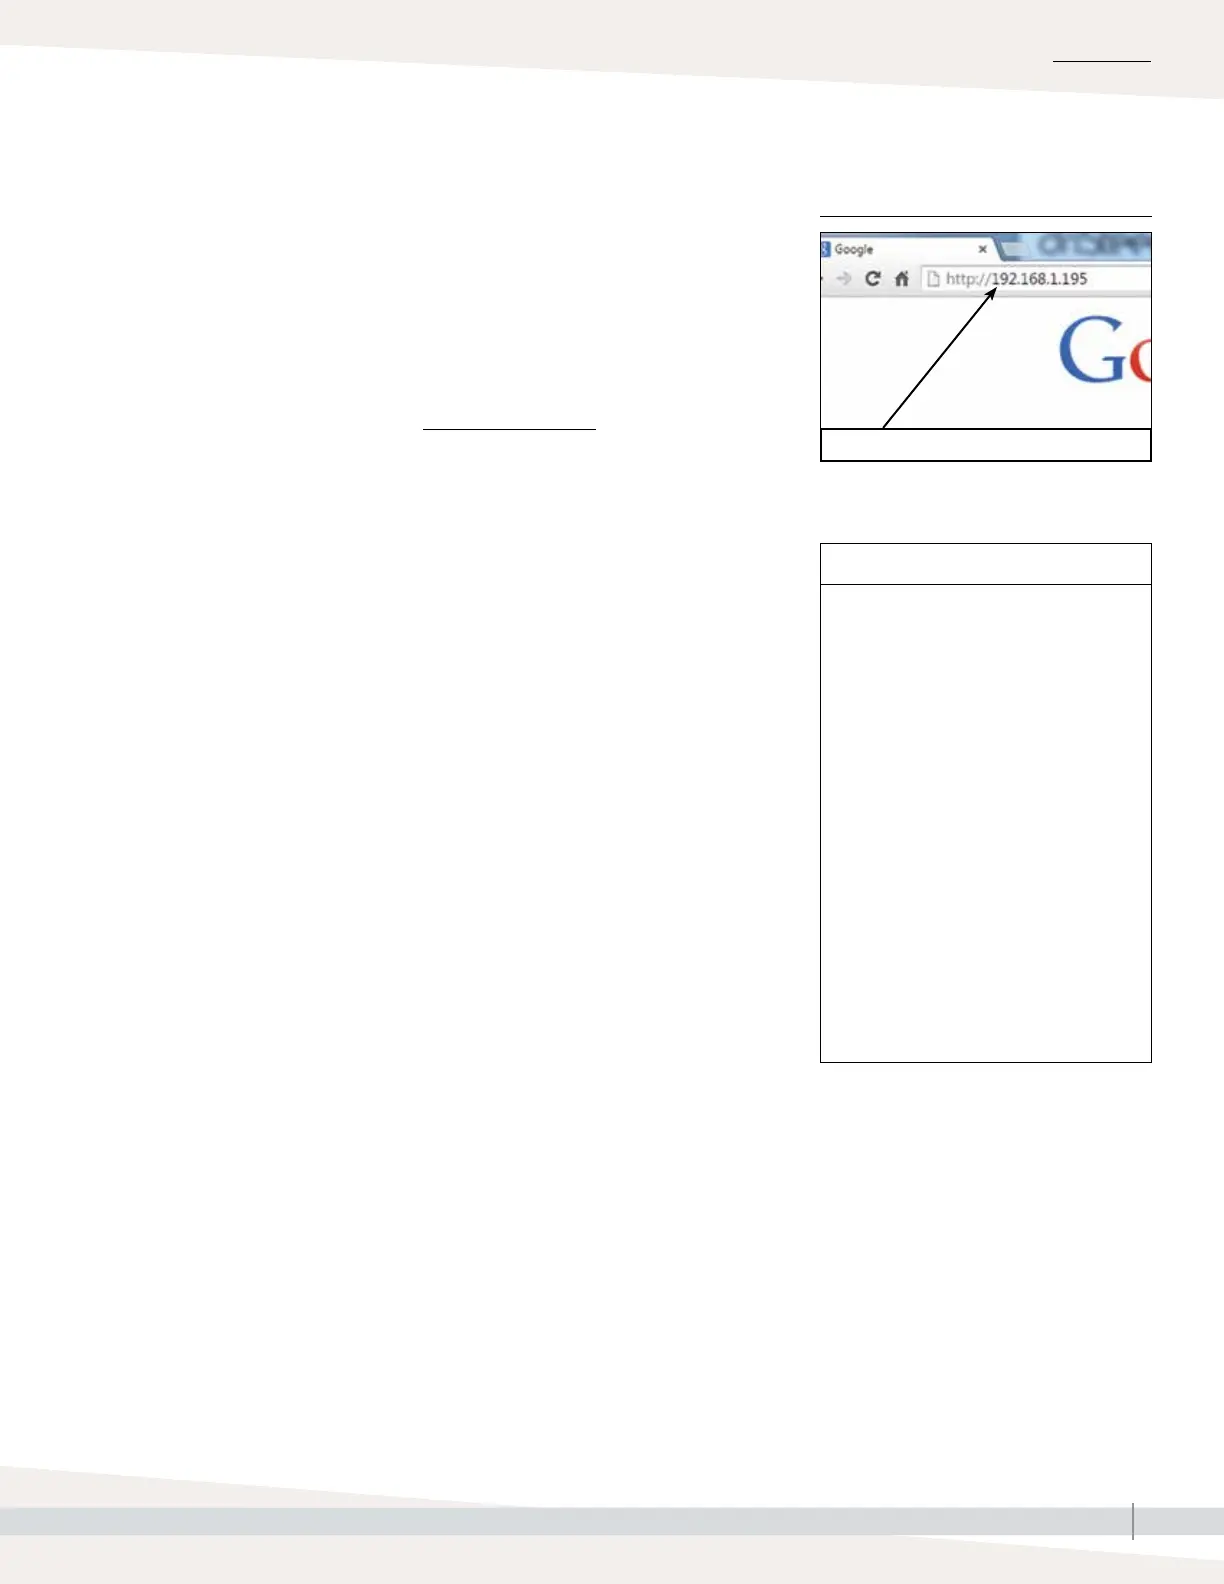
FIGURE 23-1: ENTERING THE IP ADDRESS
Enter the IP address in your browser’s address bar
4. Connect to the humidifier.
a. Using a computer connected to the Vapor-logic board, open a Web
browser such as Mozilla
®
Firefox
®
or Internet Explorer
®
.
b. Find the browser address bar (see Figure 23-1), delete all existing text in
the browser address bar, type the Vapor-logic IP address into the browser’s
address bar, and press Enter.
Note: The Vapor-logic default IP address is 192.168.1.195
CONNECTING WEB INTERFACE TO AN ETHERNET NETWORK
See Caution at right before proceeding.
If your network uses DHCP (Dynamic Host Configuration Protocol), use the
touchscreen display to navigate to:
Settings/Communications/IP Addressing. Select "Auto Obtain Address" and
restart the Vapor-logic board.
The most current IP address can always be found by using the touchscreen
display to navigate to:
Settings/Communications/IP Addressing.
Important: DHCP cannot be enabled from the Web interface; it must be
enabled using the touchscreen display.
OTHER COMMUNICATION CONNECTIONS
For BACnet or LonTalk installation instructions, see Page 66.
For multiple-tank installation instructions, see Page 74.