NOTE 1 Select End when only two ePDUs are daisy-chained together.
NOTE 2 Selec
t Middle when the ePDU (or ePDUs) are connected between a host and
another ePDU.
NOTE 3 Selec
t End when assigning the last device in the chain when daisy-chaining three or
four ePDUs.
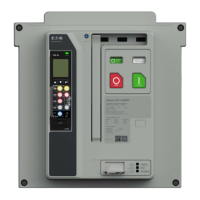
LCD Interface Operation
Eaton ePDU G3 Operation Manual P-164000277—Rev 1 www.eaton.com/ePDU 57
5. Press ESC to return to the previous menu.
Id:
Place:
0 (Host)
1 (Device)
0 (Host)
1 (Device)
End
Id:
Place:
1 (Device)
Middle
Middle
End
LCD
Discovery
Daisy Chain
Daisy Chain
Daisy Chain
Display
Daisy Chain
IPv4
Factory
Settings
ESC
Enter
Enter
Enter
Enter
ESC
Display
Daisy Chain
IPv4
Factory
Display
Daisy Chain
IPv4
Factory
Settings
Display
Language
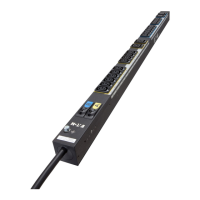
Figure 62. Example Daisy Chain Device ePDU Setup
From the Host ePDU, set the values as follows (see Figure 63):
1. On the Settings menu, scroll up or down to highlight Daisy Chain and press ENTER.
2. Scroll up or down to highlight Set
tings and press ENTER.
3. Select 0 (Host) from the Id: selection drop-list. Press ENTER.
4. Select End from the Place: selection drop-list. Press ENTER.
5. Press ES
C to return to the previous menu.
Id:
Place:
Middle
Middle
End
Daisy Chain
Enter
Host0
Id:
Place:
1 (Device)
0 (Host)
0
(
Host
)
End
()
LCD
Discovery
Daisy Chain
Daisy Chain
Display
Daisy Chain
IPv4
Factory
Settings
ESC
Enter
Enter
()
Enter
ESC
Display
IPv4
Factory
Settings
Language
Daisy Chain
Figure 63. Example Daisy Chain Host ePDU Setup
 Loading...