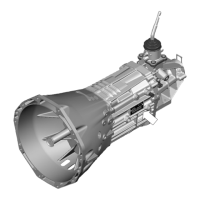
Rear Section
56
24. Install the countershaft snap ring.
Note
: Use a new brand snap ring when
reassembling the transmission.
25. Install the mainshaft nut. Following are
instructions on how to lock the mainshaft and to
tighten the nut.
Note
: Use a new brand nut when reassembling
the transmission.
26. Lock mainshaft using tool E019001 (socket
for locking mainshaft nut). For this purpose,
install the special socket hexagonal hole on the
mainshaft nut as shown in the gure and rotate
the shaft until the two holes on the socket match
to the nearest two holes on the housing.
Tighten the special socket to the housing with two
housing’s capscrews.
WARNING! Be careful do not overtighten
capscrews or leave them loose in order to avoid
damage to the aluminum housing.
049
088b
078
28. Place transmission horizontal and install the
special socket E006004 or E006005, depending
on the input shaft spline type, onto the input
shaft. Using a torque wrench, rotate the shaft
clockwise for tightening the mainshaft nut to the
torque as specied below.
WARNING! When applying torque to the
mainshaft nut, it is MANDATORY to consider
the 1st speed gear reduction ratio. Follow the
instructions supplied with the tool and described
below.
080
080
27. Shift transmission into 1st gear using the shift
yoke bars.
Note:
With no gear shift lever housing installed,
the gear shift lever pattern is inverted.
EA028

 Loading...