Installation
14 S811+ Soft Starter MN03900001E—November 2012
Lug Installation, S811+N… and S811+R…
Wire the appropriate line and load conductors to the Soft
starter in accordance with federal and local codes. Torque
fasteners per table on Page 12.
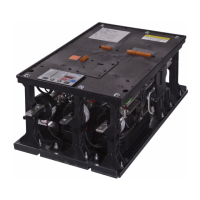
Lug Installation, S811+T…, S811+U…, and
S811+V… Frames
1. Remove line and load terminal lug covers by removing
the screws that hold each cover onto the soft starter.
2. With screws removed, slide the covers off the unit.
3. Position lugs and install lug mounting hardware
according to the instructions included in the kit. Tighten
lug mounting hardware included in the kit to 120 Lb-in
(13.6 Nm).
4. Install line and load conductors and torque hardware in
accordance with table on Page 12.
5. Slide the line and load lug covers back into their original
positions.
6. Secure with the screws previously removed.
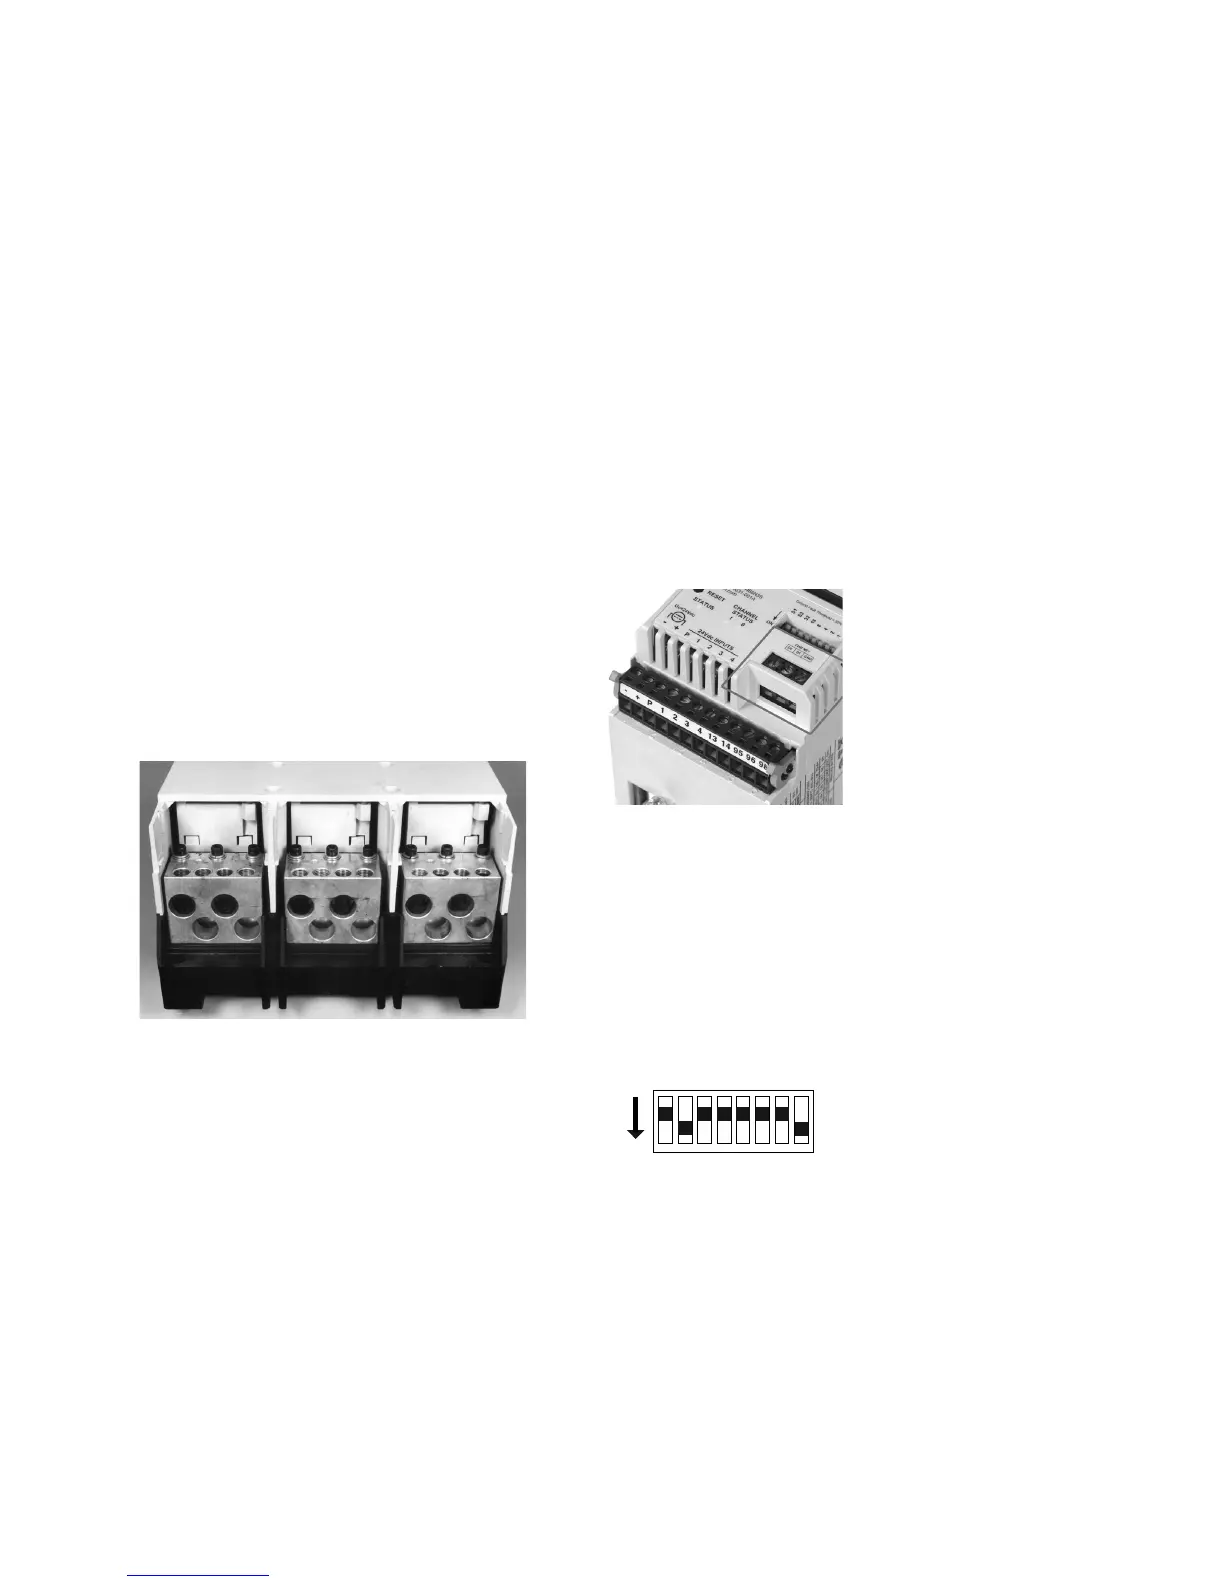
S811+V… Shown with Terminal Cover Removed and
EML30 Lug Kit Installed on Load Side
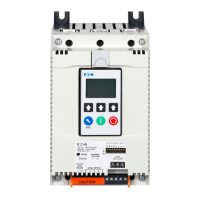
Control Wiring Inputs
Control wiring is connected to the S811+ by two (2) terminal
blocks and one (1) RJ12 connection located at the front of
the unit.
Control Terminal Block—A 12 position connector is utilized to
make connections for 24 Vdc control power, soft starter
control function commands, and Auxiliary Relay functions.
Network Communications Terminal Block—A 3 position
screw connector utilized to make connections for ModBus
and other network connections.
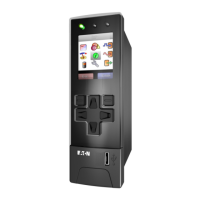
User Interface Module Terminal Block—An RJ12 connection
utilized to make the connection to the Digital Interface
Module (DIM) or the Control Interface Module (CIM).
Control Terminal Block/Network Connection
Terminal Block
DIP Switch
Switch S1 selects Edge (ON) or Level (OFF) sense detection
on the Run1 input on control block Terminal 1 (default).
Switch S2 configures the remote communication port for
Modbus (ON) or QCPort (OFF) upon 24 Vdc power up of the
unit.
Switches 32–1 are utilized to set a unique remote field bus
address (1–63).
DIP Switch
Additional information on Level and Edge Sensing may be
found in Functional Description starting on Page 28.
1
2
4
8
16
32
S2
S1
On
 Loading...