User Manual
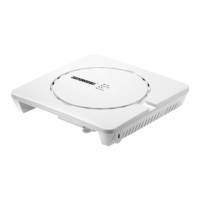
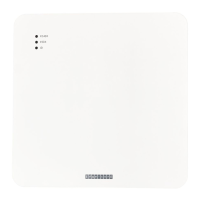
Enterprise Access Point
6
1.3 Connect the AP to the Network
The following instructions are the basic steps to establish the wireless coverage of your network. The AP
will connect to the wired network through its LAN port and enable wireless access to your network.
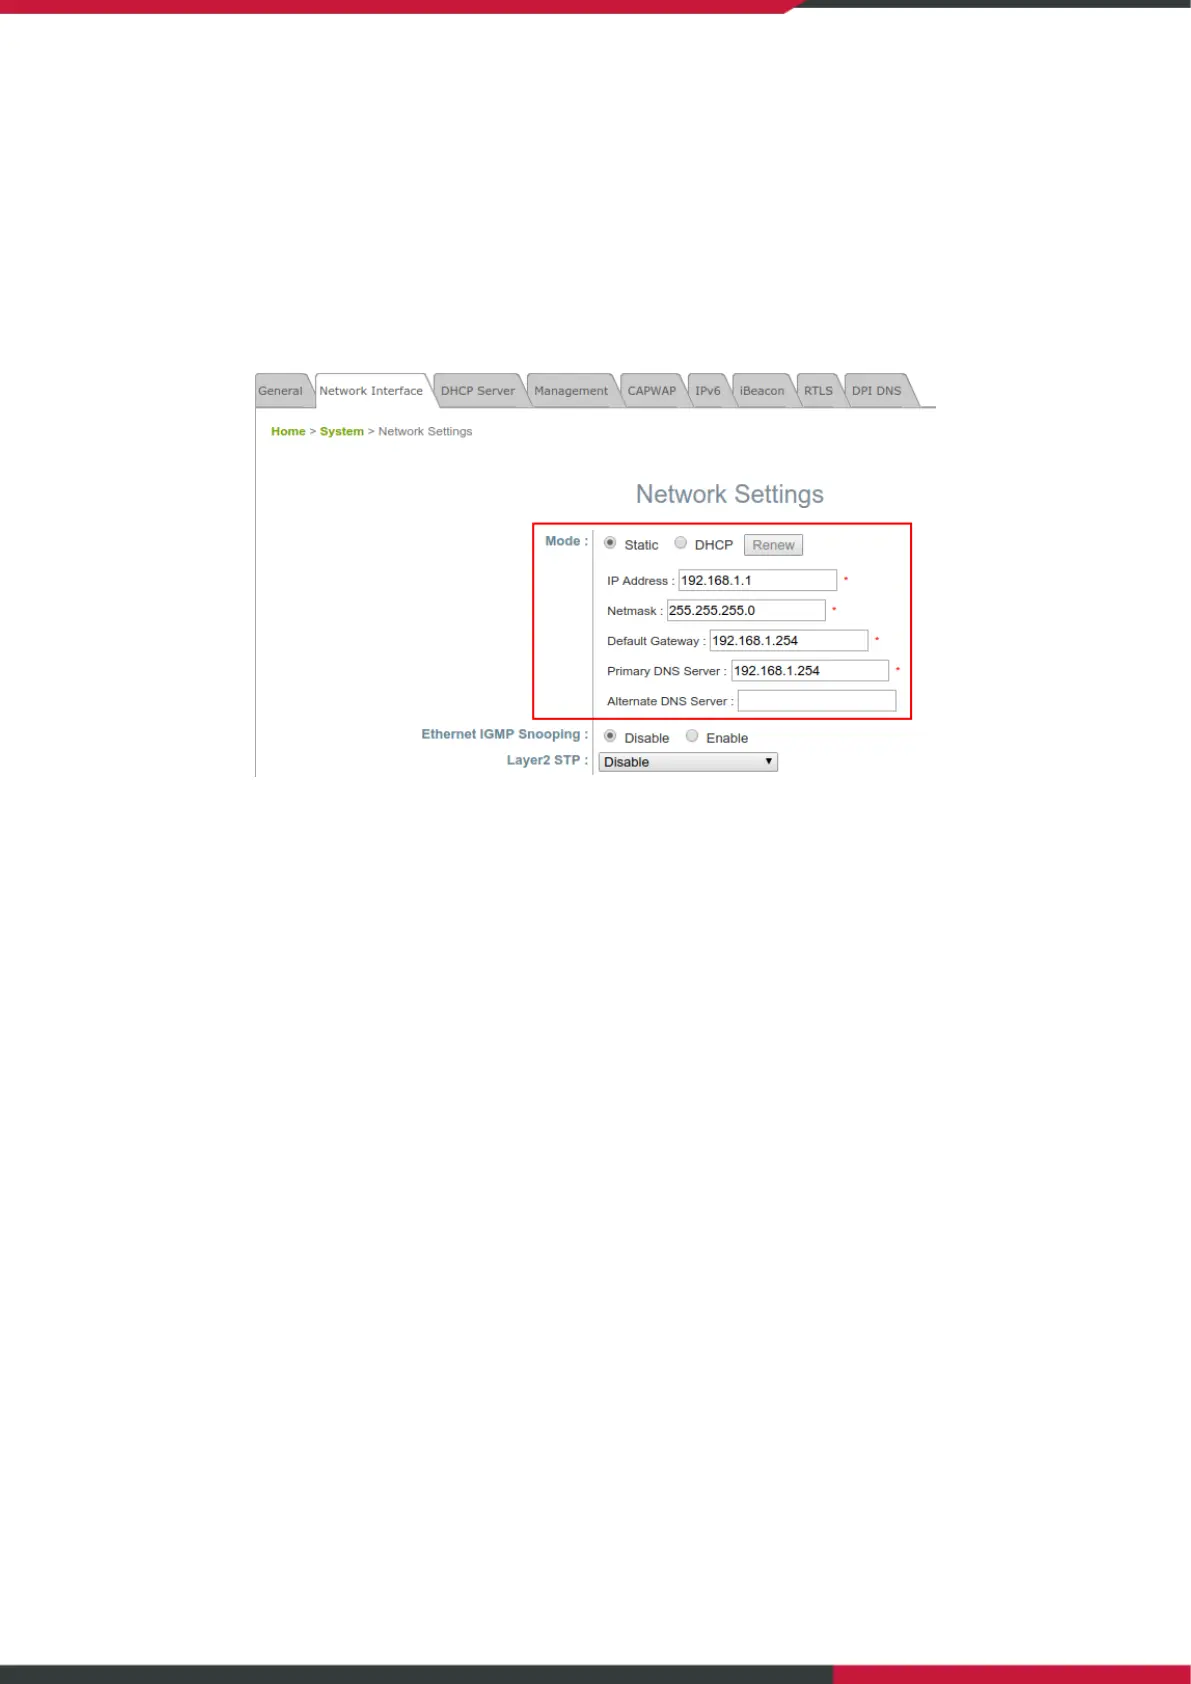
1. Change IP Settings of the AP
Go to Network Interface page (Home > System > Network Interface) to perform configuration of the
network settings.
Mode:
Static: Manually fill in appropriate values for the network interface (IP Address, Netmask, Default
Gateway, and Primary DNS Server) – in the example above, the AP is still using the default IP address
192.168.1.10.
DHCP: If the deployment requires that the AP get a dynamic IP Address from the LAN, set Mode to
DHCP; Click SAVE to submit the changes.
2. Activate the first SSID for Wi-Fi access
By default, one Service Set Identifier (SSID) is enabled with the Radio A (RF Card A) and one SSID is
enabled with the Radio B (RF Card B). As shown on the VAP Overview page (Home > Wireless > VAP
Overview), Virtual Access Point No.1 (VAP-1) profile represents the first SSID available.