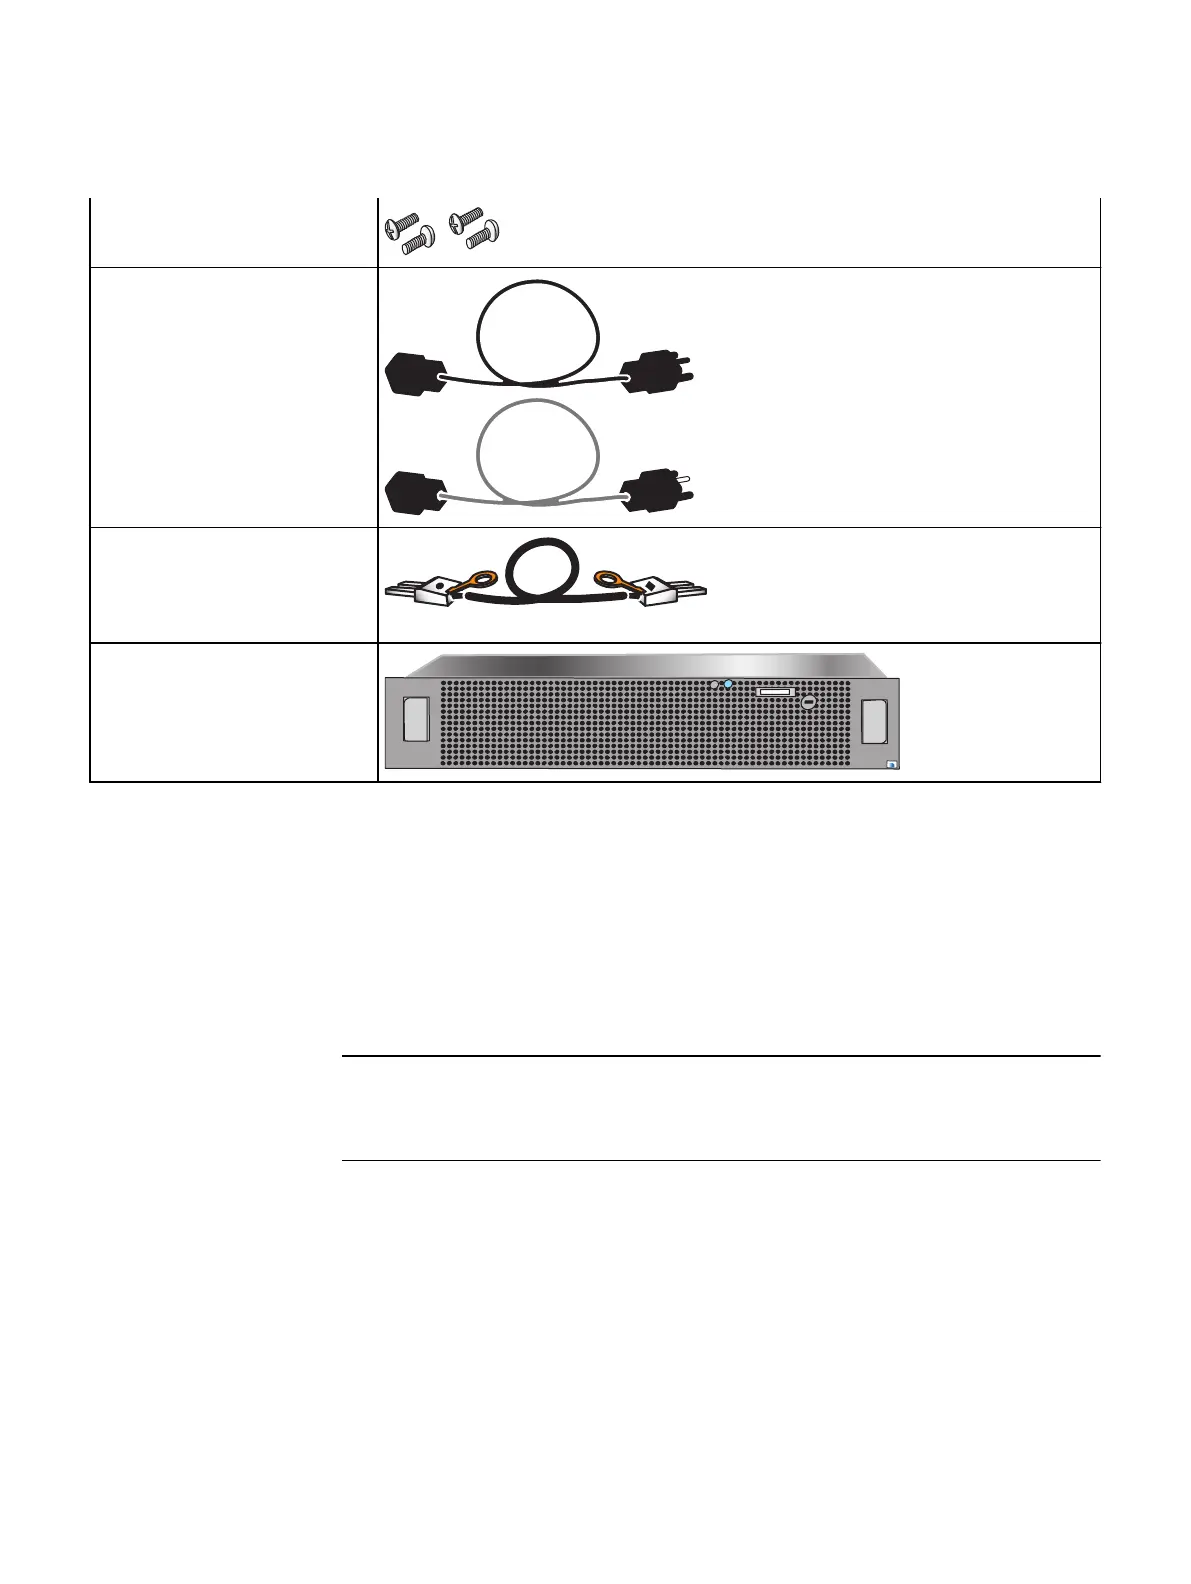
Table 4 DAE 0 shipping container contents (continued)
Mounting screws
Power cables (2)
1 gray
1 black
SAS cables (2)
mini-SAS to mini-SAS
connectors
Bezel (1)
Other DAES will be added later in Add additional storage on page 55.
b. Start the unpacking and assembly process with Removing the SPE from the
shipping container on page 18.
Removing the SPE from the shipping container
Instructions for removing the SPE from the shipping container are included with the SPE.
The SPE is attached to the wood base with four screws, two on each side.
Three of the screws are attached from the outside of the chassis. The fourth screw is
inserted from inside the component.
Procedure
1. Remove the three screws from the exterior of the SPE.
These should be both screws on the left side and the rear screw on the right side of
the unit.
2. To get to the fourth screw, unlatch and remove the power supplies for SP A.
3. Unscrew the remaining screw from the inside side of the chassis and separate it from
the shipping pallet.
4. Slide the SPE chassis out of the shipping container.
Unpack your system
18 EMC VNX Series VNX8000 Block Installation Guide
 Loading...