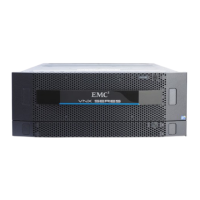
The carton containing the DAE 0 has a label indication that it must be paired with the
SPE. In addition, DAE 0 is always marked with a label over the vault drives, the first four
disks in the enclosure. Ensure that you have identified DAE 0 and its rail kit. DAE 0 should
be installed immediately above the second SPS.
Installing rails
Begin at the bottom of the cabinet space to install the rails.
All rails must be aligned level, front to back and with the companion rail, left to right.
Installing the SPE SPS rails
The standby power supply (SPS) is a 2U component at the bottom of the system and uses
a 2U adjustable rail kit. If possible, start the installation for this component from the
bottom-most allowed space in your cabinet.
Procedure
1. From the front of the cabinet, insert the adjustable rail slide and seat the alignment
pins at the end of the rail extension into the rear channel of your cabinet.
2. Extend the rail and align the front of the rails as shown. Ensure that they are level front
to back and with the companion rail, left to right.
3. Insert two retention M5 x 16mm Phillips screws in the front and two M5 x 16mm
Phillips screws in the back of each rail as shown in Figure 2 on page 22.
Assemble components in your cabinet
Installing rails 21

 Loading...