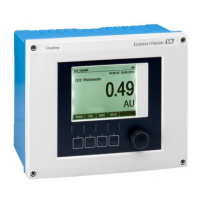
Calibration Liquiline CM44P
132 Endress+Hauser
11.2 Menu CAL
You can choose from the following channels:
• Measuring channel
All sensors
• Second measuring channel
• Only OUSAF21/22
• Menu/Setup/Inputs/Photometer/Operating mode = 2x absorption
• Reference channel
• OUSTF10
Measured values of the scattered light detector
• OUSAF22
Measured values of the second wavelength (turbidity value)
1. Select the channel to be calibrated/adjusted.
2. If a measuring channel is selected: in the next step choose between calibration and
application adjustment.
In the reference channel, you can only choose application adjustment.
11.2.1 Calibration
Types of calibration
• Optical zero point
Define the current measured value as the zero point.
• 2-point calibration
Use in succession two different calibration solutions whose measured values are aligned
with the values specified in the Setup/Inputs/Photometer/Extended setup/Calib.
settings menu.
The process for calibrating with standard solutions differs from sensor to sensor. If
the sensor is installed in a flow assembly, you must conduct the calibration solutions
through the flow assembly. Submersible sensors must be immersed into the
calibration solutions one after another.
Calibrating the optical zero point
The following steps refer to a sensor that is installed in a flow assembly. Follow the same
procedure if you are using a submersible sensor.
1. Conduct the medium representing the optical zero point through the flow assembly.
2. CAL/Photometer/Measurement channel (2nd measurement channel)/
Calibration/Optical zero point/ Use current raw value as zero point
The current measured value is set as the zero point.
Two-point calibration
CAL/Photometer/Measurement channel (2nd measurement channel)/Calibration/2-
point calibration
1. Conduct the medium representing the optical zero point through the flow assembly.
2. Start zero point calibration (OK).
3. Conduct the calibration standard through the flow assembly.
4. Start calibration (OK).
The device reports whether the calibration has been successful or has failed. If
the calibration has failed, check the measuring point, the measuring conditions
and the calibration solutions and repeat the calibration.
Apart from the calibration, you can also reset the measuring point to the factory
calibration ( Factory default).

 Loading...