User’s Manual
14
Information
Highlight Information and press the
button. The Information screen appears.
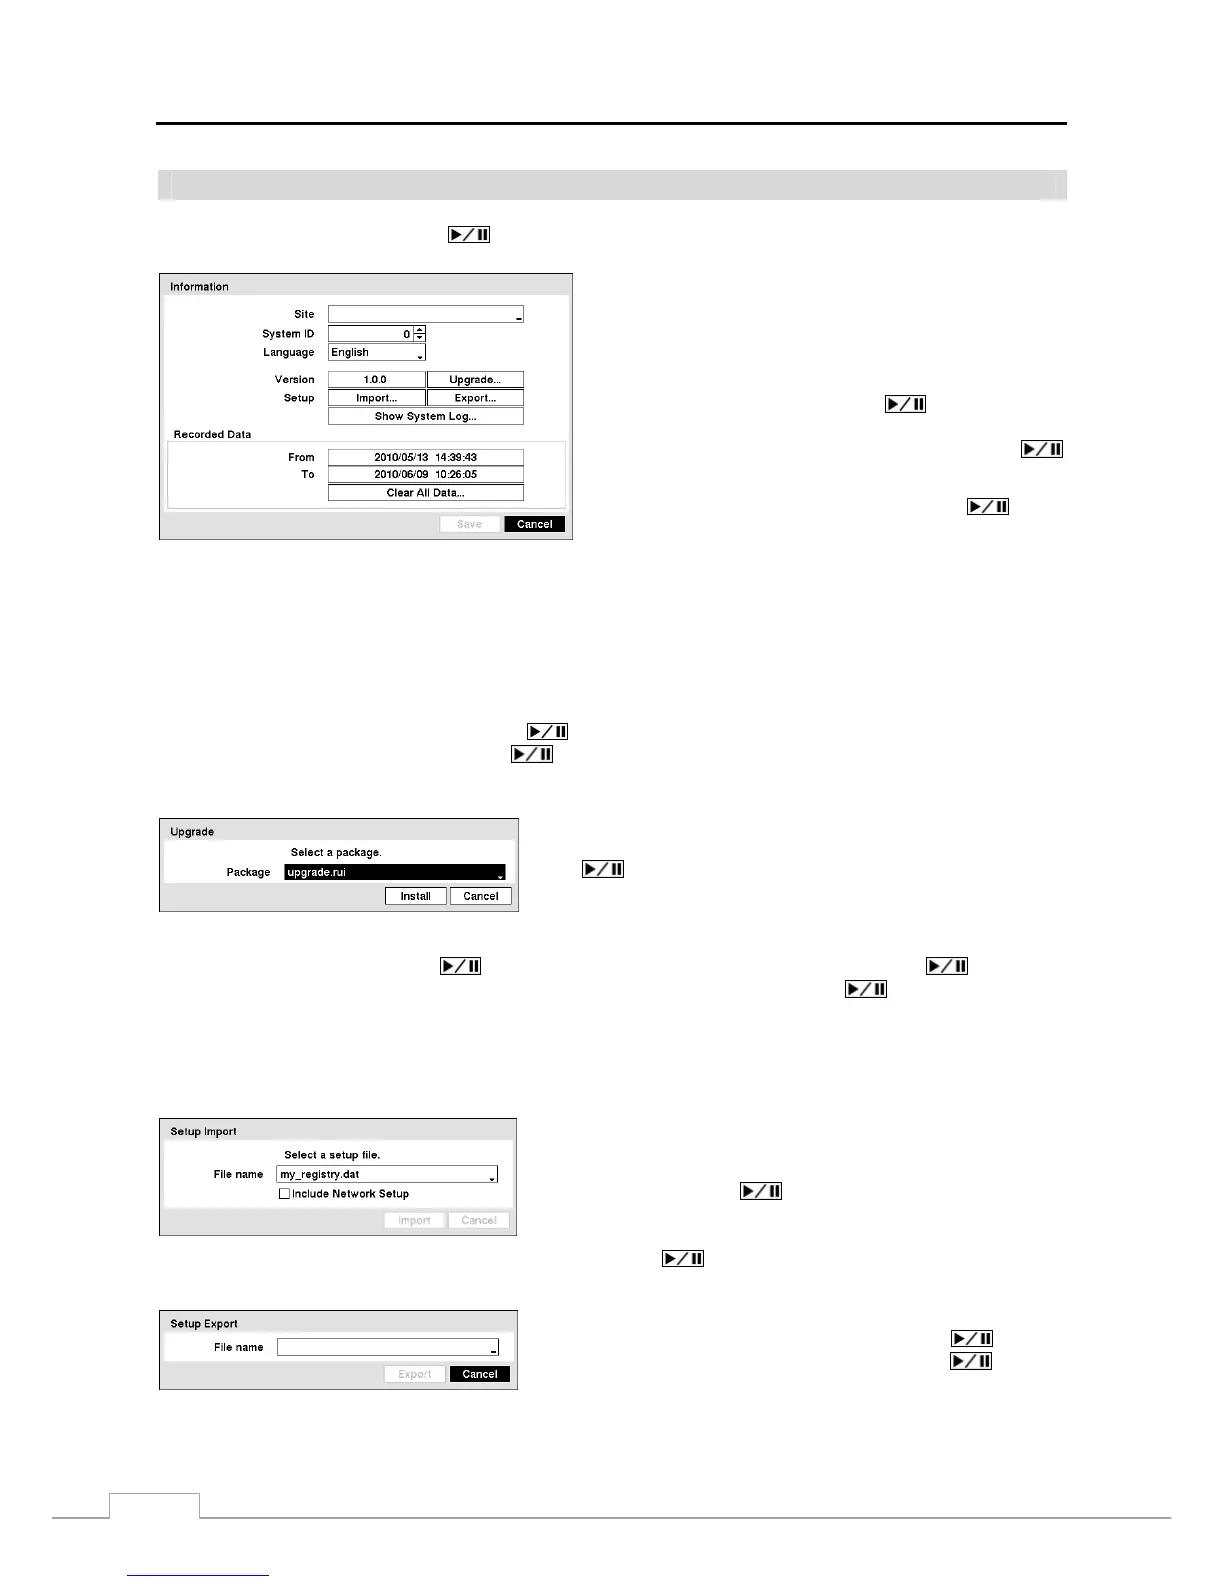
Figure 9 — Information setup screen
.
In the Information screen, you can name the site location,
assign a System ID number, select the language the screens
are displayed in, display software version number, upgrade
the software, show the System Log, display recorded time
data, and clear all data.
Highlight the Site box and press the button. A virtual
keyboard appears that you can use to enter a Site Name. Once
you have entered your title, highlight OK and press the
button.
Highlight the box beside System ID and press the button.
Change the number by highlighting it and using the Up and
Down arrow buttons to increase and decrease the number from
0 to 99.
NOTE: The System ID number is used to identify the unit when it is connected with other DVRs through the
RS485 port. You cannot use the same ID number for two or more DVRs that are in the same RS485
network. It is possible to have multiple DVRs with System ID 0 that are in the same area as long as they
are not part of an RS485 network. If this is the case, all will be controlled at the same time when using
the infrared remote control.
Highlight the box beside Language and press
button. A drop-down menu displays the available languages.
Highlight the desired language and press the
button.
The box beside Version displays the software version of the DVR.
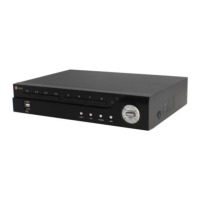
To upgrade the software, connect a USB device containing the
upgrade package file to the DVR. Highlight Upgrade… and press
the
button. The Upgrade screen appears. The screen displays
the upgrade package file names that are available. The “.rui” indicates
that the file is for software upgrades and “.ofi” indicates that the
file is for optical drive firmware upgrades.
Select the desired file and press the button. Highlighting the Install button and pressing the button will
install the selected software package. Highlighting the Cancel button and pressing the
button will close the
window without upgrading the software. If the upgrade package file is not installed on the DVR properly, you will
get an error message. The system restarts automatically after completing the upgrade.
CAUTION: The USB device must be FAT16 or FAT32 format.
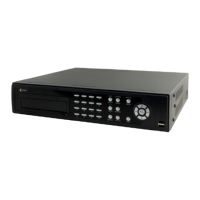
You can import saved DVR settings or export the current DVR
settings. To import saved DVR settings, connect the USB device
containing the setup file (.dat) to the DVR. Highlight Setup –
Import… and press the
button. Select the desired setup file
and press the Import button to import the selected settings and change
the DVR settings accordingly. Highlight Include Network Setup
and press the
button to toggle between On and Off. When
set to Off, the network settings will not be changed.
To export the current DVR settings, connect the USB device to the
DVR. Highlight Setup – Export… and press the
button.
Highlight the box beside File name and press the
button.
A virtual keyboard allows you to enter the file name. Selecting
Export will save the current settings in .dat file format on the USB
device.