16-Channel Digital Video Recorder
15
NOTE: Even after changing the DVR settings by importing saved settings, the time-related settings (Date/Time,
Time Zone and Daylight Saving Time) will NOT be changed.
CAUTION: The USB device must be FAT16 or FAT32 format.
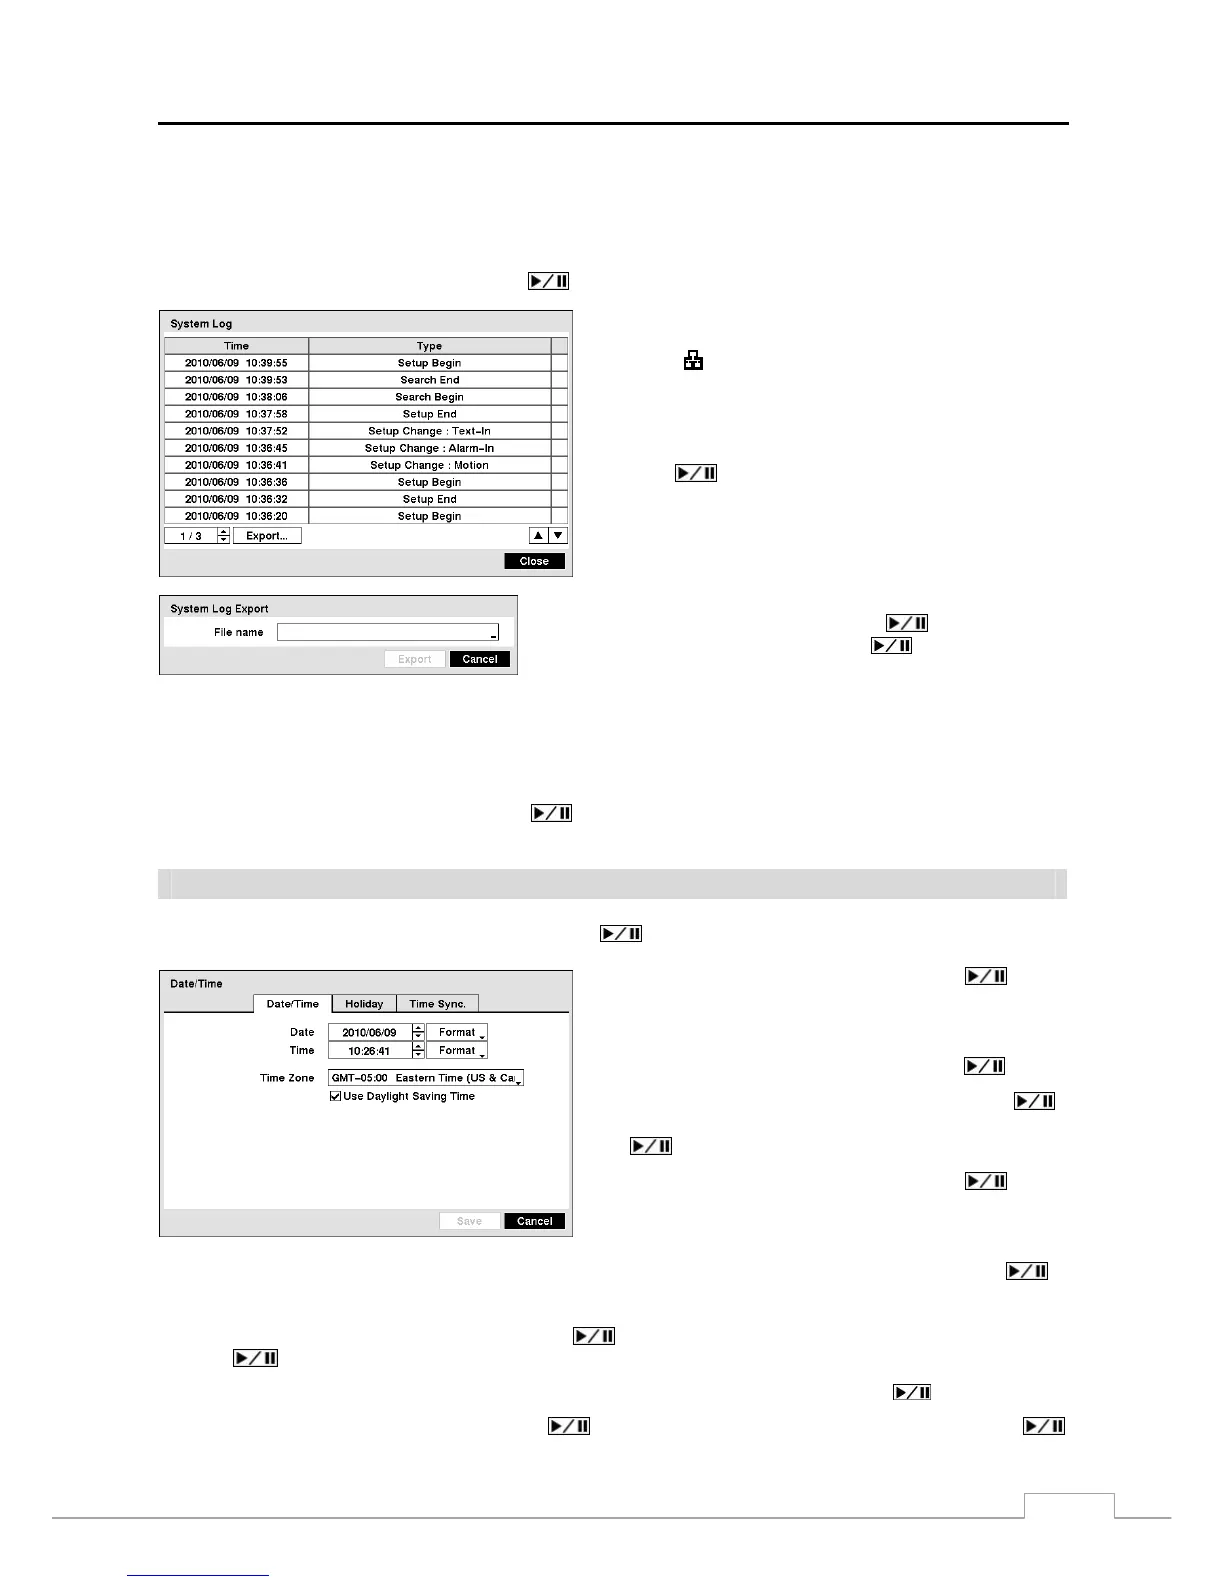
Highlight Show System Log… and press the button to display the System Log.
The System Log screen lists system activities (up to 5,000
from the latest) that have occurred along with the time and
date. The
icon will be displayed in the last column for
system activities of the remote site. You can scroll through
the log pages by using the Up and Down arrows, or you can
go directly to a log page by entering the log page number in
the box at the bottom left of the screen. Highlight Close and
press the
button to exit the screen.
To export the system log information, connect the USB device to
the DVR. Highlight Export… and press the
button. Highlight
the box beside File name and press the
button. A virtual
keyboard allows you to enter the file name. Selecting Export will
save the log information in .txt file format on the USB device.
NOTE: When opening the saved .txt file, setting to the proper character encoding and using fixed width fonts
will be required to read the file properly.
The box beside Recorded Data – From / To displays the time information of recorded data.
Highlighting Clear All Data… and pressing the button will clear all video data. You will be asked to verify that
you wish to clear all data before the DVR erases the video data. Clear All Data… will not clear the System Log.
Date/Time
Highlight Date/Time in the System menu and press the
button. The Date/Time setup screen appears.
Figure 10 — Date/Time setup screen.
Highlight the first box beside Date and press the
button.
The individual sections of the date will highlight. Use the Up
and Down arrow buttons to change the number. Use the Left
and Right arrow buttons to move between month, date and
year. Once you have the correct date, press the
button.
Highlight the Format box beside Date and press the
button. Select from the three available date formats and press
the
button to save your selected format.
Highlight the first box beside Time and press the button.
The individual sections of the time will highlight. Use the Up
and Down arrow buttons to change the number. Use the Left
and Right arrow buttons to move between hour, minutes and
seconds. Once you have the correct time, press the
button.
Highlight the Format box beside Time and press the button. Select from the three available time formats and
press the
button to save your selected format.
NOTE: The clock will not start running until you have highlighted Save and pressed the button.
Highlight the box beside Time Zone and press the button. Select your time zone from the list and press the
button.
 Loading...