a
• You can change the setting as follows by pressing down the [A/V
Mute] button on the remote control for about five seconds.
FrontWFront/Ceiling
RearWRear/Ceiling
• Make sure you check the Direction setting when you change the
projector's installation position.
s Extended - Direction p.142
• When suspending the projector from a ceiling, set the Inv Direction
Button to On so that the [
], [ ], [ ], and [ ] buttons on the
control panel operate in the correct direction.
s Extended - Operation - Inv Direction Button p.142
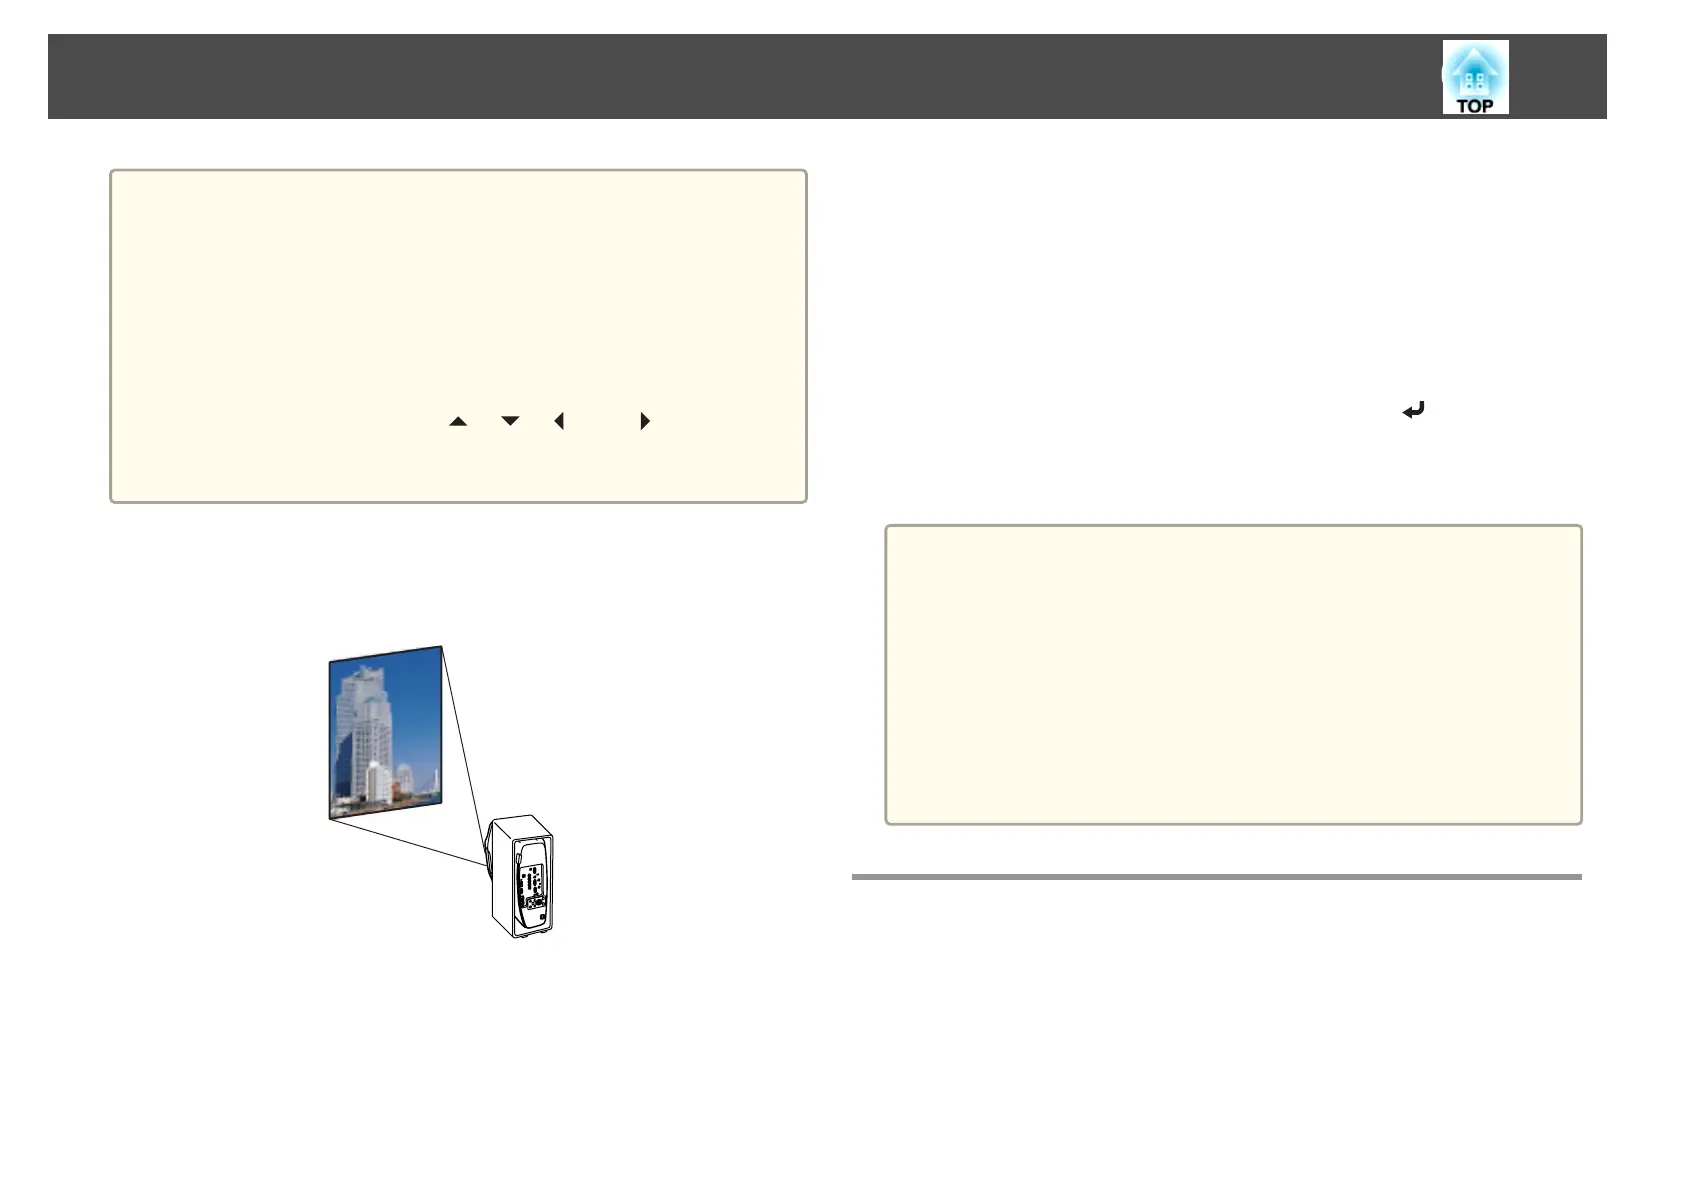
Projecting in a portrait installation
Install the projector vertically and project a vertically long screen.
See the following for notes when doing a portrait installation.
s "Notes on portrait installation" p.6
When projecting in a portrait installation, set Portrait Mode to On.
s "Setting the direction" p.28
To rotate the menu display, set OSD Rotation in the Configuration menu.
a
Press the [Menu] button while projecting.
b
Select Display from Extended.
c
Select OSD Rotation.
d
Select Right 90 Degree, and then press the [ ] button.
e
Press the [Menu] button to finish making settings.
a
• When projecting in a portrait installation, the brightness is about
80% (90% for EB-G7400U/EB-G7000W/EB-G7100) compared to
projecting in a normal installation.
• When continually using the projector in a portrait installation, the
lamp's operating life is short compared to a normal installation.
s "Projector General Specifications" p.240
• When the total projection time in a portrait installation exceeds
about 2000 hours, projection stops automatically.
• Power Consumption is disabled.
s Settings - Power Consumption p.140
Screen Settings
Set the Screen Type according to the aspect ratio of the screen being used.
The area where the image is displayed matches the shape of the screen.
Installing the Projector
30