Removing and Attaching the Projector Lens Unit
Attaching
Attention
• When attaching the lens unit, remove the power plug from the electrical
outlet first.
• Do not attach the lens unit when the projector's lens insertion section is
facing up. Dust or dirt could enter the projector.
• Try not to touch the lens section with your hand or fingers. If fingerprints or
oils are left on the surface of the lens, projection quality deteriorates.
a
• The projector supports lens with the following model numbers.
ELPLM08, ELPLX01, ELPLU03, ELPLU04, ELPLW05, ELPLW06,
ELPLM09, ELPLM10, ELPLM11, ELPLL08, ELPLS04, ELPLU02,
ELPLR04, ELPLW04, ELPLM06, ELPLM07, ELPLL07
When using the following lens, set the Lens Type in the
Configuration menu according to the lens you are using so that
distortion correction is performed correctly.
ELPLS04, ELPLU02, ELPLR04, ELPLW04, ELPLM06, ELPLM07,
ELPLL07
s Extended - Operation - Advanced - Lens Type p.142
• In a normal installation, the image may be tilted depending on your
lens. Adjust the tilt of the image using the rear feet.
s "Adjusting the Horizontal Tilt (for Normal Installment)"
p.41
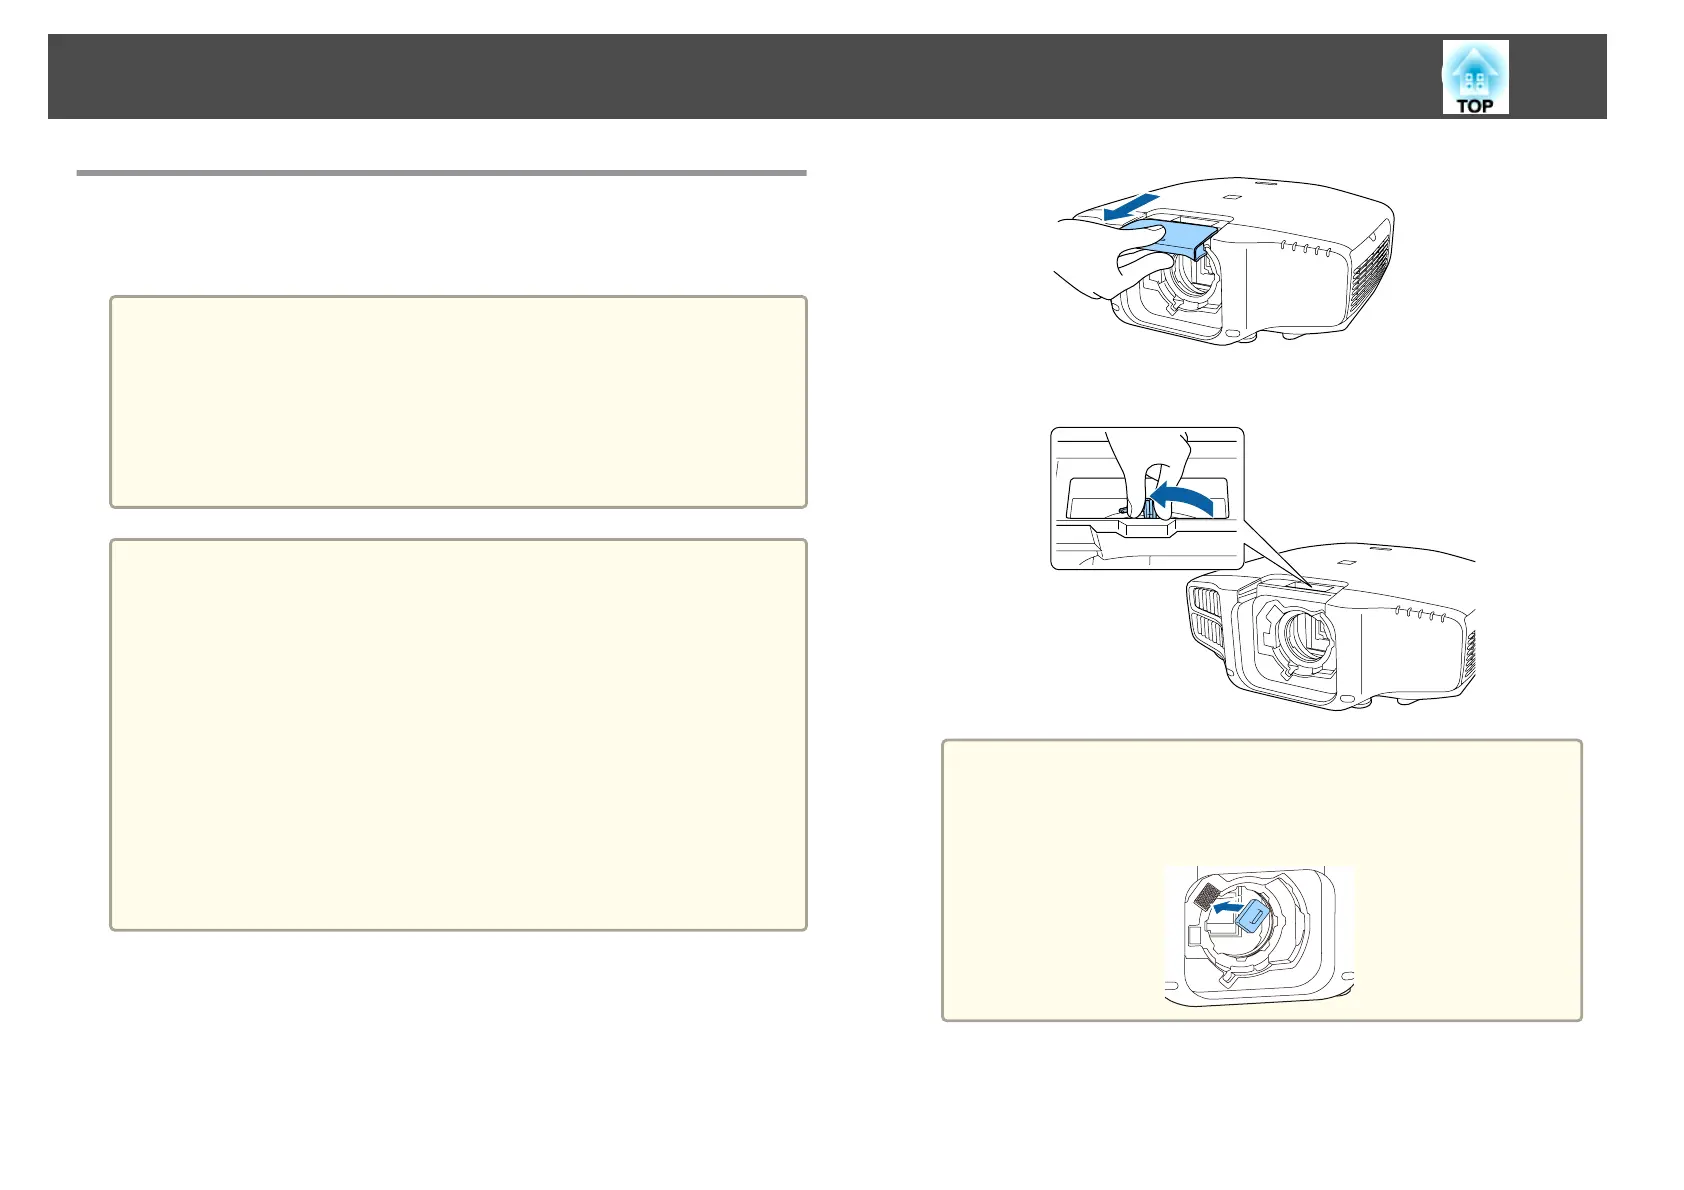
a
Pull the lens replacement cover straight out.
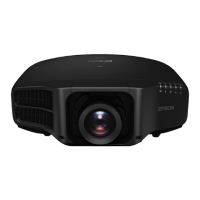
b
Hold the lock lever and turn it counterclockwise.
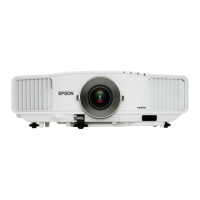
a
When using the following lens, attach the supplied lens
connector cap to protect the port.
ELPLS04, ELPLU02, ELPLR04, ELPLW04, ELPLM06, ELPLM07,
ELPLL07
c
Insert the lens unit straight into the lens insertion section with the
white circle on the lens on top.
Installing the Projector
26