To continue to move another point, press the [Esc] button to return
to step 12, and then repeat steps 12 and 13.
To adjust another boundary line, press the [Esc] button until the
screen for selecting a boundary line from step 9 is displayed.
a
To return Black Level to its default value, press the [Esc]
button to return to the screen from step 7, select [Reset], and
then press the [
] button.
n
To complete the adjustment, press the [Menu] button.
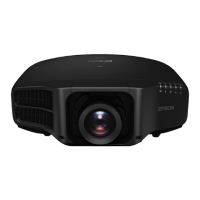
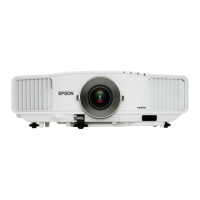
Tiling
Project the same image from multiple projectors to create one large image.
You can project by using up to nine projectors.
a
Set an ID for each projector to be used for tiling, and then adjust
the positions of the projected images.
s "Preparation" p.102
b
Adjust the overlapping areas of the screens using edge blending.
s "Edge Blending" p.102
c
Press the [Menu] button while projecting.
d
Select Multi-Projection from Extended, and then press the [ ]
button.
e
Select Tiling, and then press the [ ] button.
f
Select Layout, and then press the [ ] button.
(1) Set the number of projectors in Row and Column.
(2)
Select Set, and then press the [
] button.
g
Repeat steps 2 to 6 for each projector to be used for tiling.
Multi-Projection Function
111