Introduction
7
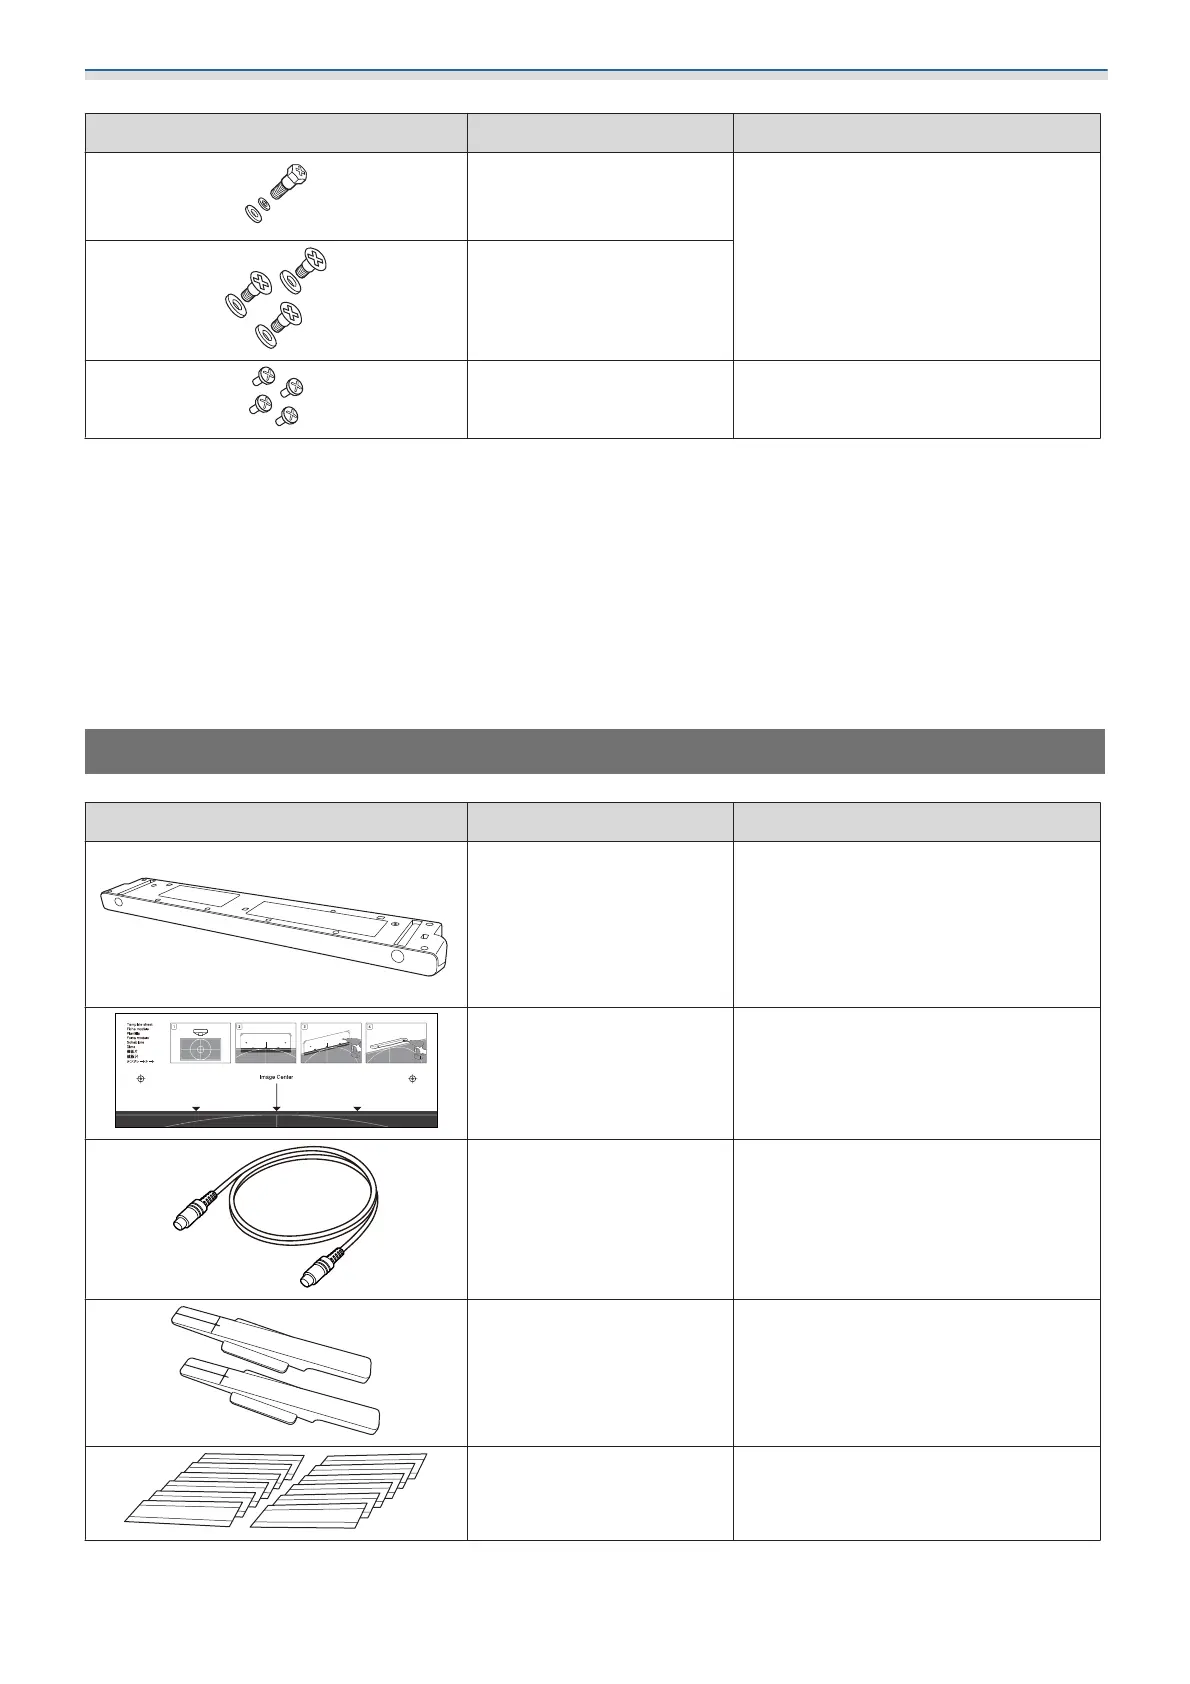
Part Name Application
M6 x 20 mm hexagon
shoulder head bolt with
washer/spring washer (x1)
Secure the setting plate to the wall
plate.
M6 x 20 mm cross recessed
head shoulder screws with
plastic washers (x3)
M3 x 6 mm cross recessed
head shoulder screws (x4)
Secure the mini PC plate to the wall
plate.
Items to prepare in addition to items supplied with the product
Prepare commercially available products such as anchor bolts to secure the wall plate to the wall.
M10 or 3/8 inch x 60 mm anchor bolts (for securing the wall plate: at least x4)
M10 screw (for securing the wall plate temporarily: x1)
Make sure you prepare cables to connect the projector to devices such as mini PCs in advance.
For details on the cable connections for your devices, see the projector's User's Guide (on the Document CD-ROM).
Touch Unit
Part Name Application
Touch Unit -
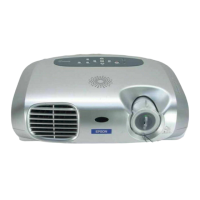
Template sheet (for secur‐
ing the Touch Unit)
Attach this to the wall before attaching
the Touch Unit, and use it to drill nec‐
essary holes.
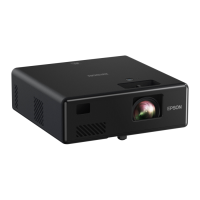
Touch Unit connection ca‐
ble (approx. 1.8m)
Connect the Touch Unit to the projec‐
tor.
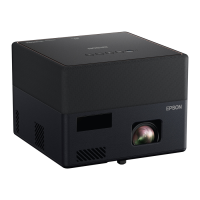
Markers x2 Attach to the screen to adjust the angle
of the laser emitted by the Touch Unit.
Tape for securing the mark‐
ers
(approx. 6 cm) x12
Secure the markers to the projection
surface.