A
Remove the rear cover.
B
Open the front cover, and pull out the interior
of the printer until it stops.
C
Open the inner cover, peel off the tape that was
securing the print head.
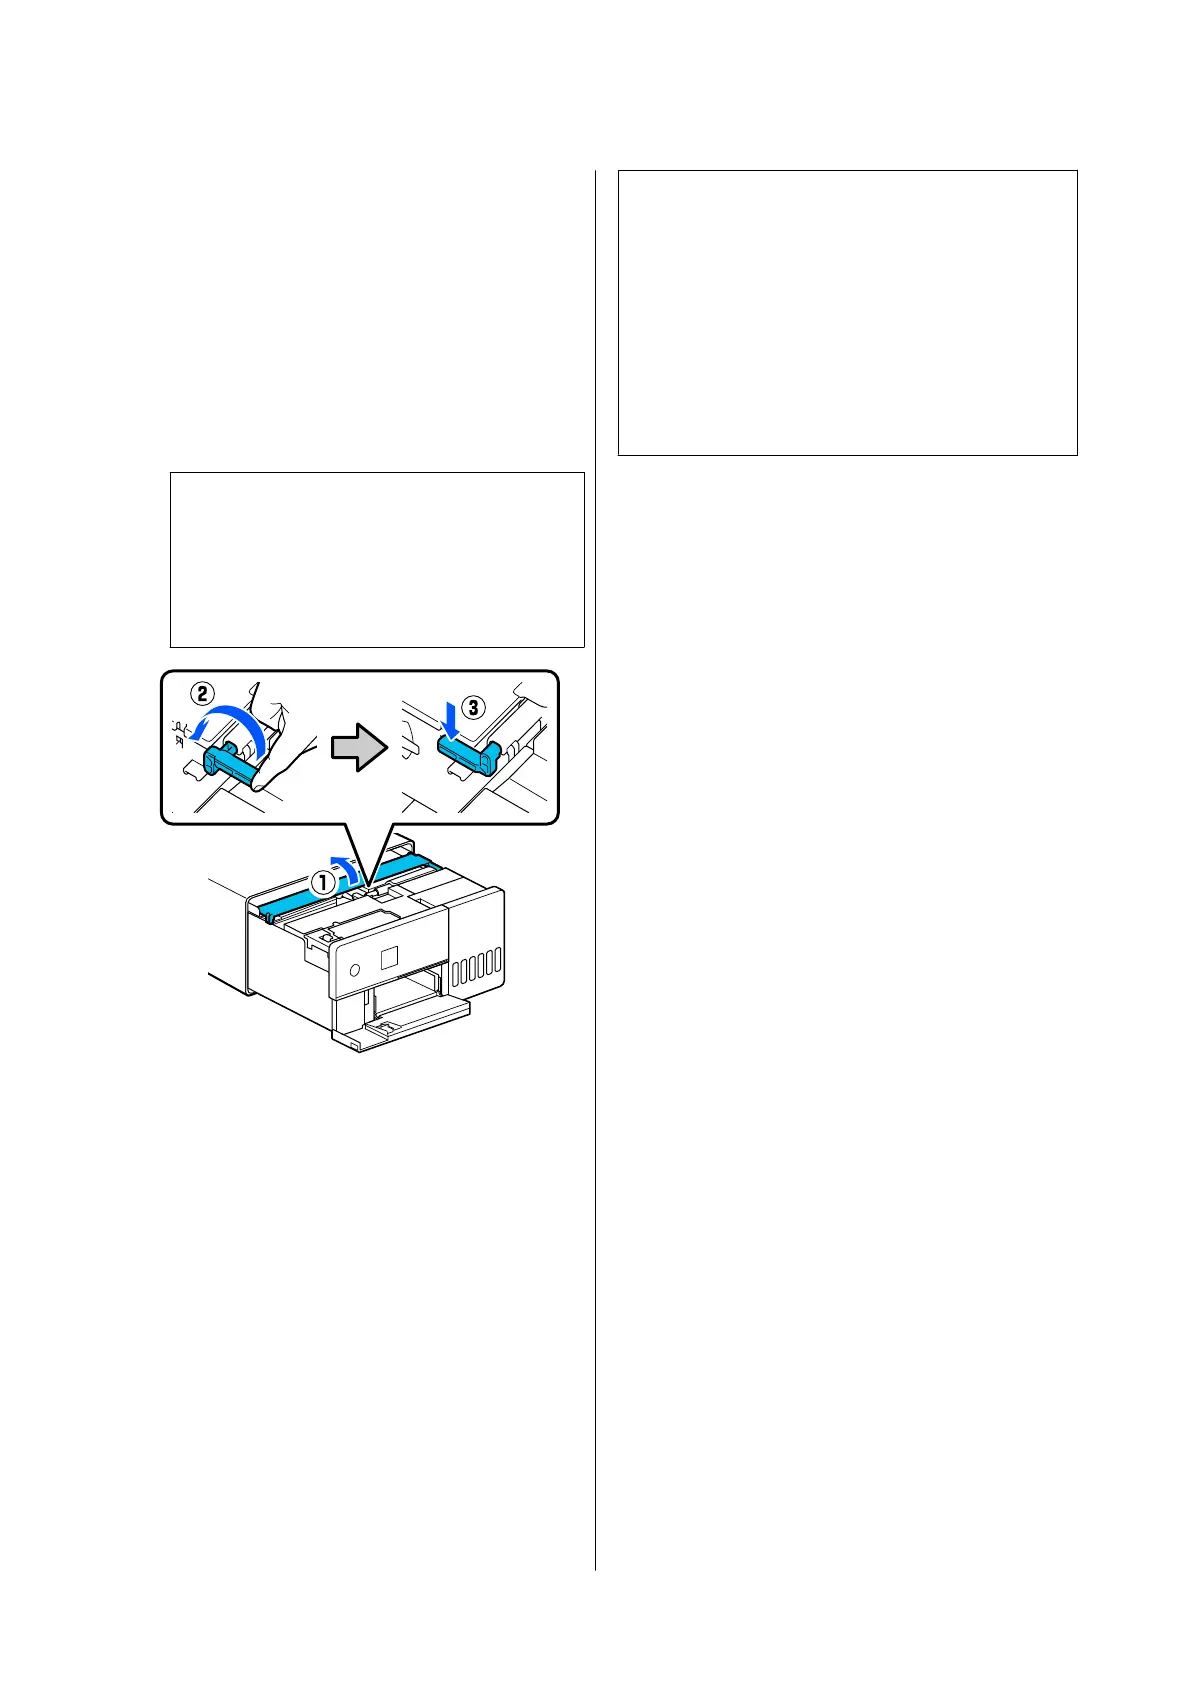
D
Set the transportation lock in the print position,
as shown in the illustration.
c
Important:
After transporting the printer, return the
transportation lock to the printing position.
You cannot print if it is in the transportation
position.
E
Close the inner cover, return the interior of the
printer to its original position, and then close
the front cover.
F
Install the rear cover.
G
Connect the power cable, and turn the printer
on.
H
Execute a Print Head Nozzle Check to confirm
that the nozzles are not clogged.
U “Print Head Nozzle Check” on page 60
Note:
See the Setup Guide for the procedure to connect
LAN/USB cables to the printer.
If you do not have a Setup Guide on hand, you can go
to https://epson.sn to select and view one for your
printer model.
You can watch the procedure on video also.
Epson Video Manuals
SL-D500 Series User's Guide
Appendix
140
 Loading...