EPSON Stylus CX4100/CX4200/CX4700/CX4800/DX4200/DX4800/DX4850 Revision A
DISASSEMBLY/ASSEMBLY Scanner Section 164
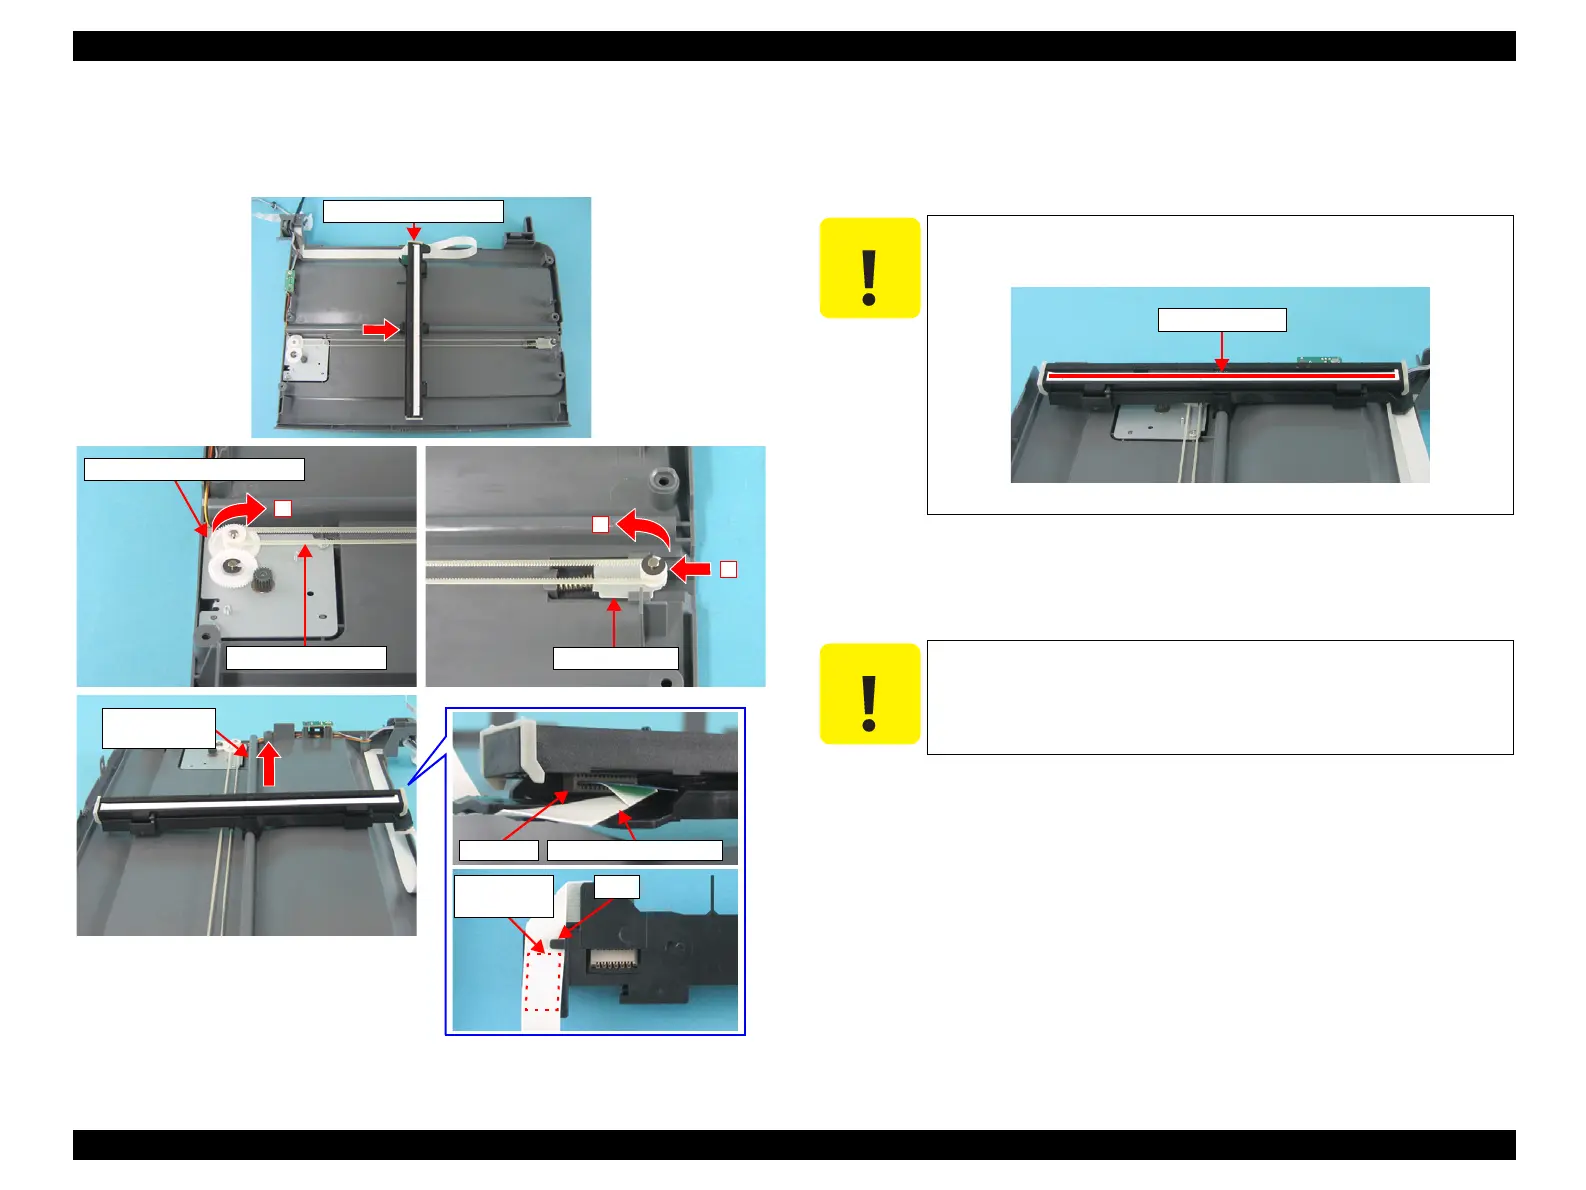
4.5.2 Scanner Carriage Unit
External view (1)
Figure 4-49. Removing Scanner Carriage Unit (1)
Part/Unit that should be removed before removing Scanner Carriage Unit
Document Cover / Scanner Unit / Scanner Housing, Upper
Removal procedure
1. Move the Scanner Carriage Unit to the center of the printer.
2. Push the Driven Holder to the direction of the arrow, and remove Compound
Gears 22.8, 7.762, Driven Holder, and Scanner Timing Belt.
3. Disconnect the Scanner Carriage FFC from the Scanner Carriage Unit, and
remove the Scanner Carriage Unit together with the Scanner Timing Belt.
Driven Holder
1
3
Scanner Carriage Unit
Compound Gears 22.8, 7.762
Scanner Timing Belt
2
Scanner
Carriage Shaft
Rib
Double-sided
Tape
Connector Scanner Carriage FFC
C A U T I O N
Do not scratch the Rod Lens Array when removing the Scanner
Carriage Unit.
Figure 4-50. Handling Scanner Carriage Unit
C A U T I O N
Do not damage the Scanner Carriage FFC as it is secured with
double-sided tape.
Rod Lens Array
 Loading...


