Using the Control
Panel
Menus
After confirming that Ready is displayed in the control
panel’s screen, press the Z button to display the Menu.
The following five menus are available.
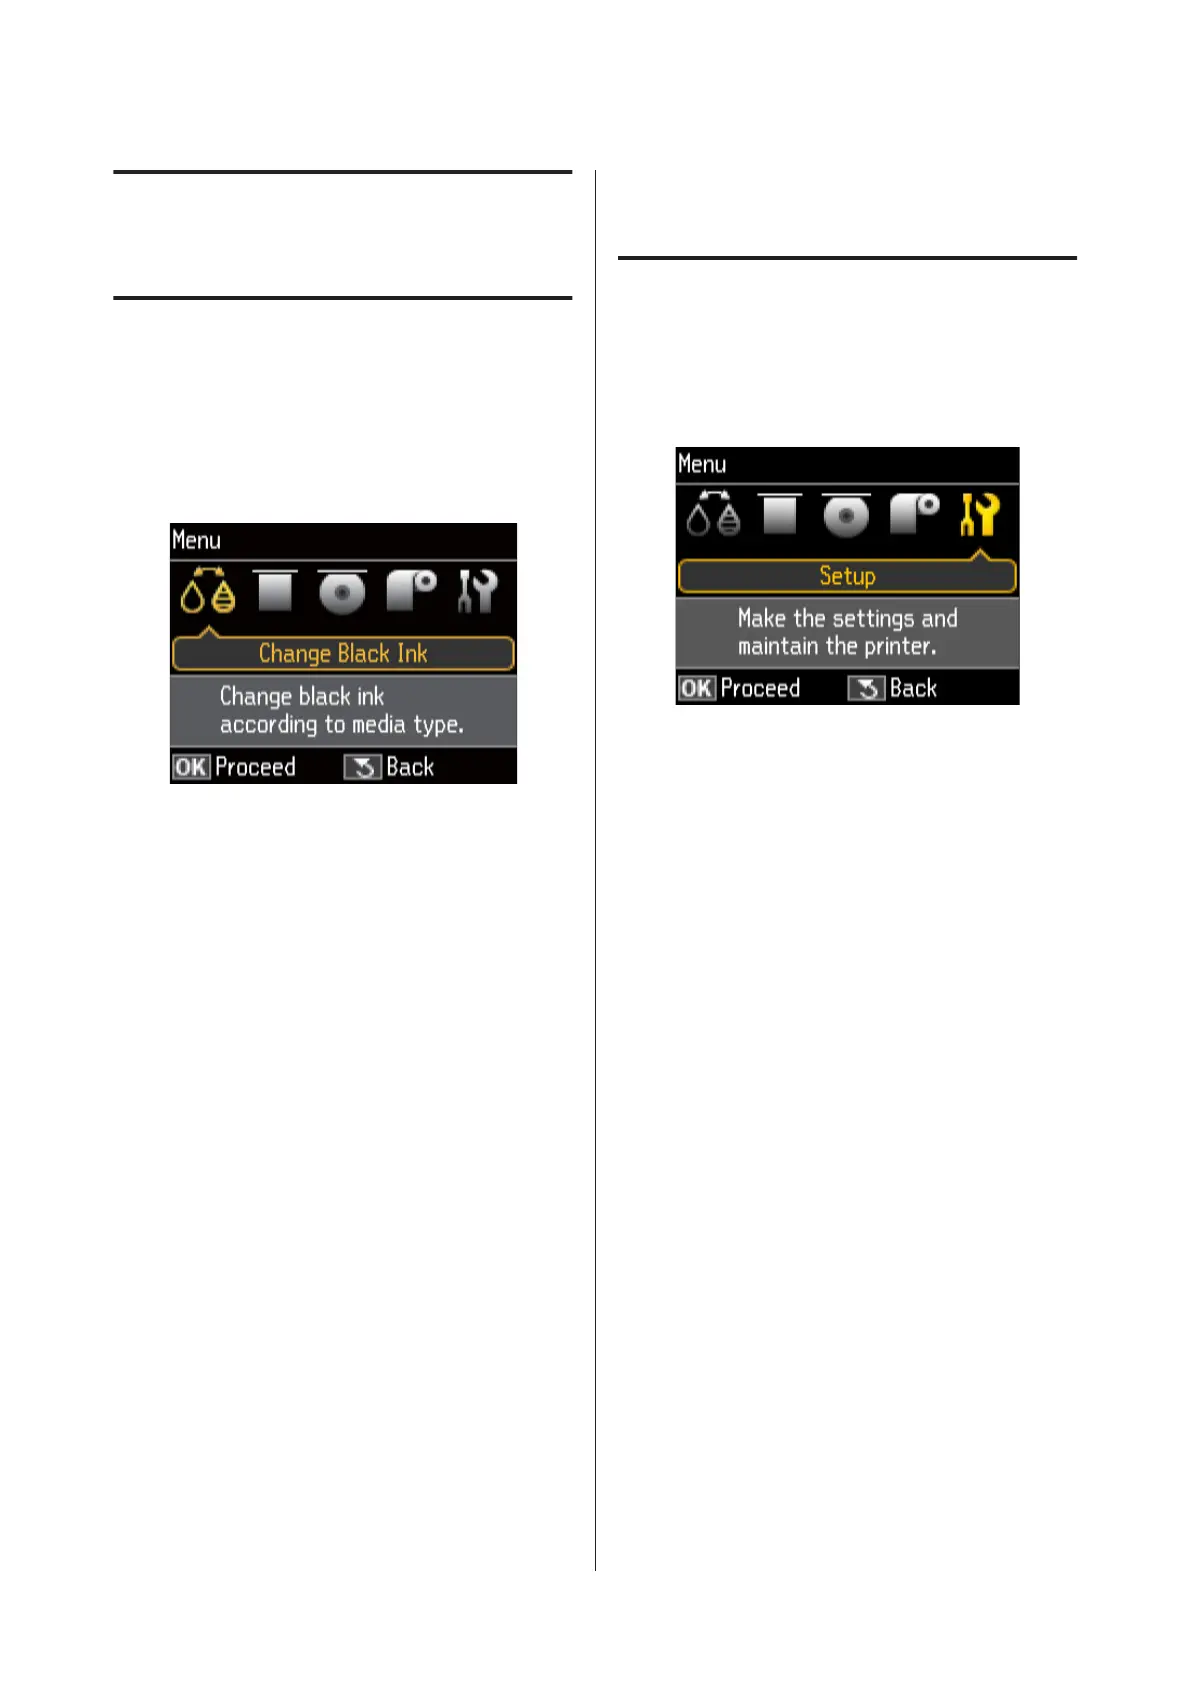
❏ The Change Black Ink menu
Change from one type of black ink to another.
U “Changing the Type of Black Ink” on page 34
U “Supported Media” on page 107
❏ The Load Thick Media menu
Follow on-screen instructions for loading the fine
art media and poster board.
❏ The Load CD/DVD menu
Follow on-screen instructions for loading CDs and
DVDs.
❏ The Load Roll Paper menu
Follow on-screen instructions for loading roll
paper.
❏ The Setup menu
Perform printer maintenance and adjust printer
settings.
U “The Setup Menu” on page 87
The Setup Menu
Using the Menu
A
Press the Z button to display the Menu.
B
Press l or r button to highlight Setup.
C
Press u or d button to display the desired item.
D
Press the Z button to select the current item or
perform the selected operation.
If there are further options available for the
current item, repeat Steps 2 and 3 to select the
desired option.
Epson Stylus Photo R3000 User's Guide
Using the Control Panel
87

 Loading...


