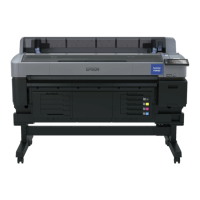
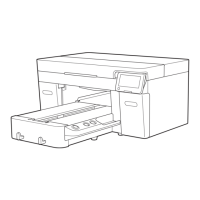
126
Cleaning the Suction Cap
You need to clean the suction cap whenever you see a message on the LCD screen or if the printing
surface is soiled with ink. You may also need to clean the suction cap if you experience difficulty cleaning
nozzles after performing a nozzle check. Even if the message is not displayed, follow the steps here to
clean the suction cap.
Caution:
• Do not rub the cap section hard. Any scratches may cause air leaks, preventing print head cleaning
from being performed correctly.
• Carefully wipe off any dirt from the edges of the suction cap until you can see the color of the cap. If
dirt is left around the edges, it creates a gap between the cap and the print head that causes a
decrease in suction strength and the print head nozzles can become clogged. If it is difficult to remove
the dirt, rinse the dirty cleaning stick with ink cleaning solution and then clean it again. If the cleaning
stick is too dirty, use a new one.
Note: If you continue to use the printer without cleaning the suction cap, the ink nozzles may clog and
print quality may decline.
1. Turn on the printer, if necessary.
2. Select Menu > Maintenance > Cleaning the Maintenance Parts > Suction Cap.
A confirmation message appears.
3. Select Start on the LCD screen.
The platen and print head move to the maintenance position.
Caution: Do not move the print head or the platen manually. A malfunction may occur.
Note: A buzzer sounds 10 minutes after the platen and print head move to the maintenance
position. Select OK to continue cleaning. The buzzer sounds again after 10 minutes. Nozzles can be
clogged if more time passes, so finish cleaning as soon as possible.
4. Select How To... to view the steps and follow the on-screen instructions.
Caution: Use only the supplied plastic tweezers. Be careful not to damage the suction cap. If the
suction cap is damaged, air may leak and the print head may become dry or difficult to clean.
5. Select Done.
 Loading...