Flow to Set Up Printers Individually
Explains the procedure to set up Epson Print Admin Serverless on an individual printer. When you use Web
Cong, you can set up the printer only by using a web browser.
c
Important:
Before starting the setup, check that the time setting for the printer is correct.
If the time setting is incorrect, the error message "License is expired" is displayed, which may lead to failure to set up
Epson Print Admin Serverless. Also, in order to use a security function such as SSL/TLS communication or IPsec,
the correct time must be set. You can set the time as follows.
❏ Web
Cong
: Device Management tab > Date and Time > Date and Time.
❏ Printer's control panel: Settings > General Settings > Basic Settings > Date/Time.
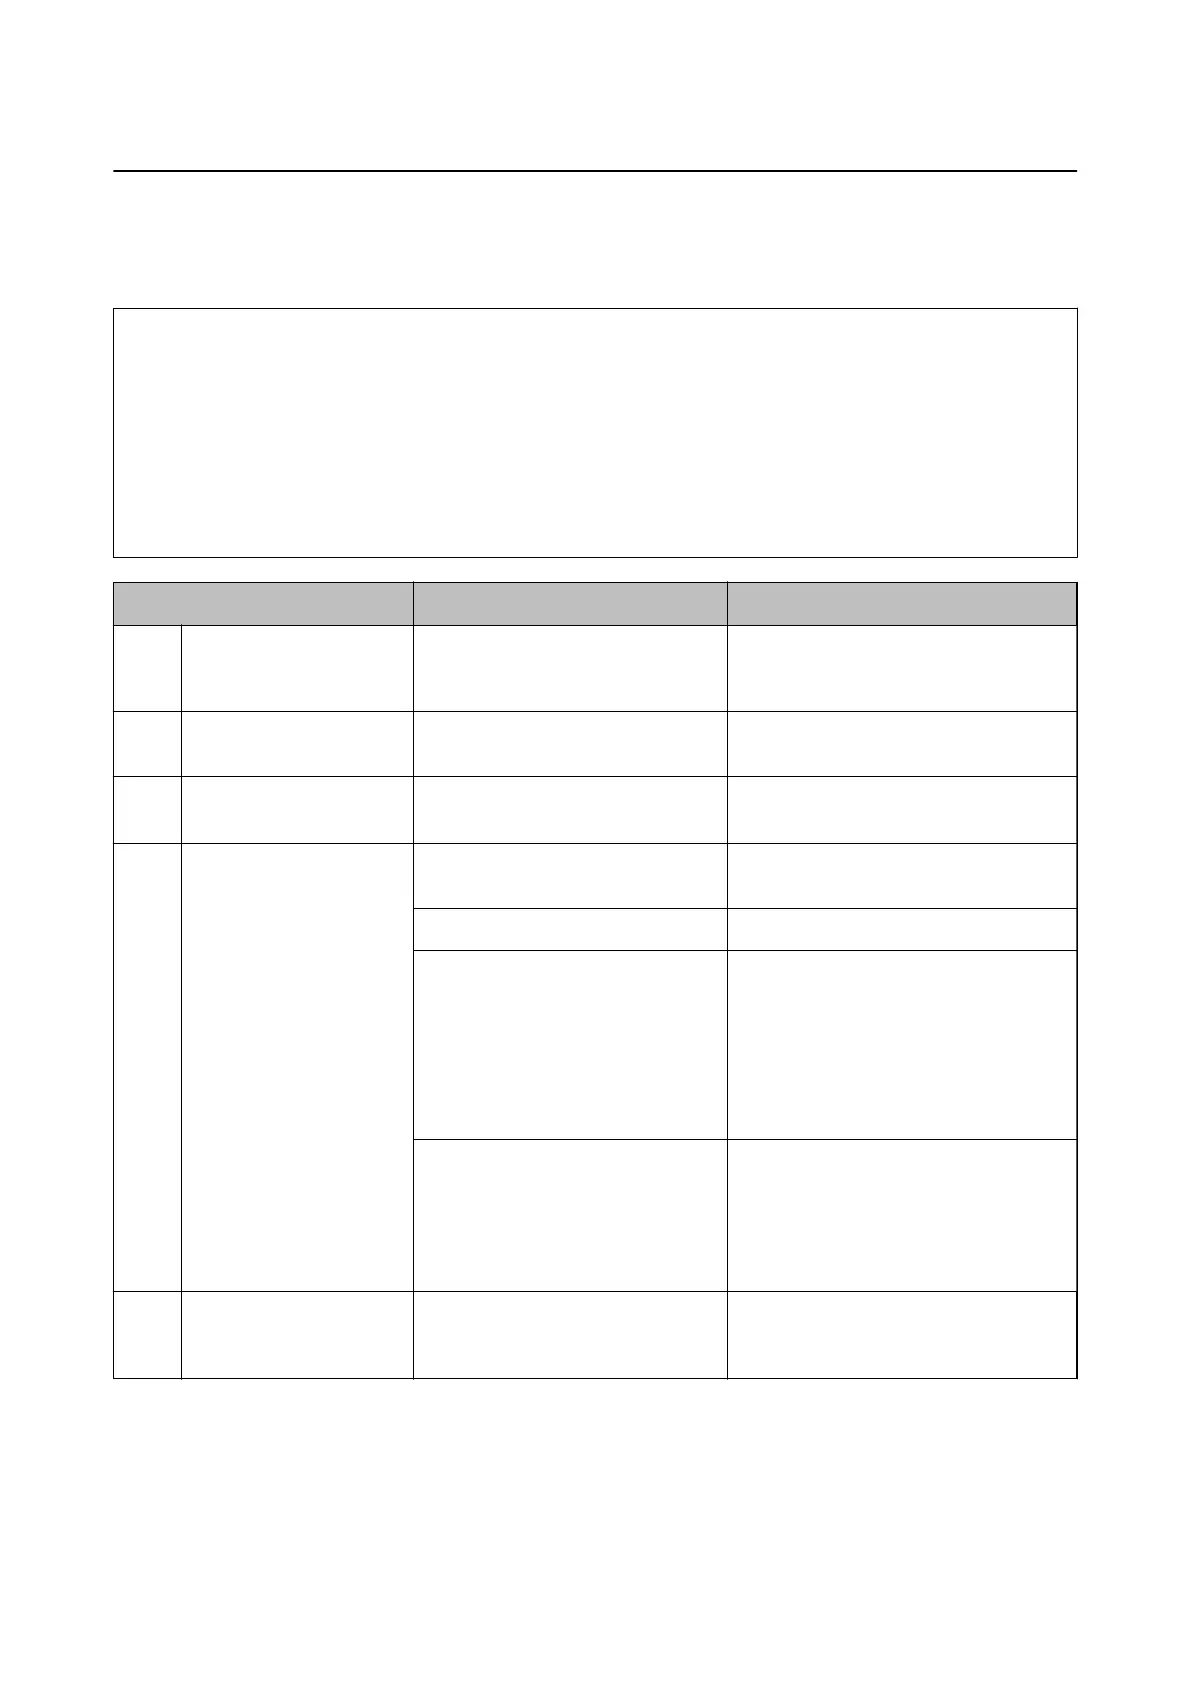
Procedure Operations Details
1Connecting the
authentication device
*1
Connecting the authentication device
to the printer and checking the
operation
Connect the authentication device to the
printer.
2 Date/Time setting Setting the date and time Set the correct date and time in the
printer.
3 Registering the license
key
*2
Entering the license key Activate Epson Print Admin Serverless to
the printer by using Web Cong.
4 Setting Epson Print Admin
Serverless
Setting for authenticated printing Set authentication method and how to
authenticate user.
Setting the print job Set up for saving or deleting the print job.
Registering the user information Register the user information.
Set the following depending on the
authentication method.
❏ Set the LDAP server synchronizing
setting.
❏ Import from the
les.
Setting for arbitrary function Set arbitrary function settings as
necessary, such as authentication device
settings, mail server settings, and scan to
my folder function settings depending on
the authentication method and how to
authenticate the user you selected.
5 Setting the client
computer
Installing the printer driver, setting
the user ID to the printer driver
On the printer driver that is installed on
the client computer, set the user ID to
authenticate the users.
*1 : Set when you use an authentication device to authenticate users.
*2 : It may have been set by the dealer.
Related Information
&
“Set the Printer Individually Using Web Cong” on page 33
Setup & Administration Guide
Setting Overview
13
 Loading...