Connecting the Authentication Device
You can connect the authentication device by using a USB cable.
c
Important:
❏ Use a product with the same model number as the authentication device that was used to conrm the
authentication card for the authentication device connected the printer.
❏ Make sure you connect the authentication device to the service port of the printer. It will not work if it is
connected to a dierent USB port.
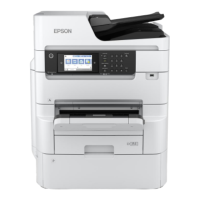
1. Peel
o
the seal for the service port (a) on the back of the printer.
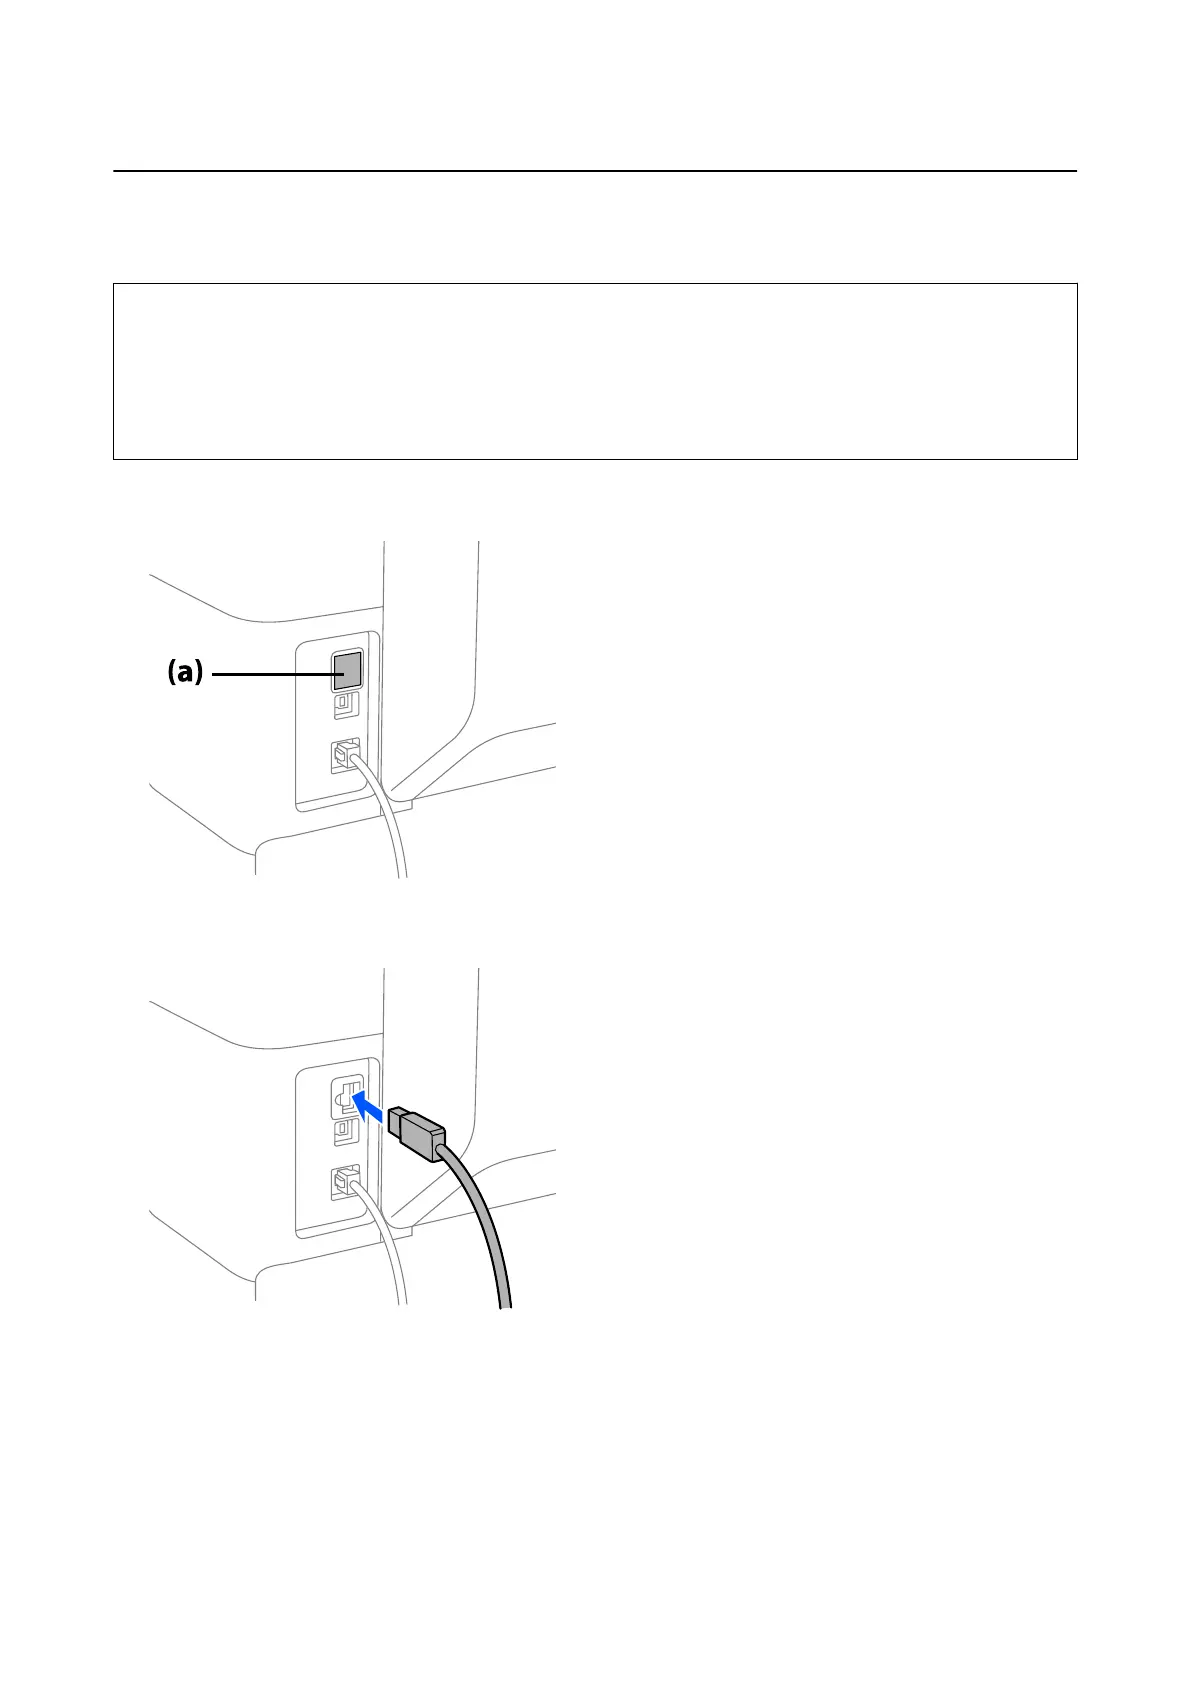
2.
Connect the USB cable for the authentication device to the printer.
Setup & Administration Guide
Authentication Device Connection
21
 Loading...