-- 54 --
1sxx02cw
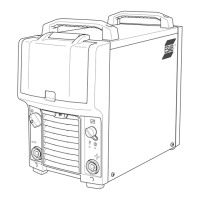
For easy disassembly unscrew both rectifier heatsinks from capacitors side and plastic shelf
with AC terminals and disassemble two M6 screws down the heatsink on opposite side.
Important note -- all diode threads have to be covered with very thin layer of No. 2 Electro
Joint Compound before replacing. Also heatsink side which is connected to DC--link has to
be covered with No.2 EJC.
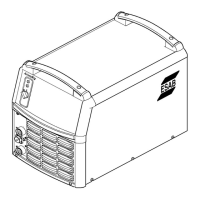
Checking of output stage
Output stage is made of IGBT modules assembled on main heatsink. Each module is
equipped with PCB containing gate resistors and protection diodes. For detection of
transistors go in following order:
1. Check transistors’ gate resistance and if is lower than 800W it means transistor’s gate
is broken. For this test use measuring instrument and measure resistance between red
and black cables in pairs into control plug. If resistance of at least one pair is lower than
limit value both transistors must be replaced.
2. Modules operate in parallel but electrically they act as single switches one diode and
one transistor.
3. Check chopper diode -- using diode conduction tester check if between output ”minus”
terminal and output ”plus” terminal diode is conducting. After passing this test check if
diode is blocked (non conducting) in opposite direction. If test is positive diodes are
working properly.
4. Checking chopper transistor.
a. First measure resistance between output minus and battery minus terminals. If it is
short circuited at least one transistor is broken. Both transistors should be
replaced.
b. If transistor gates are properly working and no short circuit is detected use 15V DC
100mA supply source and connect positive potential to red control cable and
negative to black control cable. After supplying gate transistor switch should be
detected as conducting between output minus and battery minus outputs. Battery
minus is available on second heatsink and DC--capacitors link and as additional
washer with connector on capacitors side.