Model 5601ACO2 Automatic Changeover Unit
Page 5-2 Revision 1.2 VistaLINK
®
CONFIGURATION
5.1.2. Using VistaLINK
®
to Configure the 5601ACO2
The 5601ACO2 should be auto-discovered by VistaLINK
®
PRO and appear under the Hardware
section of the VistaLINK
®
PRO Navigation Tree named with its given IP Address. If the 5601ACO2 is
not auto-detected (because it is on another subnet) it can be manually added by right clicking the
Hardware node and selecting Add/Update frame.
Right click the discovered 5601ACO2 to open the Configuration View screen. The screen is broken
into ten tabs. To view the other screens, click on the appropriate tab of the configuration screen.
Once you have finished configuring the 5601ACO2 items on the configuration screen you can save the
configuration in VistaLINK
®
. You can also send it to the 5601ACO2 by pressing the Apply button on
the VistaLINK
®
toolbar.
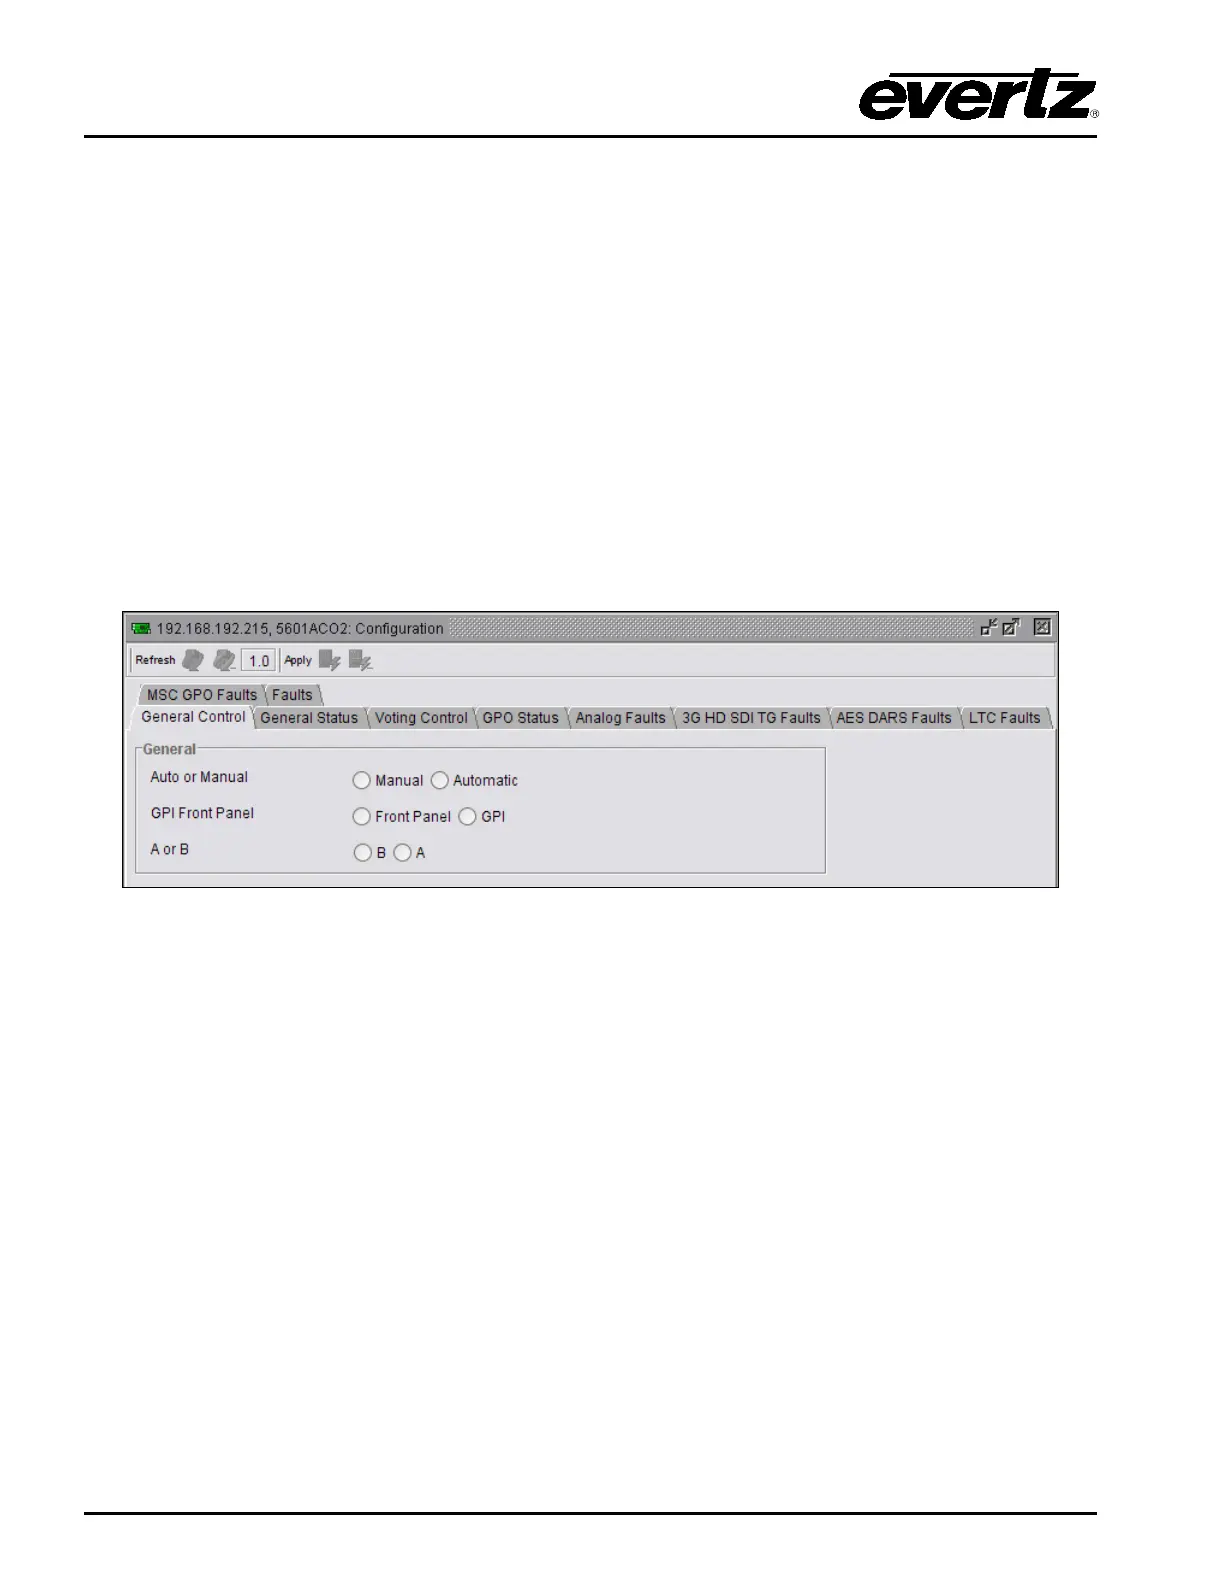
5.2. General Control Settings
The General Control tab enables the user to set specific switch controls for the changeover feature.
Figure 5-1: VistaLINK
®
Configuration – General Control
Auto or Manual: Enables the user to specify manual or automatic control of the module.
GPI Front Panel: When in Manual mode, this selects the type of manual control.
Front Panel control or GPI control can be selected.
A or B: When the Manual/FrontPanel control mode is selected, these radio buttons allow
remote control of which bank is active. Clicking on these buttons will initiate a
switch to the selected bank. These buttons will be greyed out (disabled) when
not in the Manual/FrontPanel control mode.