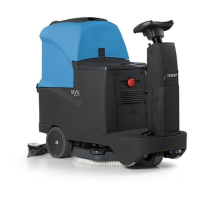
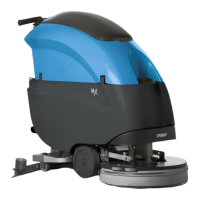
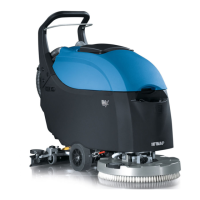
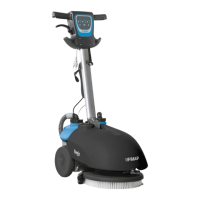
11.4 Splashguard Kit -
222480
11.4.1 Description
Even if the solution output is in the mid-
dle of the brush, on particular not ab-
sorbing kind of floors could be neces-
sary a Splashguard in order to avoid the
dispersing of the solution outside of the
scrubbing path.
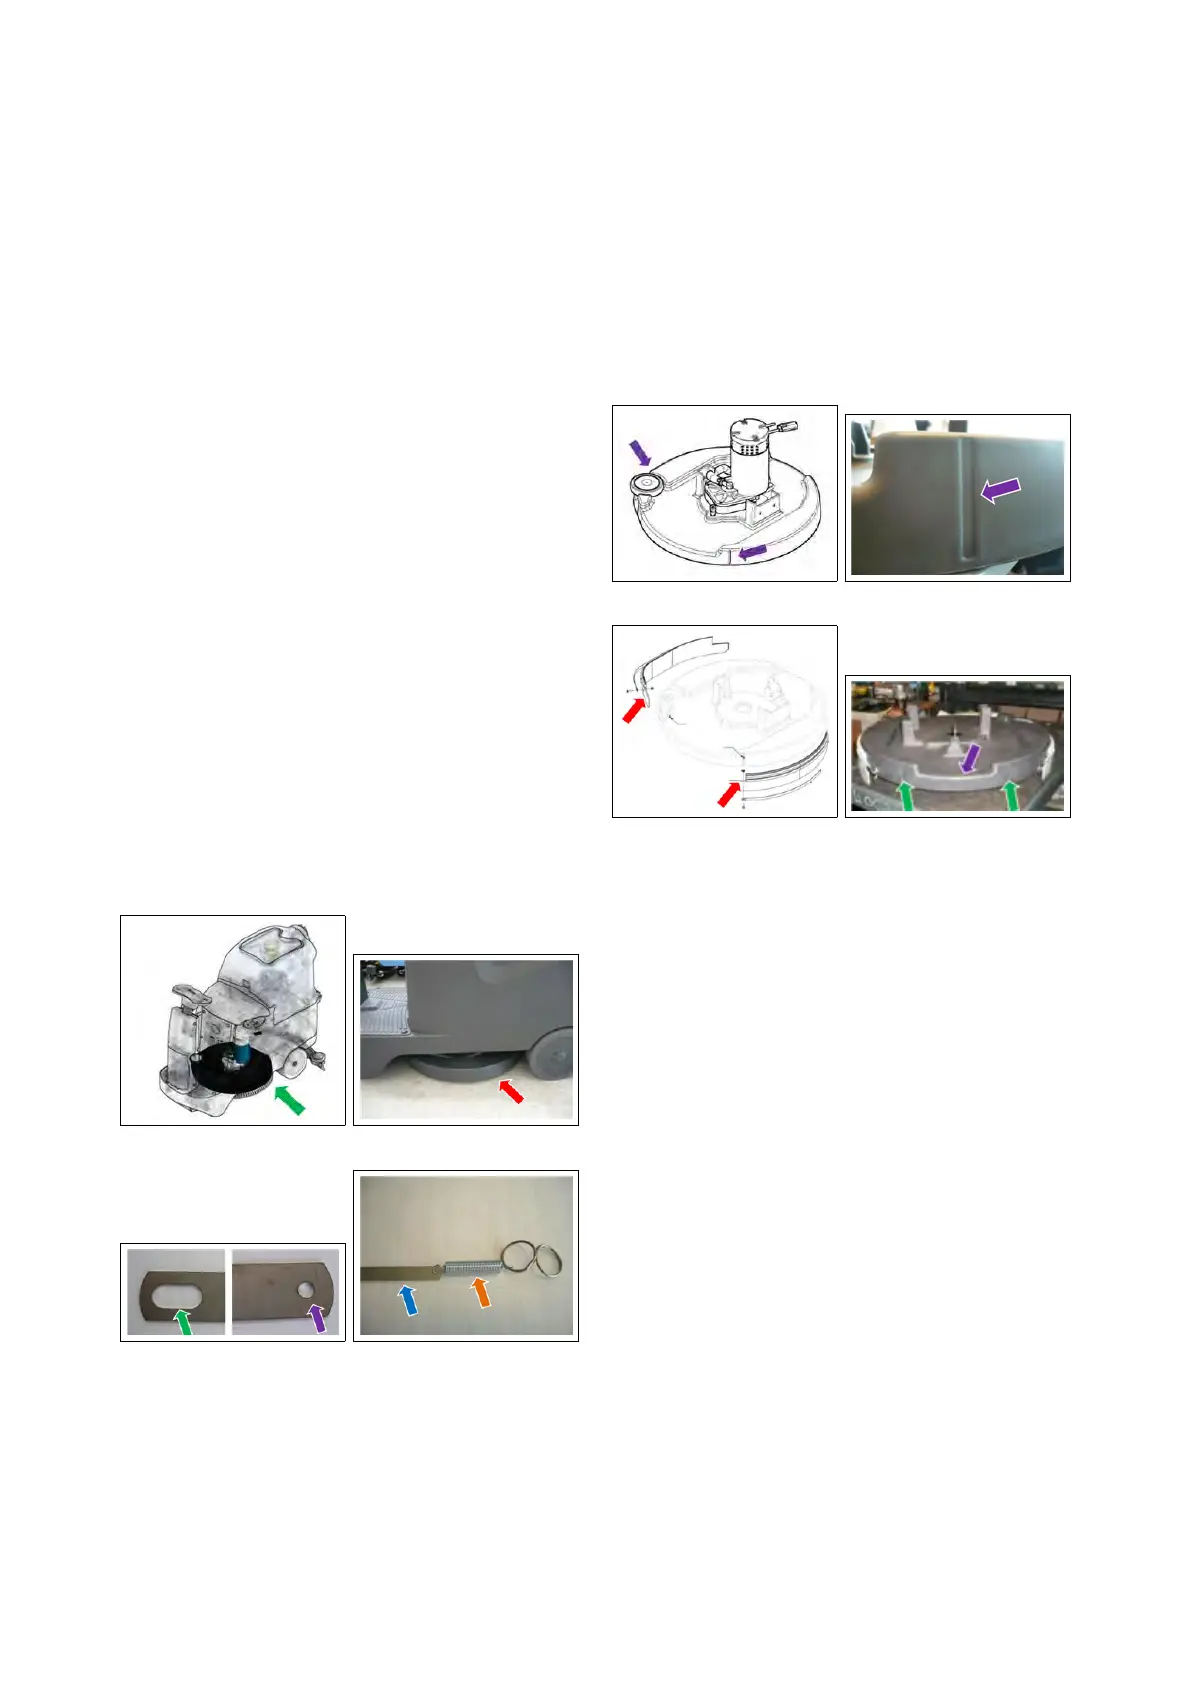
11.4.2 Installing instructions
• Release the brush, switch off the
machine and unplug the batteries.
• Lower the brush deck.
• Mount the splashguard blades sup-
plied with the kit. The spring should
be attached to the side without slot
(traditional hole). The side with the
loop has to be fastened to the deck
first.
11.4.2-153 11.4.2-154
11.4.2-155 11.4.2-156
• Fix the splashguard blades to the
deck. Drill two holes φ 4 matching
the grooves in the front of the deck.
The height of the hole from the bot-
tom side of the base should be 13
mm.
• Fix the blades using the M4 screws
provided with the kit. Tighten the
nut and locknut.
11.4.2-157 11.4.2-158
11.4.2-159 11.4.2-160
• Determine the position of the re-
maining fixing holes Ø4 starting
from the grooves on the rear side of
the deck.
Consider the drive position as a
reference.
Keep the hole 13 mm height from
the bottom side of the deck.
• Make the left side hole 8 cm from the
corresponding rear groove.
• Make the right side hole 10 cm from
the corresponding rear groove.
• Once drilled the fixing holes, attach
the blades and the splashguard rub-
bers by pulling the spring and using
the M4 screws provided with the kit.
Attach nuts and locknuts.
79