26
1. Turn off the gas and disconnect power to the range.
2. Remove all of the burner assemblies from the cooktop
(see page 47 for the procedure).
3. Remove the three front and four rear screws
from the island trim and remove the trim.
NOTE: The screw numbers may vary.
Electrical Shock Hazard
Disconnect power before servicing.
Replace all parts and panels before operating.
Failure to do so can result in death or electrical
shock.
4. Pull the burner and thermostat knobs off the control
shafts.
Front Island Trim Screws
Rear Island Trim Screws
7. If present, remove the four screws from the false handle
and remove the handle.
Heat Shield
3 Screws
False Handle
4 Screws
5. Open the oven door.
6. Remove the three screws from the heat shield and
remove the shield.
Control
Knob
8. GL & GD Models Only: Pull the drip pan out and place
a soft cloth on the drip pan to protect the valve panel
surface.
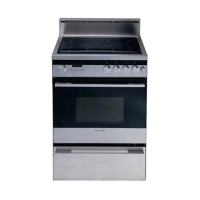
SERVICING THE COMPONENTS
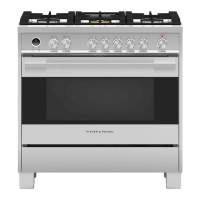
REMOVING THE COOKTOP – 30” & 36” MODELS
WARNING

 Loading...