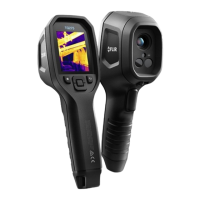
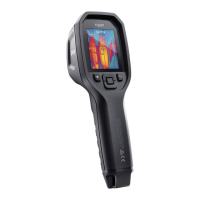
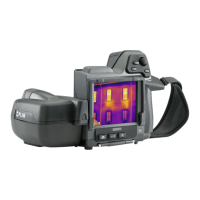
Handling the camera
13
13.1 Charging the battery
WARNING
Make sure that you install the socket-outlet near the equipment and that it is easy to get access to.
Note You must charge the battery for 4 hours before you start using the camera for the
first time.
13.1.1 Using the power supply to charge the battery
13.1.1.1 Procedure
Follow this procedure:
1. Connect the power supply cable plug to the power connector on the camera.
2. Connect the power supply mains-electricity plug to a mains socket.
3. It is good practice to disconnect the power supply cable plug when the green light of
the battery condition LED indicator is continuous.
13.1.2 Using the stand-alone battery charger to charge the battery
13.1.2.1 Explanation
Type of signal Explanation
The blue LED flashes. The battery is being charged.
The blue LED glows continuously. The battery is fully charged.
13.1.2.2 Procedure
Follow this procedure:
1. Put the battery in the battery charger.
2. Connect the power supply cable plug to the connector on the battery charger.
3. Connect the power supply mains-electricity plug to a mains socket.
4. It is good practice to disconnect the power supply cable plug when the blue LED on
the battery charger is glowing continuously.
13.2 Turning on the camera
13.2.1 Procedure
Follow this procedure:
1. To turn on the camera, push and release the On/off button
.
13.3 Turning off the camera
13.3.1 Procedure
Follow this procedure:
1. To turn off the camera, push and hold the On/off button
for more than 0.5 second.
Note Do not remove the battery to turn off the camera.
#T559954; r. AP/42311/42335; en-US
28
 Loading...