Saving and working with images
14
14.5 Editing a saved image
14.5.1 General
You can edit a saved image. You can also edit an image in preview mode.
14.5.2 Procedure
Follow this procedure:
1. Open the image in the image archive.
2. Push the joystick and select
(Edit) from the menu.
3. Manual image adjustment mode is now active, and the status icon
is displayed.
For image adjustment instructions, see section 15.3 Adjusting the infrared image,
page 49.
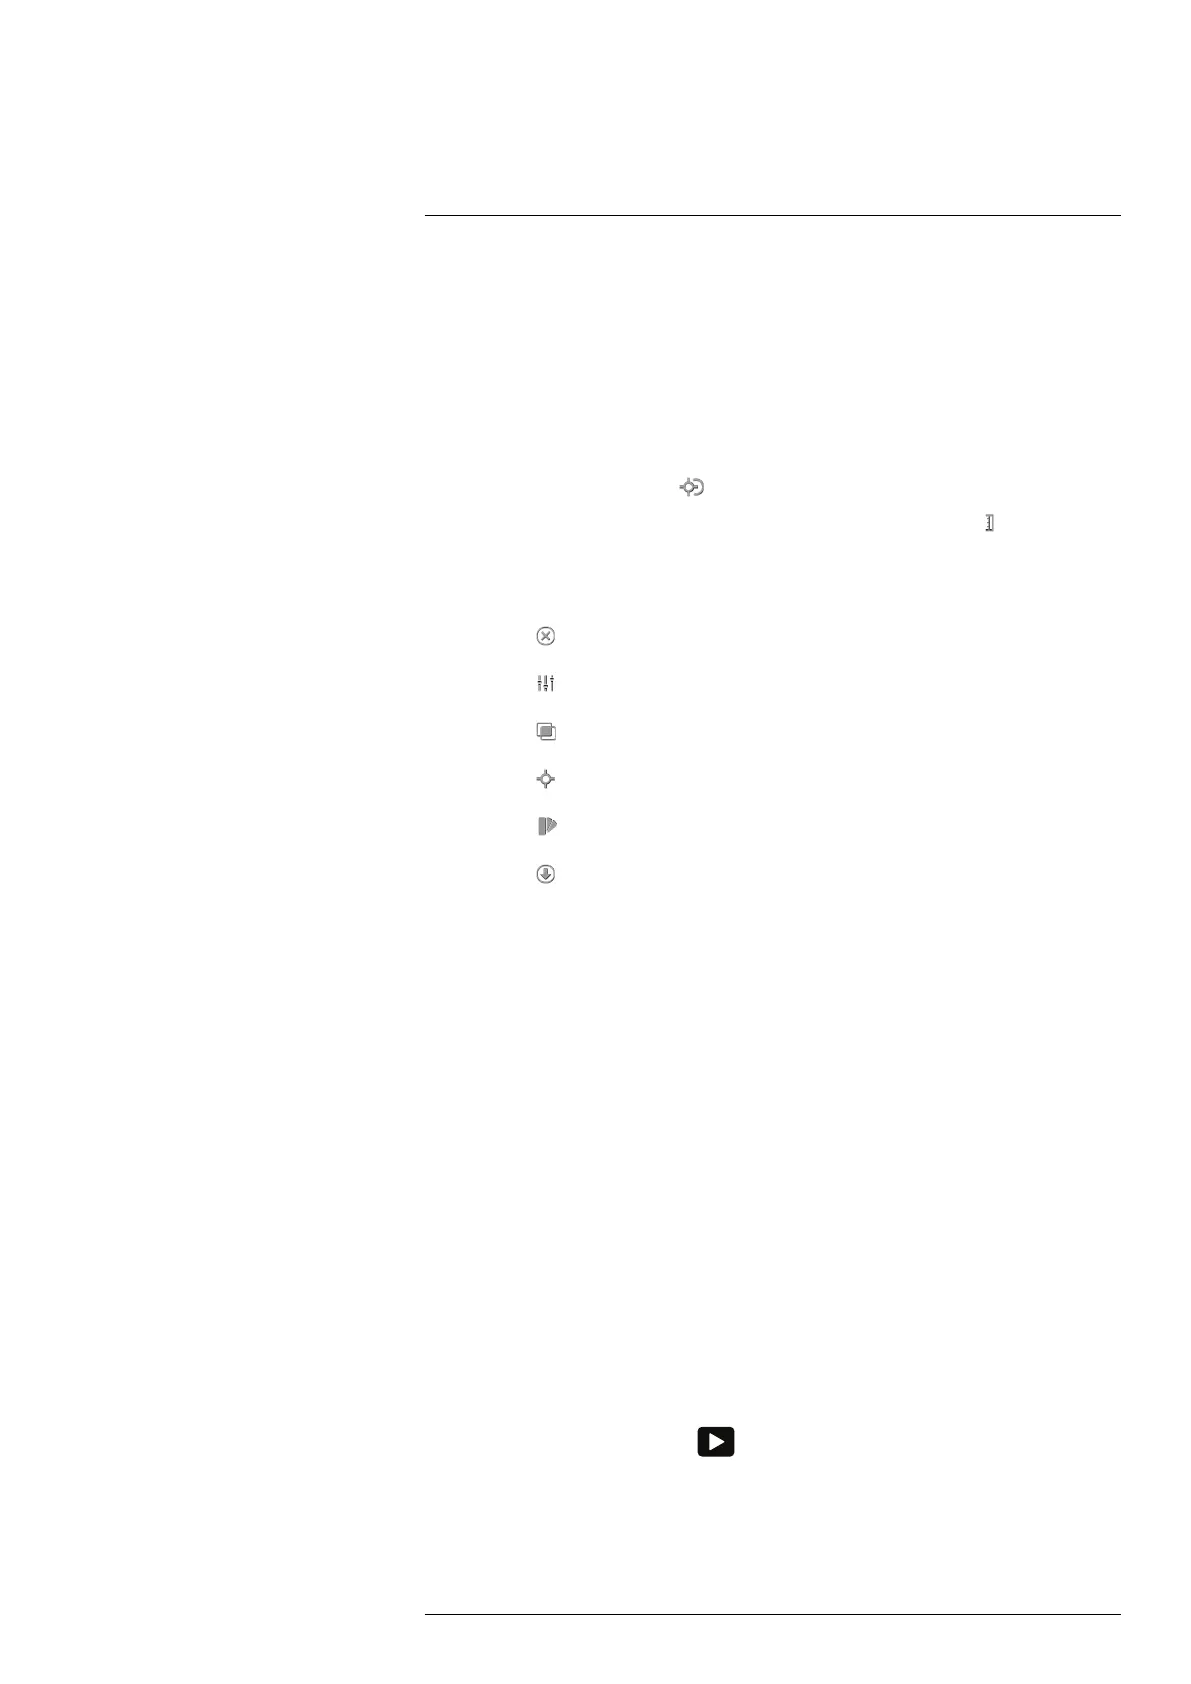
4. Push the joystick. This displays a context menu.
• Select
(Cancel) to exit edit mode.
• Select
(Measurement parameters) to change the global parameters.
• Select
(Image mode) to change the image mode.
• Select
(Measurement) to add a measurement tool.
• Select
(Color) to change the color palette or set a color alarm.
• Select
(Save) to save and exit edit mode.
14.5.3 Related topics
• 17.5 Changing object parameters, page 59.
• 16 Working with image modes, page 55.
• 17 Working with measurement tools, page 57.
• 15.5 Changing the color palette, page 52.
• 18 Working with color alarms and isotherms, page 66.
14.6 Creating a PDF report in the camera
14.6.1 General
You can create a PDF report and save it to the memory card. You can then transfer the
PDF report to a computer, iPhone, or iPad using FLIR Tools/Tools+, and send the report
to a customer.
14.6.2 Naming convention
The naming convention for report files is REPORTxxxx.jpg, where xxxx is a unique
counter.
14.6.3 Procedure
Follow this procedure:
1. Push the Image archive button
.
2. Move the joystick up/down or left/right to select an image.
3. Push the joystick to display the image.
4. Push the joystick to display a context menu.
#T559954; r. AP/42311/42335; en-US
46
 Loading...