Calibration Adjustment
Calibration Adjustments 4
4-5
8. Repeat steps 6 and 7 for all points requiring the use of the AC Measurement
Standard (the UUT text box states Use Precision AC Voltmeter). Set the UUT
to STBY.
9. Disconnect the AC Measurement Standard and 50 Ω feedthrough termination
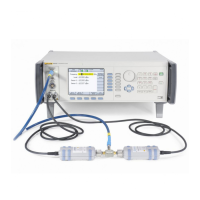
from the UUT base unit. Connect the UUT front panel Head RF Output
directly to the input of the 50 Ω low-power (diode) sensor. Do not use a cable
between the front panel Head RF Output connector and the Power Sensor
input.
Note
Throughout the course of the calibration adjustment, the UUT
internally accounts for values previously adjusted using one
reference instrument to accomplish accurate transfers to other
reference instruments.
10. Set the UUT to OPER.
11. Enter the measurement frequency corresponding to each Target into the
Power Meter to enable cal factor (frequency) correction.
Note
The recommended Power Meter has Power Sensor calibration
factors stored internally in the sensor. Setting the input frequency in
the Power Meter automatically selects the appropriate cal factor for
the measurement. However, the Power Sensor may also be
accompanied by a table of calibration factors which must be applied
externally.
Note
The diode-based Power Sensor may exhibit frequency dependent
linearity errors, and additional corrections for these errors must also
be applied.

 Loading...