OptiView
TM
Series II
Getting Started Guide
14
ahq31f.eps
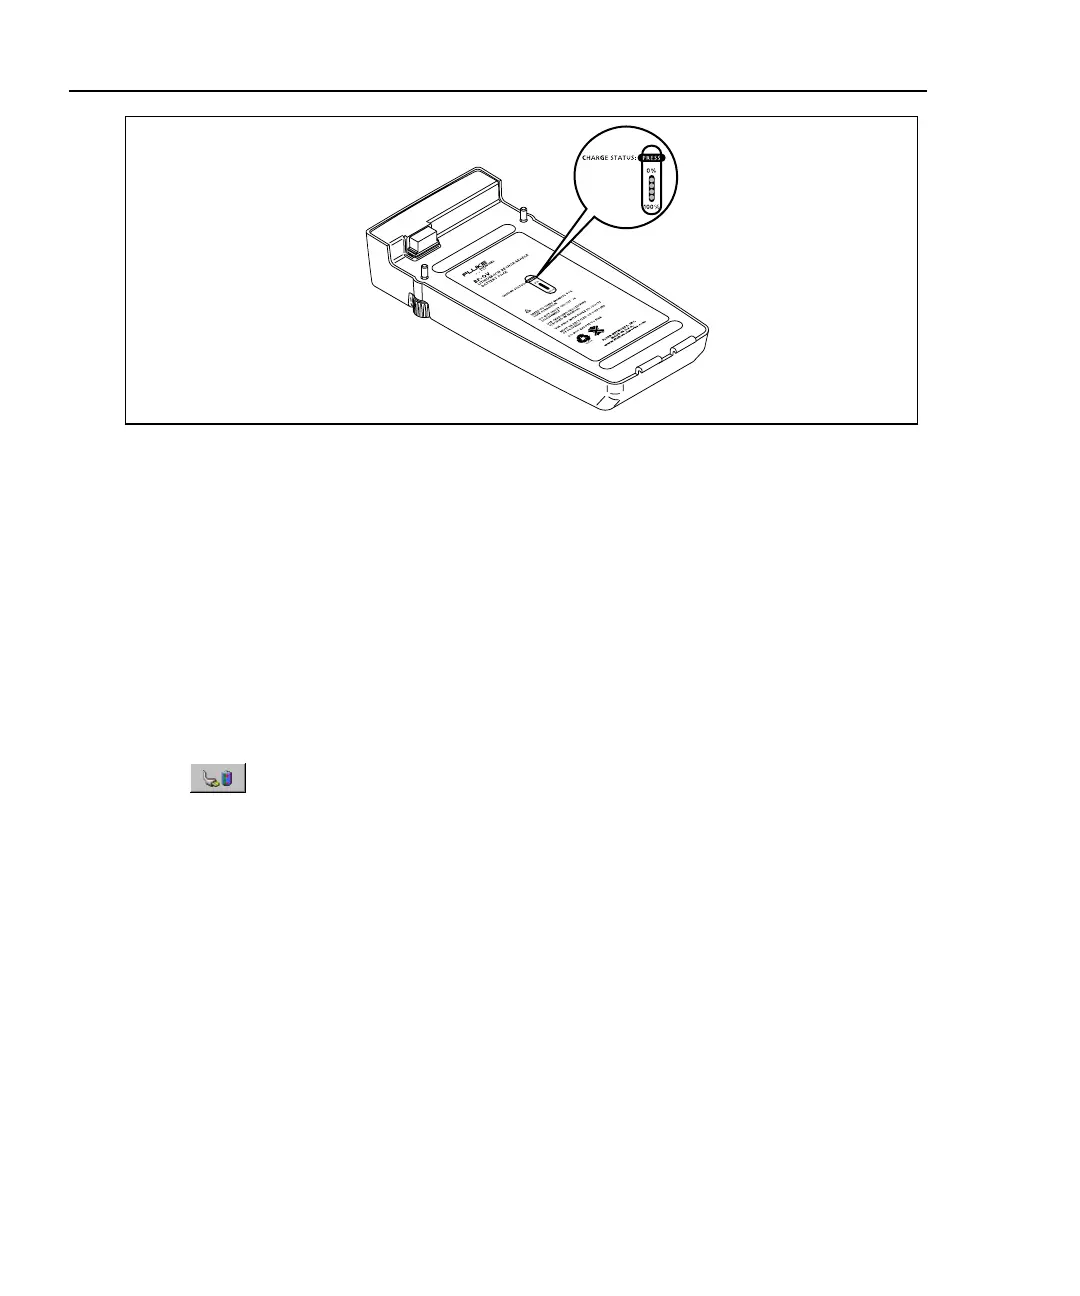
Figure 6. External Battery Charge Status Button
By pressing the Charge Status button, the appropriate number of LEDs turn on
and indicate the charge state as shown in Table 4.
Power Management
WCaution
The power management settings are optimized to reduce
power consumption when the analyzer is battery
operated. It is strongly recommended that you do not
change the default values shown in Figure 7.
Selecting the battery/power icon opens the power management window
as shown in Figure 7. The following screens show the factory default
states. These settings can be customized to optimize battery life. The
battery icon can be found in the bottom-right of the analyzer user
interface display.
 Loading...