40
MR-8HD/CD Owner’s Manual (Basic operations)
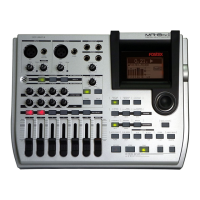
6) While playing the music, adjust the recording
level of each track using the [TRIM] control of
each input channel.
Adjust the level appropriately so that the PEAK
indicator does not light.
Turning the [PHONES VOL] control clockwise
raises the headphone monitor level.
The screen shows the input level of tracks 1
through 4, as well as the stereo L and R output
levels.
<Note>:
Track faders 1 through 4 are used
to adjust the monitor levels. To adjust the
recording level, use the [
TRIM
] controls for
[
INPUT A
] through [
INPUT D
].
<Note>:
Adjust the [
TRIM
] control of each
input channel properly so that the PEAK
indicator does not light at the loudest part
of the sound.
<Tip>: When receiving a line level signal, set
the [TRIM] control to left ("LINE") to get the
appropriate level. When receiving a micro-
phone signal, set the [TRIM] control to right
("MIC") to get the appropriate level.
7) While holding down the [RECORD] key, press the
[PLAY] key to start recording.
The recorder starts recording.
8) When recording completes, press the [STOP] key
to stop the recorder.
<Note>:
We recommend to press the [
REC
SELECT
] key for tracks 1 through 4 to un-
arm these tracks.
Starting recording
9) Press the [REWIND] key while holding down the
[STOP] key to locate the recorder to the
beginning of the song.
10) Press the [PLAY] key to start playback.
You can adjust the monitor level using track
faders 1 through 4, as well as the [MASTER]
fader and [PHONES VOL] control.
Playing back the recorded track
<Tip>: If you are not satisfied with the re-
sult, use the undo/redo function to cancel
the recording and try again.
Undoing recording (undo/redo)
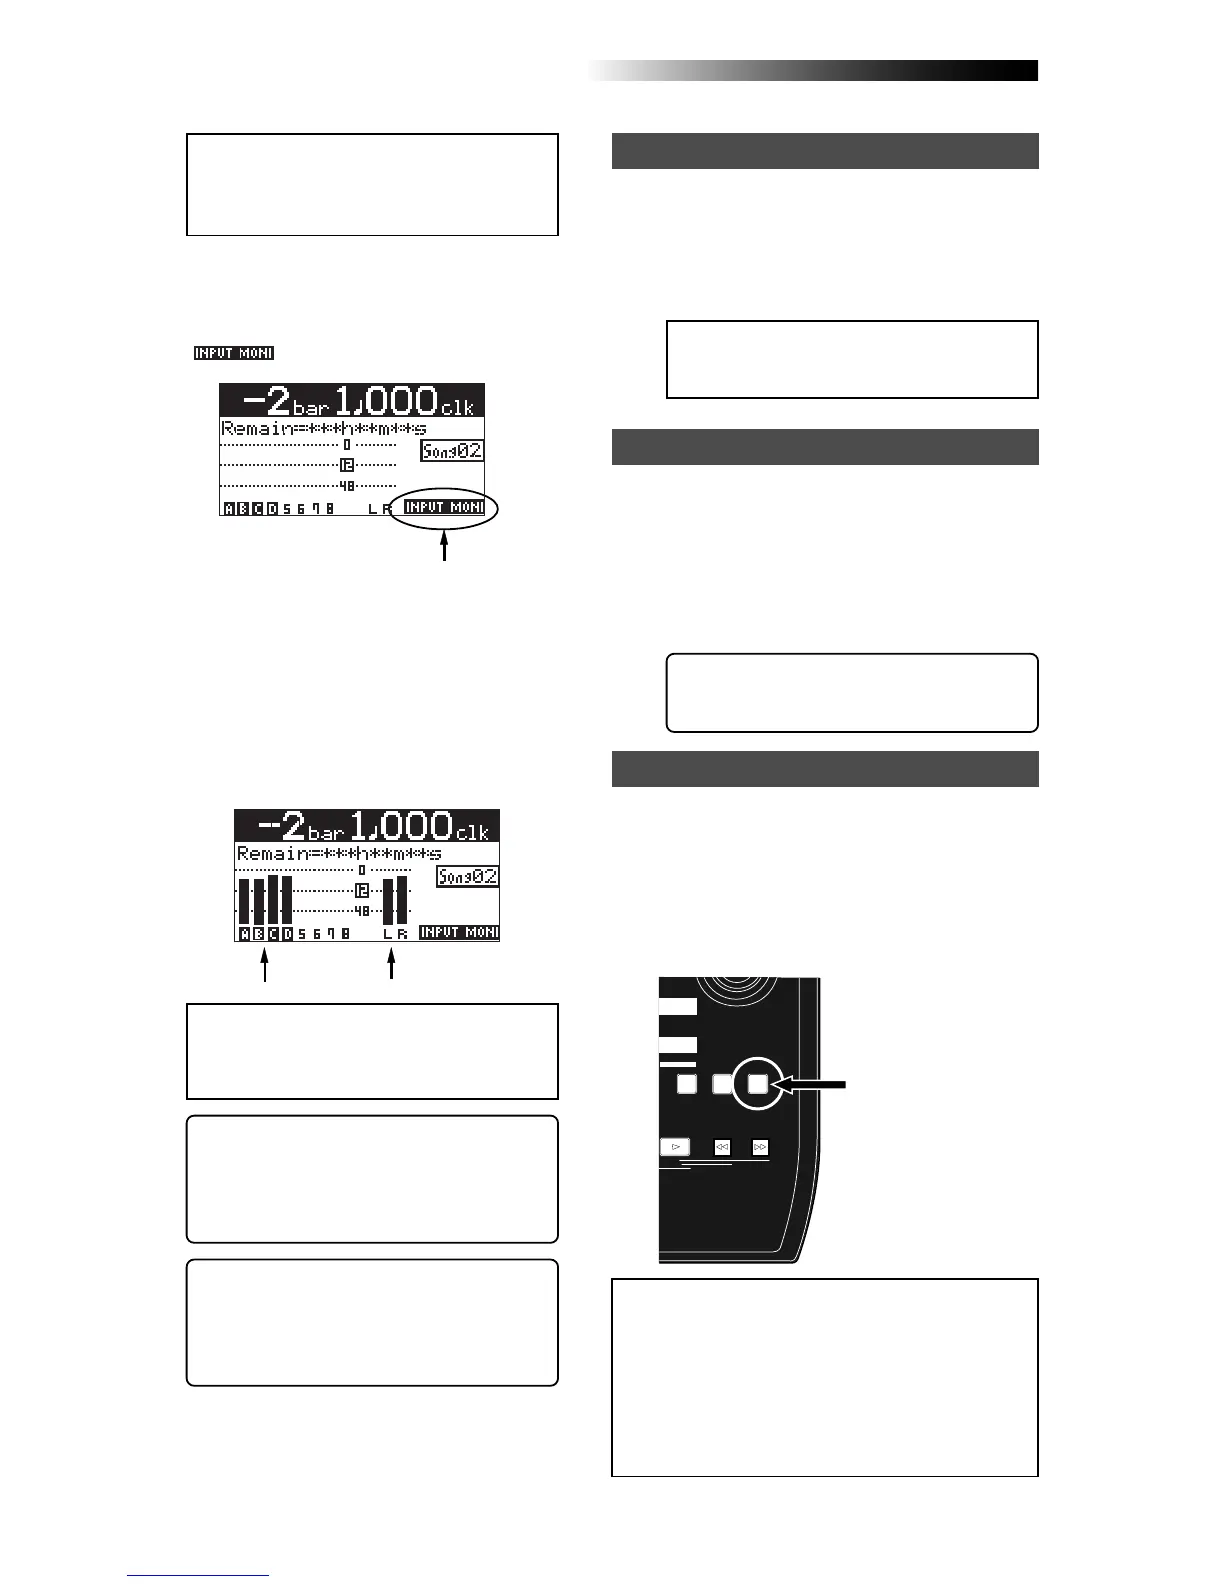
5) Press the [RECORD] key once (the key indicator
starts flashing).
Tracks 1 through 4 (which are armed) now
enter the input monitor mode and
"
" is shown on the home screen.
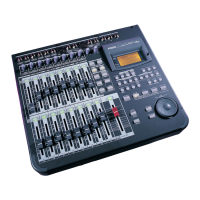
If you press the [UNDO/REDO] key after finishing
recording, you can return to the condition before
the recording started (UNDO operation). Therefore,
you can try recording again.
If you press the [UNDO/REDO] key again (after
UNDO), the undo operation is canceled and you
can return to the condition when the recording
finished (REDO operation).
<Notes>:
The undo/redo function is available for
all kind of recordings, however, if you carry out
any of the following operations after making re-
cording, you cannot undo the recording.
• Carrying out new recording.
• Carrying out track or part editing.
• Turning off the power.
• Selecting another song or editing the song name.
[UNDO/REDO] key