Establishing a
connection via
Modbus RTU
120Ω
1 2 3 4 5
D+ D- -
120Ω
OFF
Fronius Smart Meter
Fronius inverter
Fronius Ohmpilot
Rx
Tx
GND
Smart Meter
M+
M-
GND
Smart Meter TS
D+
D-
-
SnapINverter
M1+
M1- GND
GEN24
Ohmpilot connections
Fronius Smart Meter con-
nections
Fronius SnapIN-
verter / GEN24
connections
D+ Rx / M+ D+ / M1+
D- Tx / M- D- / M1-
- GND GND
WARNING!
Danger if cables are mixed up
If data cables and live mains cables are mixed up, this can result in personal in-
jury and damage to property.
▶
Use data cables that are clearly distinguishable from the mains cables.
▶
Mark cables (e.g. by labelling)
NOTE!
Defective cabling is signalled by the red LED indicator flashing once.
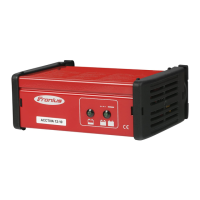
1
Connect the data communication cable in parallel to the Ohmpilot and sys-
tem components.
2
Activate the terminating resistor on the first and last device of the Modbus
cable. Activate the resistor on the Ohmpilot with DIP switch number 5.
3
Set the Modbus address using DIP switches 1-3.
Default address: 40 (for future applications, the Modbus address can be
changed using the DIP switches on the Ohmpilot.)
DIP switch settings
Switch Setting
DIP 1-3 Modbus address BCD
DIP 4 Reserve
DIP 5 Terminating resistor (120
Ohm)
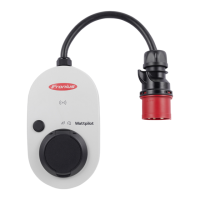
Establish a WLAN connection to implement further settings:
1
Press the button on the Ohmpilot 2x.
The blue LED flashes twice. The WLAN access point is activated for 30
minutes.
2
Activate the "Ohmpilot" WLAN network on the mobile device or PC.
3
In the browser, enter the address http://192.168.250.181 or http://ohmpi-
lotW.local.
39