58
Establishing pow-
er supply - con-
necting power
supply unit
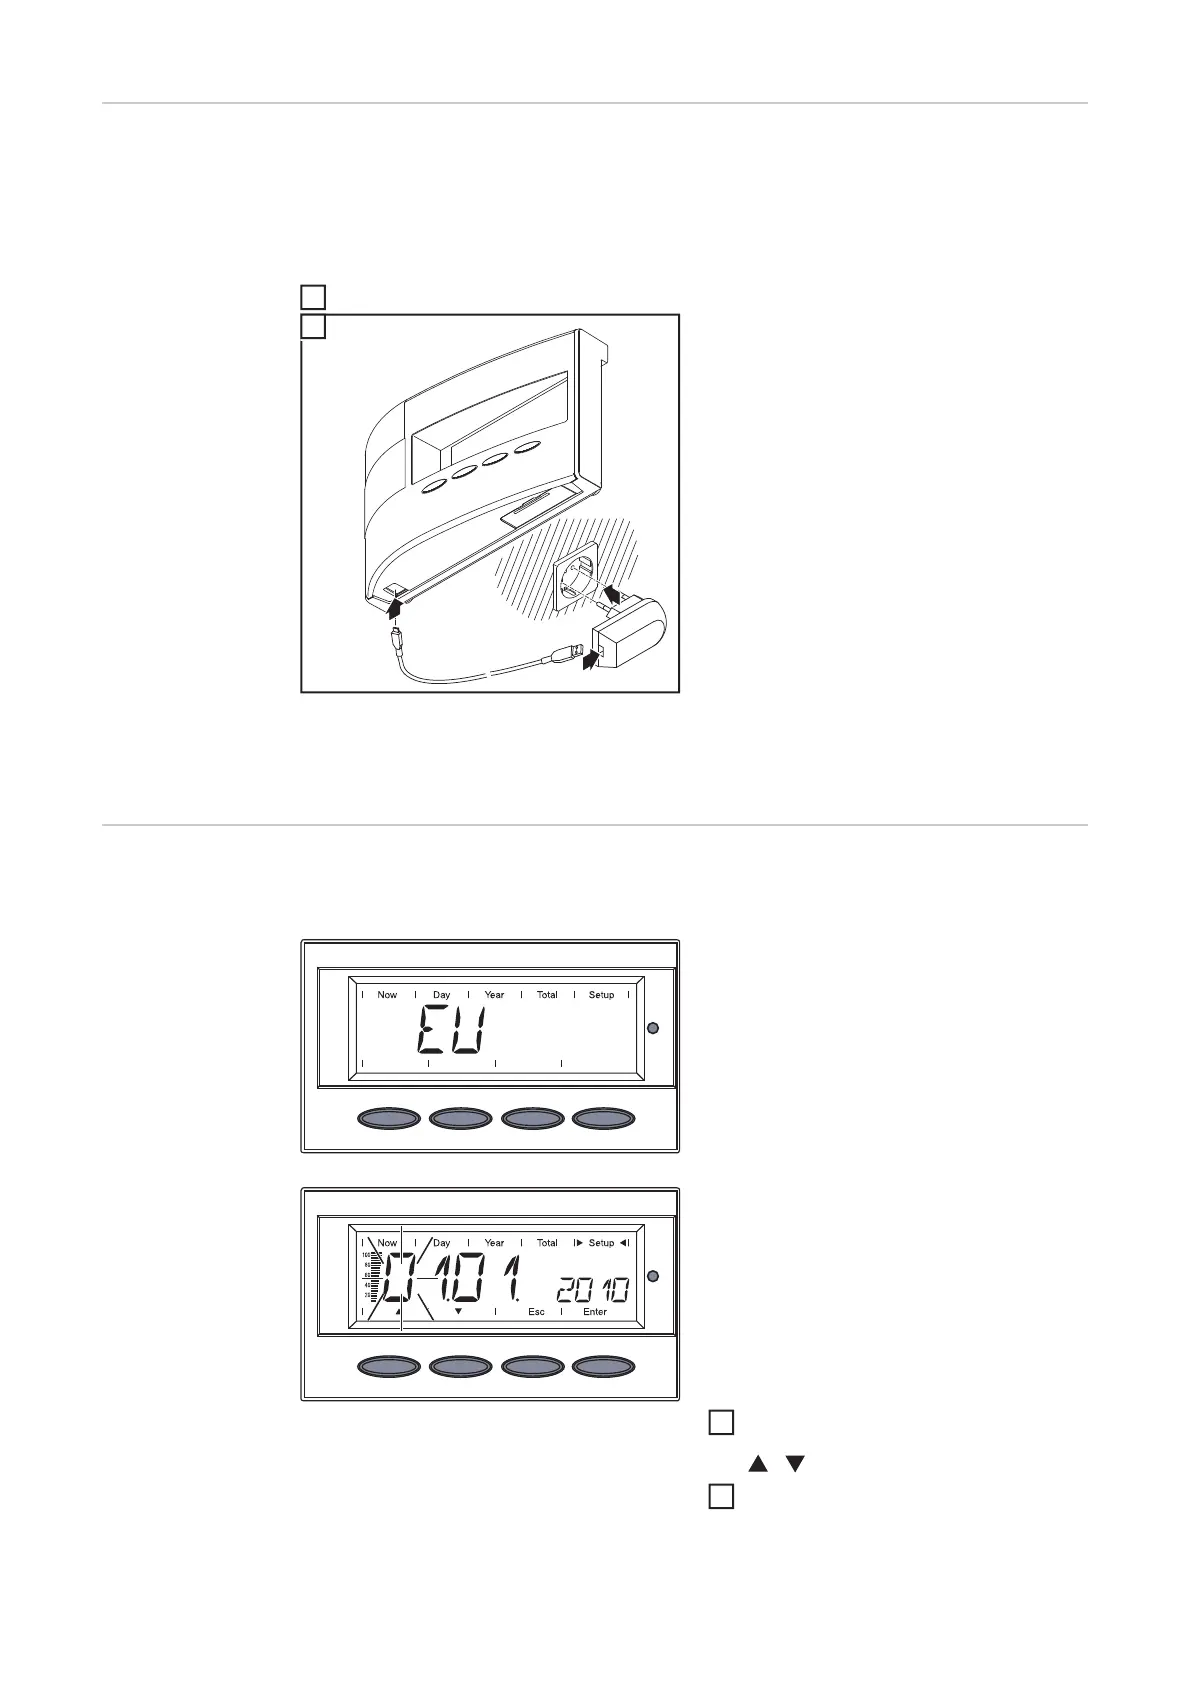
The Fronius Personal Display DL can also be operated using a regular wall socket instead
of the batteries.
- Leave the battery compartment empty
- Connect the power supply unit to the Fronius Personal Display DL
Connect an appropriate power adapter to the power supply unit
After the power supply unit is connected, the display runs through the start-up phase for
setting the time and date.
Afterwards, you can establish the connection to the inverters.
Start-up phase -
setting the date
and time
All display elements light up for about two seconds after the power supply is established.
The Operating Status LED lights up green for about one second, then red.
The code for the region is displayed for
about two seconds.
The sequence for entering the date is dis-
played, the first digit of the day flashes.
Date format: DD.MM.YYYY
IMPORTANT The date and time must be
set so that the Fronius Personal Display DL
can operate as a datalogger.
Use the 'Up' and 'Down' keys to select
a value for the first digit of the day
Press the 'Enter' key
The second digit of the day flashes.
1
2
1
2
 Loading...


